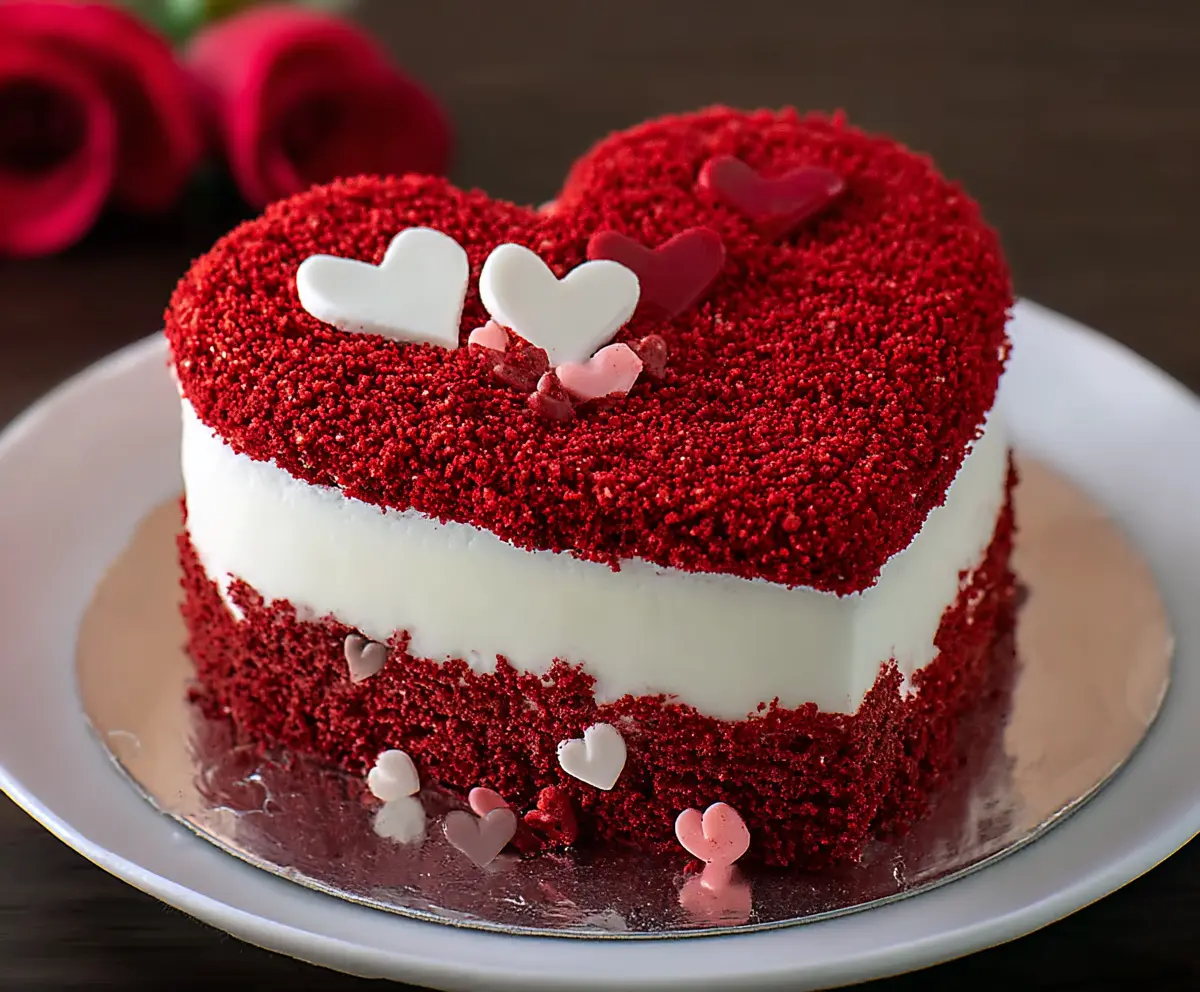
Valentine’s Heart Red Velvet Cake is the perfect treat to celebrate love and sweetness all in one delicious bite. This cake is beautifully rich with that classic red velvet flavor, tender crumb, and a smooth cream cheese frosting that makes every slice feel like a little celebration. Plus, the heart shape adds a cute and fun touch that really sets it apart.
I love making this cake when I want to surprise someone special or just add a little extra charm to a regular day. The deep red color mixed with the creamy frosting always draws smiles, and it’s surprisingly easy to make look fancy with just a few simple decorations. I find that letting the cake sit a little before serving gives the flavors time to really come together, making each bite even better.
Serving this cake feels like sharing a little bit of love, whether it’s at a Valentine’s Day party, a family gathering, or just a cozy night in. I often pair it with a warm cup of tea or coffee, and it turns into the perfect cozy dessert moment. If you want to bring a bit of joy and sweetness to your day, this cake is a wonderful choice that always delights.
Key Ingredients & Substitutions
All-purpose flour: This gives the cake structure and tenderness. If you need gluten-free options, try a 1:1 gluten-free baking blend.
Buttermilk: It reacts with baking soda to make the cake fluffy and adds tang. No buttermilk? Mix 1 cup milk + 1 tbsp lemon juice or vinegar and let sit 5 mins.
Red food coloring: Red velvet’s signature look comes from this. Use gel food coloring for deeper color with less liquid. You can also skip it for a natural cocoa cake, but the color won’t be as bright.
Cream cheese & butter: Cream cheese frosting is classic and gives a smooth, tangy taste. Make sure both are softened for easy mixing and a silky texture.
Decorations: Heart-shaped cake pieces or sprinkles add charm. Fondant hearts work well too. Save crumbs when trimming cake layers for a simple, matching decoration.
How Do You Get the Perfect Heart Shape Without Special Pans?
If you don’t have heart-shaped cake pans, no worries! Here’s a simple way to make a heart from round cakes:
- Bake two round cakes of the same size.
- Once cooled, cut each cake in half.
- Place the two half-circles with the straight edges touching to form the rounded top of the heart.
- Cut a small triangle or curve at the bottom center to create the point of the heart.
- Trim edges to smooth the shape if needed.
This approach lets you create a neat heart shape with regular pans. Chill the cake after assembling to firm it up before frosting, making it easier to decorate cleanly.
Equipment You’ll Need
- Heart-shaped cake pans (8-inch) – perfect for baking the cake in the classic Valentine’s heart shape without extra cutting.
- Mixing bowls – you need separate ones for dry and wet ingredients to keep mixing simple and tidy.
- Electric mixer or hand mixer – helps blend the batter and cream cheese frosting until smooth and fluffy easily.
- Spatula – for folding ingredients gently and spreading frosting smoothly on the cake.
- Piping bag with star tip – great for creating pretty frosting dollops or rosettes on top of the cake.
- Wire cooling rack – lets the cake cool evenly and quickly without getting soggy on the bottom.
Flavor Variations & Add-Ins
- Add a handful of white chocolate chips or chunks to the batter for little sweet bites inside the cake.
- Swap cream cheese frosting with whipped cream cheese for a lighter, airier topping that’s less sweet.
- Mix in fresh raspberries between the layers before frosting for a fruity twist that pairs well with red velvet.
- Try adding a teaspoon of instant espresso powder to the batter to deepen the cocoa flavor without tasting like coffee.
Valentine’s Heart Red Velvet Cake
Ingredients You’ll Need:
For the Red Velvet Cake:
- 2 1/2 cups (312g) all-purpose flour
- 1 1/2 cups (300g) granulated sugar
- 1 teaspoon baking soda
- 1 teaspoon fine salt
- 1 teaspoon cocoa powder (unsweetened)
- 1 1/2 cups (360ml) vegetable oil
- 1 cup (240ml) buttermilk, room temperature
- 2 large eggs, room temperature
- 2 tablespoons (30ml) red food coloring
- 1 teaspoon white distilled vinegar
- 1 teaspoon vanilla extract
For the Cream Cheese Frosting:
- 16 oz (450g) cream cheese, softened
- 1/2 cup (115g) unsalted butter, softened
- 4 cups (480g) powdered sugar, sifted
- 1 teaspoon vanilla extract
For Decoration:
- Red velvet cake crumbs (reserved from trimming layers or extra baked cake)
- Red velvet heart-shaped cake cutouts or decorations (made from leftover cake or fondant)
- Optional: edible glitter or red sprinkles
How Much Time Will You Need?
Plan for about 15 minutes of prep time, 30-35 minutes baking time, and 30-40 minutes for cooling and frosting. Additionally, chilling the cake after crumb coating and final frosting takes another 20-30 minutes. Overall, expect around 1.5 to 2 hours from start to finish.
Step-by-Step Instructions:
1. Preheat and Prep Pans:
Preheat your oven to 350°F (175°C). Grease and flour two 8-inch heart-shaped cake pans or line the pans with parchment paper. If you don’t have heart-shaped pans, bake in round pans and shape later.
2. Mix Dry Ingredients:
In a large bowl, sift together the flour, sugar, baking soda, salt, and cocoa powder. Whisk everything well to combine evenly.
3. Combine Wet Ingredients:
In another bowl, whisk the vegetable oil, buttermilk, eggs, red food coloring, vinegar, and vanilla extract together until fully mixed.
4. Make the Batter:
Slowly add the wet ingredients into the dry ingredients, stirring gently using a spatula or mixer on low speed. Mix only until just combined to keep the cake tender and moist.
5. Bake the Cakes:
Divide the batter evenly between the prepared pans. Bake for about 30-35 minutes. Check if ready by inserting a toothpick or skewer — it should come out clean.
6. Cool the Cake:
Let the cakes cool in their pans for 10 minutes, then remove and transfer to a wire rack to cool completely before frosting.
7. Prepare Cream Cheese Frosting:
In a bowl, beat together the softened cream cheese and butter until creamy. Add the powdered sugar gradually and mix on low speed until blended. Add vanilla extract, then whip on medium-high speed until light and fluffy.
8. Assemble the Cake:
If using round cakes, slice and arrange them into a heart shape by joining two halves on an angle. Level tops if needed for even layering.
9. Frost the Cake:
Smooth a thin crumb coat over the entire cake. Chill for about 15-20 minutes to set. Then apply a final even coating of frosting all around.
10. Decorate with Crumbs and Hearts:
Press red velvet cake crumbs onto the sides and half the top surface of the cake. On the unfrosted half-top, pipe pretty frosting dollops or rosettes.
11. Add Heart Decorations:
Place small red velvet heart-shaped cake pieces or decorations onto the frosting dollops for a festive Valentine’s look.
12. Serve and Enjoy:
Chill the cake again for about 30 minutes so it slices neatly. Then serve and enjoy the moist, tangy red velvet cake with creamy frosting — perfect for Valentine’s Day or any romantic occasion!
Can I Use Frozen Red Velvet Cake Layers?
Yes! Just make sure to thaw the cake layers completely in the fridge overnight before frosting. This helps prevent the frosting from melting or sliding off.
How Can I Make This Cake Without Heart-Shaped Pans?
No heart pans? Bake two round cakes, cut each in half, and arrange the halves together to form a heart shape. Trim edges gently for a smooth look, then frost as usual.
What’s the Best Way to Store Leftover Cake?
Store leftover cake in an airtight container in the refrigerator for up to 3-4 days. Bring to room temperature for 30 minutes before serving for the best flavor and texture.
Can I Substitute the Vegetable Oil?
Absolutely! You can use light olive oil, canola oil, or melted coconut oil. Avoid strong-flavored oils as they might alter the cake’s taste.