
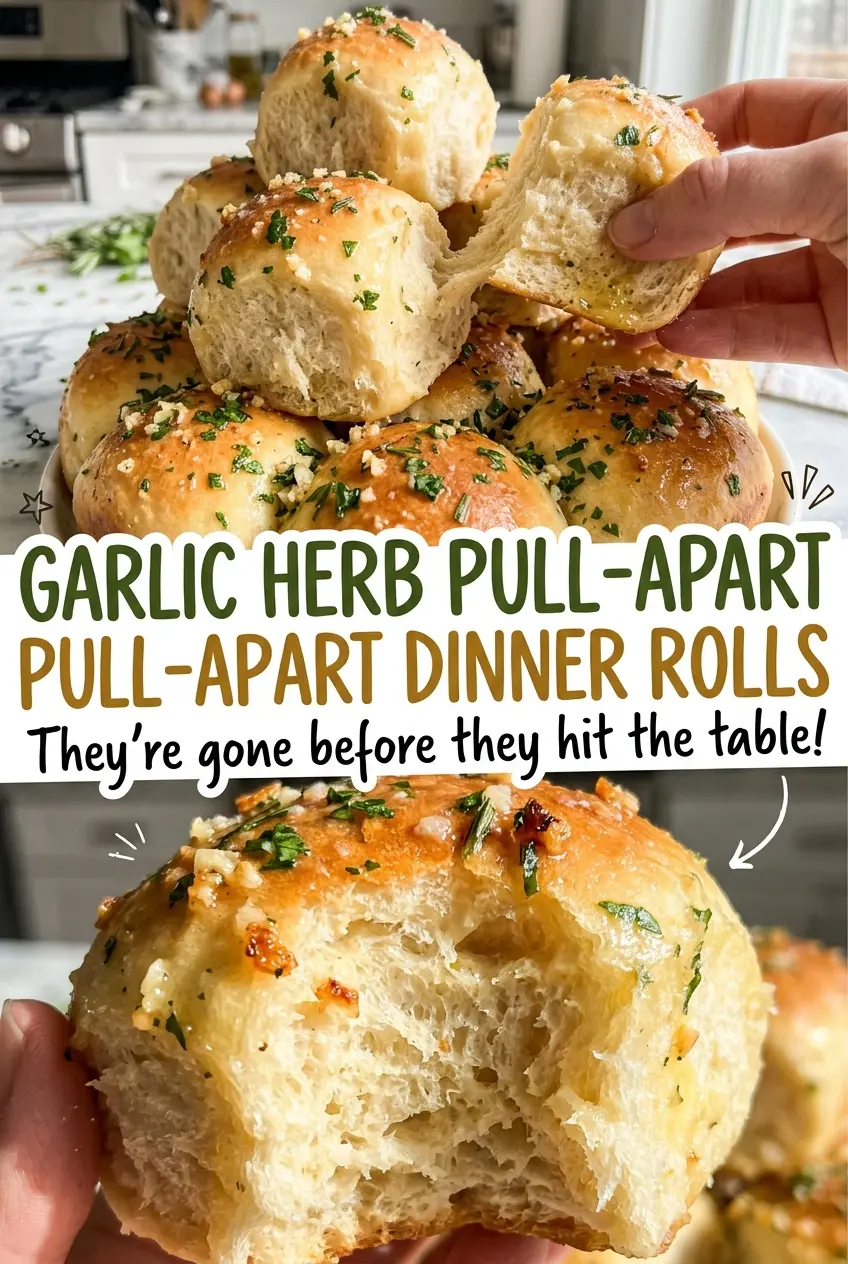
When the center rolls are still pale but the ones at the edge are turning gold, it’s tempting to pull the pan early. I wait until the middle has caught up; that’s how I get a tray of Garlic Herb Pull-Apart Dinner Rolls that bake through without sacrificing their soft, pillowy centers. They separate easily at the table, and the garlic butter goes on while they’re warm enough to soak up every bit.
The dough is enriched with egg and butter, but it still needs a proper knead and two rises to turn light instead of heavy. I watch the dough more than the clock: smooth and elastic after kneading, doubled after the first rise, then puffy in the pan. A quick brush of garlic, parsley, and thyme butter gives the finished rolls a fragrant top and a tender sheen.
Kitchen Note
Let the yeast mixture sit until it looks foamy before you add the rest. If it stays flat, the yeast may not be active, and the dough won’t rise the way these rolls need to.
Save these Garlic Herb Pull-Apart Dinner Rolls for a soft, buttery bread basket with a fragrant garlic-herb finish.
Why the Center Rolls Need a Doneness Check of Their Own
Pull-apart rolls bake close together in a single dish, so the center pieces don’t get the same direct heat as the rolls around the edges. Color is helpful, but it can fool you: the outer rolls may be beautifully golden while the middle is still doughy. I check a center roll rather than judging the whole pan by its edges.
A center temperature of about 190°F is the dependable cue here. It tells you the dough has baked through while the crust is still tender, instead of waiting until every roll is deeply browned and risking dry edges. If the centers need more time, keep baking and check again; the little difference between puffy dough and a fully baked middle matters more than chasing a darker top. That check is especially useful when your oven browns the pan unevenly.
The rolls also shouldn’t be crowded into a smaller dish. They need the room in a 9×13-inch baking dish to rise together without being packed tightly against the sides, which helps them bake evenly and pull apart neatly.
What the Milk, Butter, and Fresh Herbs Bring to These Rolls
- Whole milk — It gives the dough richness and helps make the crumb soft. Warm it gently; milk that’s too hot can interfere with the yeast, while the target range gives the yeast a comfortable start.
- Active dry yeast and sugar — The yeast creates the rise, and the sugar goes into the warm milk with it. Keep the yeast fresh and check that it foams before moving on; there isn’t a dependable substitute that produces the same yeast-raised texture.
- Egg and butter — The egg adds tenderness and structure, while butter enriches the dough. The butter is divided for a reason: cooled melted butter goes into the dough, and the remaining butter becomes the warm garlic-herb topping. Unsalted butter keeps the added salt level predictable.
- All-purpose flour — It gives these rolls enough structure to hold their shape while staying soft. Spoon and level it rather than packing it into the measuring cup; too much flour is one of the easiest ways to make a tender dough feel stiff.
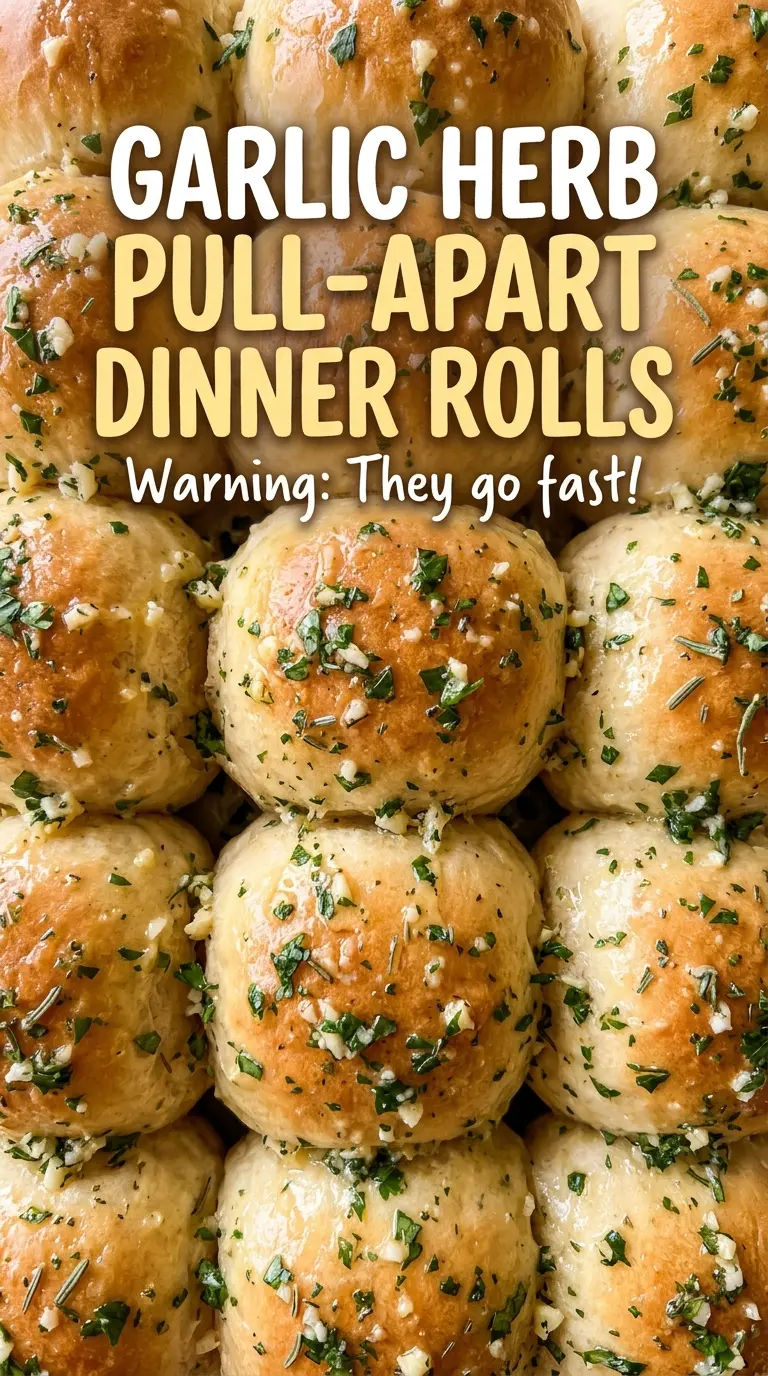
- Garlic, parsley, and thyme — Fresh herbs keep the topping bright, and finely minced garlic spreads through the butter instead of landing in large, sharp bites. If thyme isn’t on hand, leave it out and keep the parsley; the topping will be simpler but still fragrant.
How to Get Soft Rolls From the First Rise to the Garlic Butter Finish
Wake the yeast and knead until elastic
Warm the milk to 105–110°F, then stir in the yeast and sugar and leave the bowl for 5–10 minutes, until foamy. Whisk in the room-temperature egg and cooled melted butter before mixing in the salt and flour. Knead with a stand mixer on medium-low for 6–8 minutes, or by hand for 8–10 minutes, until the dough feels smooth and elastic rather than shaggy or sticky. If it still tears quickly when stretched, keep kneading until it becomes more supple.
Give the dough time to double
Cover the bowl and let the dough rise in a warm place for 60–90 minutes. Look for dough that has doubled in size, not merely a few bubbles at the surface. A cool room can slow the rise, so use the visible change as your cue within that time window. Rushing this stage leaves the rolls heavier and less airy.
Shape twelve balls and let them puff in the dish
Coat a 9×13-inch baking dish with nonstick cooking spray, then divide the dough into 12 equal pieces. Shape each piece into a ball and arrange them in the dish, leaving them together as a pull-apart batch. Cover and let them rise for 30–45 minutes, until puffy. If the pieces look tight and small, they need more time before baking.
Bake to a golden top, then brush while warm
Heat the oven to 350°F and bake the rolls for 20–25 minutes, until golden brown and the center rolls register about 190°F. While they bake, melt the remaining butter in a small saucepan over low heat. Stir in the minced garlic and cook for 30–60 seconds, just until fragrant, then remove the pan from the heat and stir in the parsley and thyme. Brush the warm rolls with the topping and let them rest for 10 minutes before serving.
Three Small Changes for a Different Garlic-Herb Roll
A Parsley-Only Finish
Leave the thyme out of the butter and use the parsley with the garlic. The topping stays fresh and savory, with a cleaner, less woodsy herbal note.
Thyme-Led Herb Butter
Skip the parsley and keep the thyme with the garlic. You’ll get a more earthy, savory finish without changing the soft texture of the rolls.
Plain Butter Pull-Aparts
Leave the garlic and herbs out of the topping for a mild, buttery roll. The dough stays the same, but the finish is simple enough to pair with a strongly seasoned meal.
Storage and Reheating
- Refrigerator: Keep the rolls covered in an airtight container for up to 3 days; refrigeration can make the crumb firm and stale sooner than room-temperature storage.
- Freezer: Freeze completely cooled rolls in an airtight freezer container for up to 2 months. Thaw them before warming for a softer, more even result.
- Reheating: Warm briefly in the microwave or in a low oven until just heated through. Long, high-heat reheating dries the edges before the centers warm.
Questions That Come Up When Baking These Pull-Apart Rolls
Garlic Herb Pull-Apart Dinner Rolls
Ingredients
Equipment
Method
- Warm the milk to 105–110°F and pour it into a large mixing bowl.
- Stir in the yeast and sugar, then let stand for 5–10 minutes, until foamy.
- Whisk in the egg and 3 tablespoons melted butter.
- Mix in the salt and flour until a shaggy dough forms.
- Knead with a stand mixer on medium-low for 6–8 minutes, or by hand for 8–10 minutes, until smooth and elastic.
- Cover the bowl and let the dough rise in a warm place for 60–90 minutes, until doubled in size.
- Spray a 9x13-inch baking dish with nonstick cooking spray.
- Divide the dough into 12 equal pieces and shape them into balls.
- Arrange the dough balls in the dish.
- Cover and let rise for 30–45 minutes, until puffy.
- Heat the oven to 350°F.
- Bake for 20–25 minutes, until golden brown and the center rolls register about 190°F.
- Melt the remaining 4 tablespoons butter in a small saucepan over low heat.
- Stir in the garlic and cook for 30–60 seconds, until fragrant.
- Remove from the heat and stir in the parsley and thyme.
- Brush the warm rolls with the garlic herb butter.
- Let the rolls rest for 10 minutes before serving.