
Crisp-tender green beans, a from-scratch mushroom sauce, and a pile of golden fried onions turn this casserole into the kind of side dish people reach for before the main course even lands on the table. The beans stay bright and just tender, the sauce clings instead of pooling, and the onion topping brings the crunch that canned versions never quite manage.
The trick is treating each part separately before it all comes together. Blanching the beans keeps them from going khaki in the oven. Browning the mushrooms before the flour goes in builds a deeper, more savory sauce. Frying the onions in thin batches gives you actual crispness instead of a limp topping that disappears into the casserole.
Below, I’ll walk through the parts that matter most, including how to keep the sauce smooth and how to get the onions crunchy enough to hold up after baking. Once you’ve made it this way, the shortcut version starts to feel a lot less necessary.
The sauce was creamy without being gluey, and the fried onions stayed crunchy even after baking. My husband kept sneaking spoonfuls from the dish before dinner.
Save this green bean casserole with crispy fried onions for the holidays when you want a scratch-made side with a creamy center and a real crunch on top.
The Reason the Sauce Stays Creamy Instead of Watery
The most common failure in green bean casserole is a sauce that turns thin after baking. That usually happens when the mushrooms are rushed, the flour is added before the moisture cooks off, or the dairy goes in before the pan has cooled just enough to keep things smooth. Here, the mushrooms cook until their liquid is gone, which gives the sauce a head start on body before the broth and half-and-half go in.
Another detail that matters: the sauce should thicken on the stove before it ever meets the beans. If it looks like a loose gravy in the pan, it will seem even looser once the green beans release a little steam in the oven. You want it to coat a spoon in a soft, even layer.
- Green beans — Fresh beans hold their shape and keep the casserole from turning mushy. Blanching them briefly gives you that crisp-tender bite that survives the bake.
- Cremini mushrooms — These bring a deeper, earthier flavor than white mushrooms. You can use white button mushrooms, but the sauce will taste a little lighter.
- Half-and-half — This gives the sauce enough richness without becoming heavy. Whole milk works in a pinch, but the sauce will be a little looser.
- Parmesan — This adds salt, body, and a savory finish that helps the sauce taste made from scratch. Use finely grated cheese so it melts smoothly instead of clumping.
- Yellow onion for the topping — Slice it thin enough that it fries evenly. Thick slices soften before they crisp, which is how you end up with greasy onions instead of crunchy ones.
Building the Beans, Sauce, and Onions in the Right Order
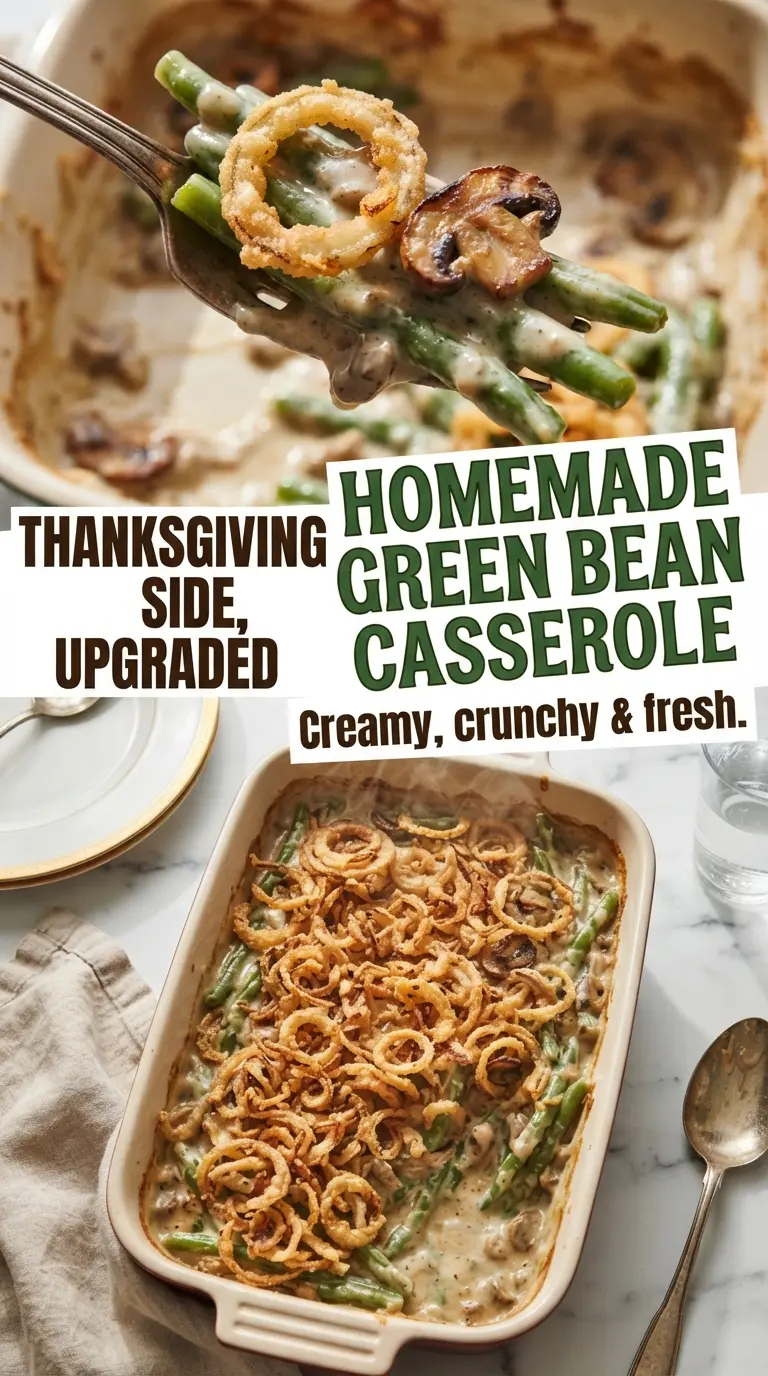
The order here keeps every part at its best. The beans get blanched first so they stay bright and don’t need a long bake. The onions fry separately so they stay crisp. The sauce comes together last, which means it goes into the baking dish hot and thick enough to cling to the vegetables instead of sliding off them.
Blanching the Beans
Drop the trimmed beans into well-salted boiling water and pull them out after just a few minutes, while they’re still crisp but no longer raw. The color should shift to a brighter green, not olive. Ice water stops the cooking fast, and drying them well keeps the sauce from loosening later. If the beans go in wet, the casserole turns soupy.
Frying the Onions
Toss the onion slices with flour, salt, and paprika until every ring looks lightly dusty. Fry them in batches so the oil temperature doesn’t crash. You’re looking for a deep golden color and a dry, crackly surface. If they pile up in the pan, they steam instead of crisp, and they’ll go soft long before the casserole hits the table.
Cooking the Mushroom Sauce
Let the mushrooms brown before you add the flour. That step builds the savory base that canned soup usually tries to fake. When the flour goes in, stir it for a full minute so the sauce won’t taste raw. Then whisk in the broth and half-and-half slowly. A thin sauce at this stage usually means the heat was too high or the flour wasn’t cooked long enough.
Assembling and Baking
Fold half the onions into the sauce so some of that crunch gets tucked inside the casserole, then scatter the rest on top near the end of baking. The first bake warms everything through and bubbles the sauce around the edges. The final few minutes with the topping on are there for texture, not more cooking. If you add the onions too early, they brown past the point of crunch.
How to Adapt This for a Smaller Table, a Dairy-Free Version, or a Different Topping
Dairy-Free Without Losing the Creamy Texture
Use unsalted plant-based butter, unsweetened oat milk or a dairy-free half-and-half, and skip the Parmesan unless you have a good dairy-free substitute that melts well. The sauce will still thicken from the flour and mushrooms, but it may taste a little less rich, so a pinch more salt and a touch more thyme help round it out.
Gluten-Free With a Crisp Topping
Swap the all-purpose flour in both the onions and the sauce for a good gluten-free blend that includes starch, or use cornstarch in the sauce and a gluten-free flour for the onions. The texture stays close to the original, but the onion coating may brown a little faster, so watch the skillet closely.
Make It Ahead for a Crowd
Blanch the beans and make the sauce up to a day ahead, then store them separately from the fried onions. Assemble and bake just before serving so the topping stays crisp. If you build the whole dish too early, the onions absorb moisture and lose their crunch.
Storage and Reheating
- Refrigerator: Store leftovers in an airtight container for up to 4 days. The onions will soften, but the flavor holds well.
- Freezer: You can freeze the casserole without the onion topping for up to 2 months. Thaw overnight in the refrigerator before reheating; fried onions don’t freeze with good texture.
- Reheating: Warm covered in a 350°F oven until hot through, then add fresh fried onions on top for the last few minutes. The biggest mistake is microwaving the whole dish, which turns the beans soft and the sauce uneven.
Answers to the Questions Worth Asking
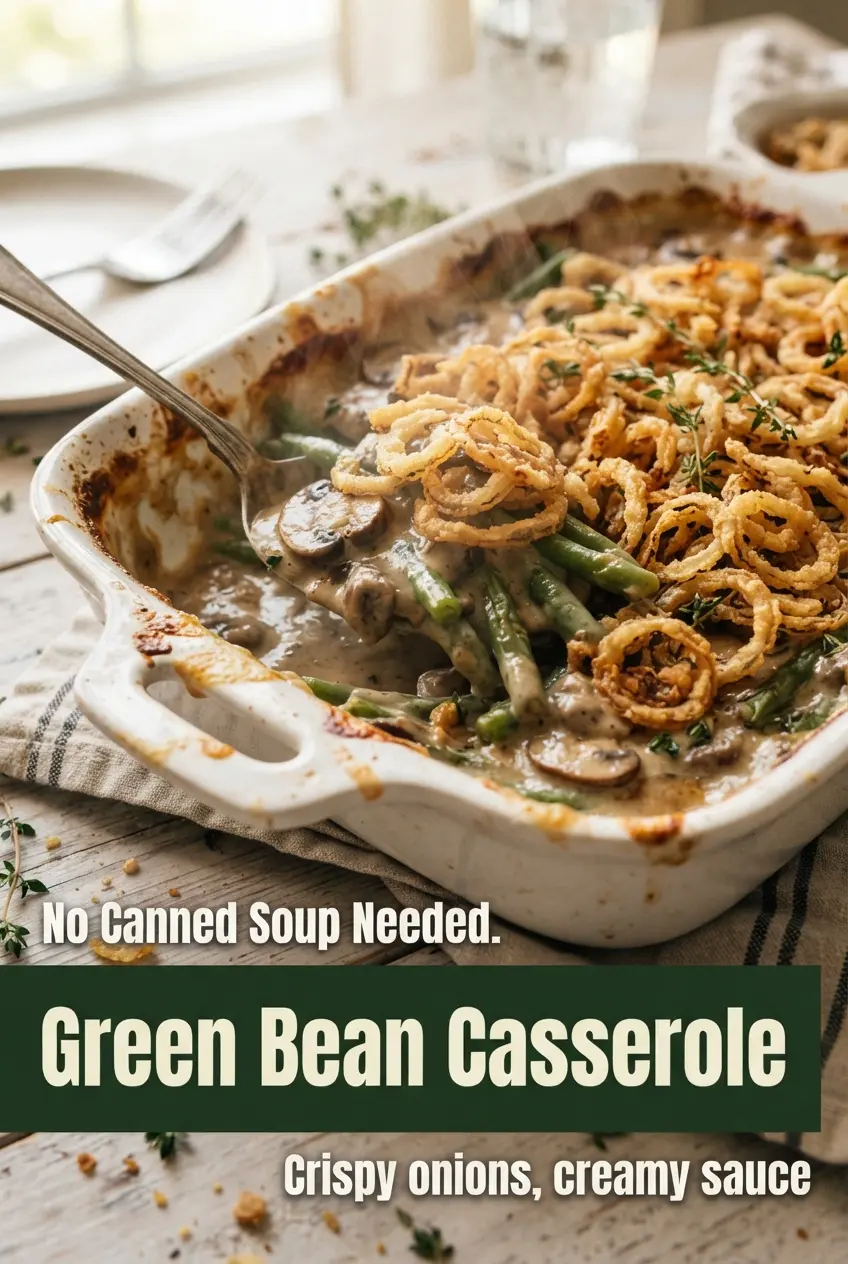
Homemade Green Bean Casserole with Crispy Fried Onions
Ingredients
Equipment
Method
- Preheat the oven to 375°F (190°C) and grease a 2-quart (11x7-inch) baking dish.
- Bring a large pot of water to a boil, add 1 tbsp kosher salt, and blanch the green beans for 4–5 minutes until bright green and crisp-tender.
- Drain the green beans and transfer them to a bowl of ice water to stop the cooking, then drain well and pat dry.
- Toss the onion rings with all-purpose flour, salt, and paprika until evenly coated.
- Heat the vegetable oil in a large skillet over medium-high heat and fry the onions in batches for 2–3 minutes per batch until golden and crispy.
- Transfer the fried onions to a paper towel-lined plate.
- Wipe out the skillet, melt the unsalted butter over medium heat, and cook the mushrooms for 5–6 minutes until browned and their liquid evaporates.
- Stir in the garlic and cook for 30 seconds.
- Sprinkle in the all-purpose flour and stir for 1 minute.
- Slowly whisk in the low-sodium chicken broth and half-and-half, then add dried thyme, salt, black pepper, and ground nutmeg.
- Simmer the sauce, stirring often, for 3–4 minutes until thick and creamy.
- Stir in the Parmesan until melted.
- Fold the green beans and half of the crispy fried onions into the sauce, then spread into the prepared baking dish.
- Bake for 20 minutes, until bubbling at the edges.
- Top with the remaining crispy fried onions and bake for 5 more minutes.
- Serve hot.