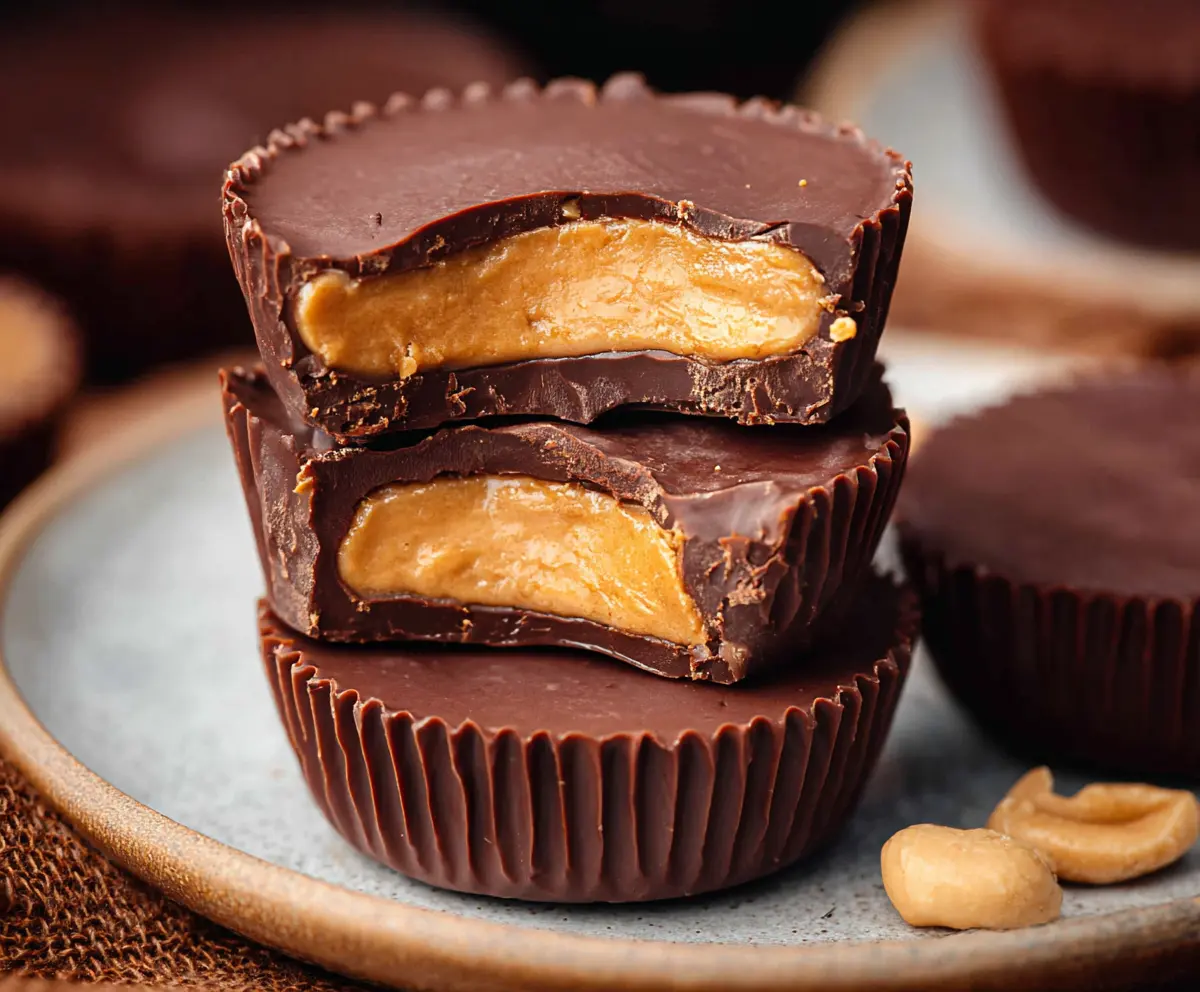
Homemade Peanut Butter Cups are a classic treat made with rich chocolate and creamy peanut butter. They’re the perfect mix of sweet and nutty, with a smooth, melty chocolate shell hugging a soft peanut butter center. If you love the classic candy but want a fresher, more personal touch, making these at home is so worth it.
I really enjoy making these because you can control how sweet or salty you want the filling to be. I sometimes add a sprinkle of sea salt on top to give that little pop of flavor that makes them even better. Plus, they don’t take long to put together and only need a few ingredients, which is always a win in my book.
My favorite way to enjoy homemade peanut butter cups is chilled, straight from the fridge, especially on a warm day when the chocolate is perfectly firm but still melts nicely in your mouth. They’re great to have on hand for a quick snack or to share with friends and family. I promise once you try making them yourself, you’ll wonder why you ever bought the store-bought kind!
Key Ingredients & Substitutions
Peanut Butter: Creamy peanut butter works best for a smooth filling. If you want a crunchier texture, try chunky peanut butter. For allergies, sunflower seed butter or almond butter can be tasty alternatives.
Powdered Sugar: This sweetens the filling and helps it firm up. You can replace it with powdered sugar substitutes like coconut sugar powder, but expect slight changes in sweetness.
Butter: Adds richness and smoothness. Unsalted is best so you control salt levels. If dairy-free, use a plant-based butter alternative.
Chocolate: Semi-sweet or dark chocolate chips give the best balance to the peanut flavor. Milk chocolate works too, for a sweeter, softer shell. For a dairy-free version, try dairy-free chocolate chips.
Coconut Oil or Vegetable Oil: Optional, but helps melt the chocolate smoothly and gives a shiny finish.
How Do I Get a Smooth Chocolate Shell Without Cracking?
Melting and setting the chocolate properly is key. Here’s what helps:
- Melt chocolate slowly in bursts in the microwave or over a double boiler, stirring often.
- Add a little coconut or vegetable oil to the chocolate for a smooth, glossy finish and easier spreading.
- Spread a thin chocolate base and chill it fully before adding the peanut butter layer to avoid mixing.
- Pour enough chocolate to cover the peanut butter completely, smoothing gently with the back of a spoon.
- Freeze or refrigerate the cups until fully set to keep the chocolate from cracking when you bite.
Equipment You’ll Need
- Muffin tin – holds the cupcake liners and shapes the peanut butter cups perfectly.
- Paper cupcake liners – make it easy to remove the cups and keep them neat.
- Microwave-safe bowl – great for melting chocolate quickly and evenly.
- Spoon – you’ll use it to spread chocolate layers and scoop the peanut butter filling.
- Mixing bowl – for stirring together the peanut butter filling smoothly.
Flavor Variations & Add-Ins
- Use almond or cashew butter instead of peanut butter for a different nutty flavor.
- Add a sprinkle of sea salt on top for a nice sweet-and-salty balance.
- Mix mini chocolate chips or crushed nuts into the peanut butter filling for extra texture.
- Try blending in a little honey or maple syrup to sweeten the filling naturally.
How to Make Homemade Peanut Butter Cups?
Ingredients You’ll Need:
- 1 cup creamy peanut butter (preferably unsweetened or lightly salted)
- ¼ cup powdered sugar (adjust to taste)
- ¼ cup unsalted butter, softened
- 1 ½ cups semi-sweet or dark chocolate chips
- 1 tablespoon coconut oil or vegetable oil (optional, for smoother chocolate)
- Pinch of salt (if peanut butter is unsalted)
How Much Time Will You Need?
This recipe takes about 15 minutes of active preparation and about 40 minutes total including chilling time. You’ll melt chocolate, mix the peanut butter filling, assemble the layers, and then wait for the chocolate to set in the freezer or refrigerator.
Step-by-Step Instructions:
1. Prepare the Muffin Tin:
Line a standard muffin tin with paper cupcake liners. This will help keep your peanut butter cups neat and make them easy to remove once set.
2. Make the Peanut Butter Filling:
In a mixing bowl, combine the creamy peanut butter, powdered sugar, softened unsalted butter, and a pinch of salt if your peanut butter isn’t salted. Mix until everything is well combined and smooth. Taste and adjust sweetness if you like.
3. Melt the Chocolate:
Place the chocolate chips and optional coconut or vegetable oil in a microwave-safe bowl. Melt in 20-30 second bursts, stirring each time, until the chocolate is fully melted and smooth.
4. Build the Peanut Butter Cups:
Spoon about 1 to 1.5 teaspoons of melted chocolate into the bottom of each cupcake liner. Use the back of a spoon to spread it into a thin, even layer. Freeze the tin for about 10 minutes until the chocolate base is firm.
5. Add the Peanut Butter Layer:
Remove the muffin tin from the freezer. Place a heaping teaspoon of the peanut butter filling onto the firm chocolate base in each cup. Spread it gently but keep it away from the edges to avoid mixing with the top chocolate layer.
6. Top with More Chocolate:
Carefully spoon melted chocolate over the peanut butter layer to cover it completely. Smooth the tops with the back of your spoon to get a nice even finish.
7. Chill Until Set:
Return the tin to the freezer or refrigerator for at least 30 minutes, or until the chocolate is completely set and firm.
8. Serve and Store:
Once firm, remove the peanut butter cups from their liners. Store them in an airtight container in the refrigerator for up to one week. Enjoy chilled for best texture and flavor!
Can I Use Natural Peanut Butter Instead of Creamy?
Yes, you can use natural peanut butter, but it may be a bit runnier and less sweet. You might need to add a little more powdered sugar to help firm up the filling.
Can I Make These Peanut Butter Cups Ahead of Time?
Definitely! You can prepare them a day or two in advance and store them in the refrigerator. Just keep them in an airtight container to maintain freshness and firmness.
How Should I Store Leftover Peanut Butter Cups?
Store leftovers in an airtight container in the fridge for up to one week. Let them sit at room temperature for a few minutes before eating for the best texture.
Can I Substitute Chocolate with a Different Type?
Yes! You can use milk chocolate, white chocolate, or even dairy-free chocolate chips depending on your preference. Just be sure to melt it gently to avoid burning.