
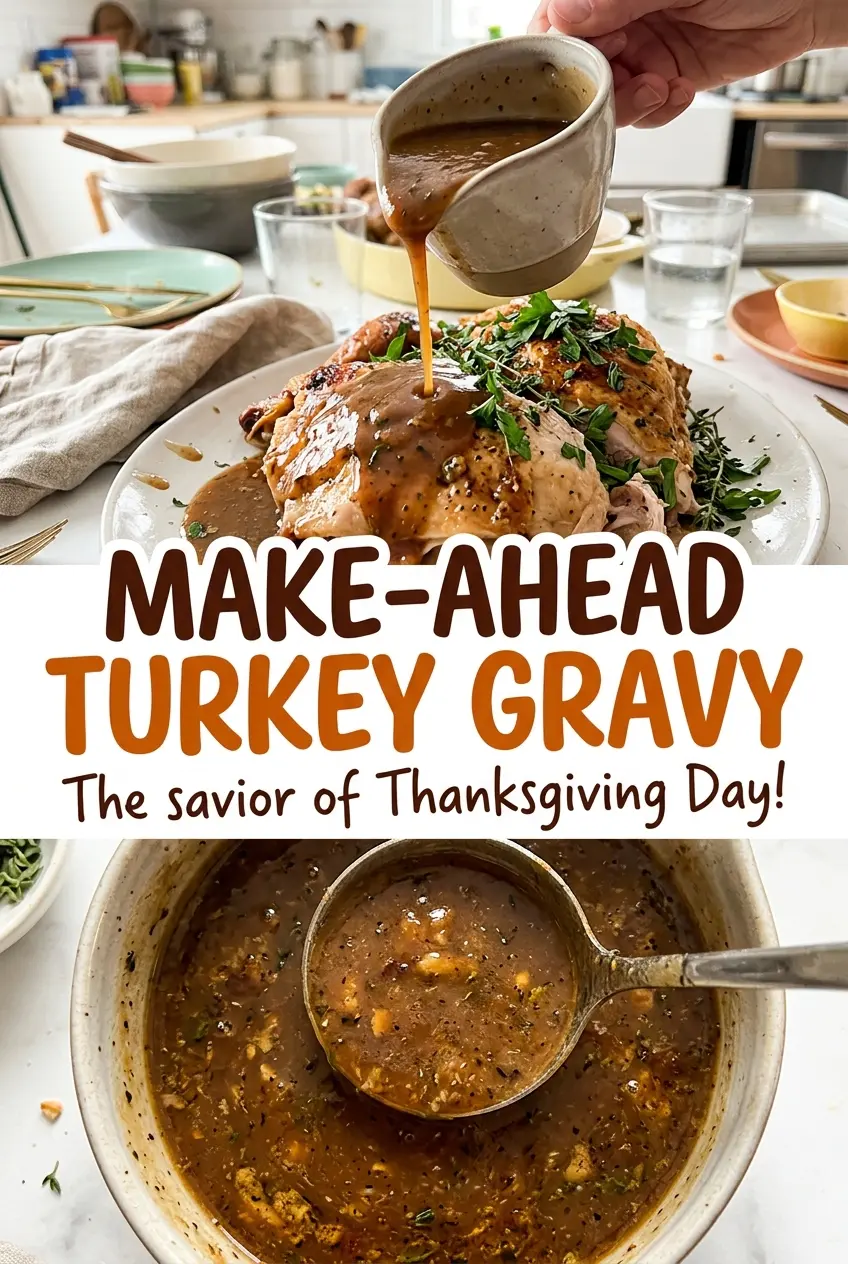
The wings come out of the oven with browned edges and little bits stuck to the pan, and that’s where the gravy’s deep turkey flavor begins. I used to think good gravy had to wait for the roasting pan on Thanksgiving Day; making the stock ahead means the saucepan can be on the stove before the turkey is even carved. This make-ahead turkey gravy serves eight and gets its body from a flour-and-butter roux, not a packet or a last-minute scramble.
Roasting the wings first gives the stock a richer base than simmering them straight in water. Then I simmer the stock uncovered until it measures exactly 4 cups, which concentrates the flavor and gives the gravy a dependable starting point. The work is mostly hands-off, but the small visual cues matter: browned wings, tender meat, and a smooth gravy that coats the whisk. The result is savory, smooth turkey gravy ready when you need it.
Kitchen Note
I keep the whisk moving for the full 2 minutes while the flour cooks with the butter. If you pause, flour can settle against the bottom of the saucepan, so stay with it and keep the roux moving.
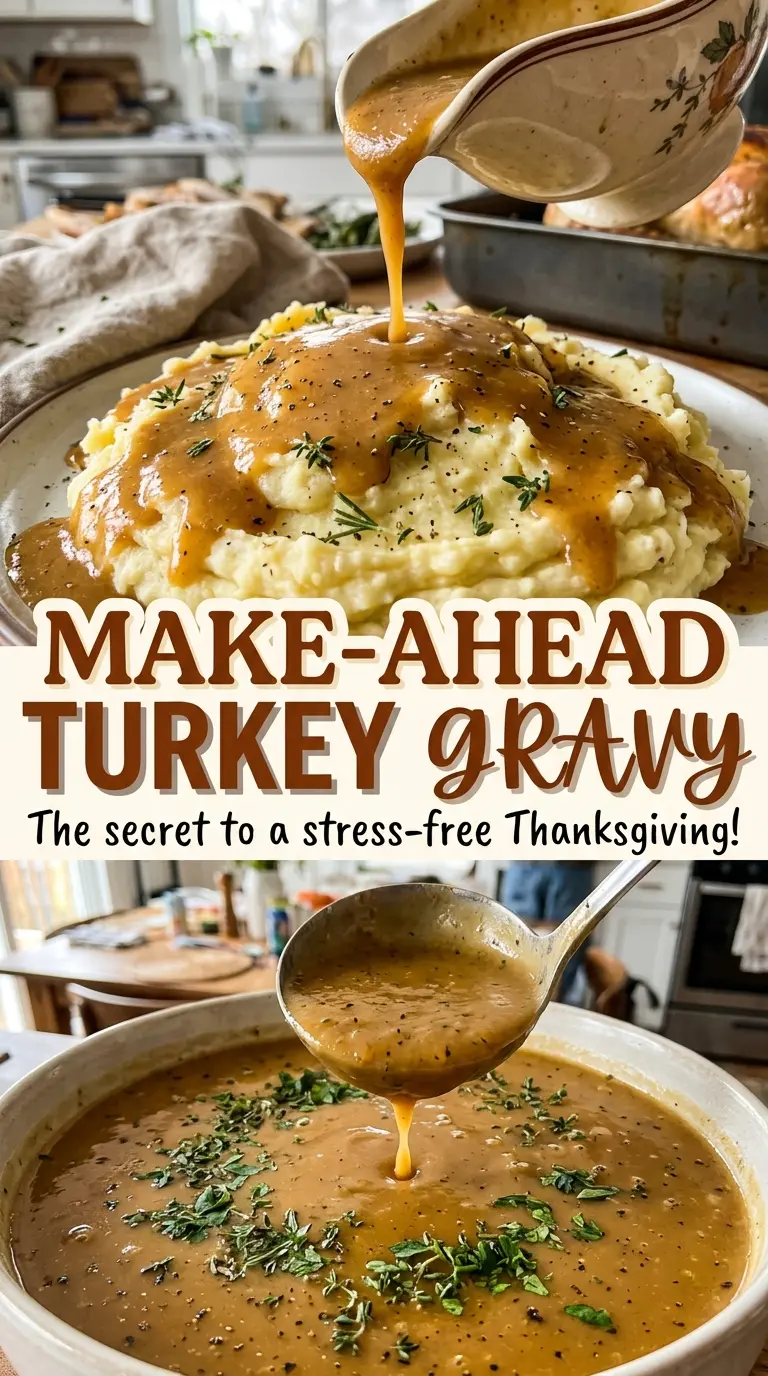
Save this make-ahead turkey gravy for a calmer holiday meal: roasted-wing stock gives it deep turkey flavor, and the gravy can be made before serving day.
Why the Stock Has to Reduce Before It Meets the Roux
The stock does more than bring turkey flavor to the saucepan; its concentration determines how the finished gravy tastes and how it thickens. Eight cups of water start the stock, but simmering it uncovered until it measures 4 cups concentrates the liquid before it’s added to the roux. If you stop while there’s much more stock in the pot, you’ll have a thinner, less concentrated base, and the flour-and-butter mixture won’t give you the same balance of body and turkey flavor.
That reduction is easier to judge by volume than by the clock. Pour the strained stock into a heatproof measuring container when you want to check it, then return it to the pot if it needs more time. The target is 4 cups, not a particular number of minutes. This also gives you a useful checkpoint: once the stock reaches that amount, the gravy stage has a consistent quantity of liquid to work with.
The browned wings help the stock taste like turkey rather than plain broth. Their roasted surfaces and the pan drippings go into the pot along with the vegetables and aromatics, so scrape those drippings in when transferring everything. The reduction brings that roasted flavor forward without needing to wait for a whole turkey to finish cooking.
What the Wings, Aromatics, and Roux Each Bring
- Turkey wings — The wings provide the roasted turkey base and enough meat and connective tissue to make a full-bodied stock. A standard grocery-store package is fine; the important prep detail is to arrange the wings in a single layer so they brown instead of crowding together.
- Onion, carrot, and celery — These vegetables round out the stock without taking it away from the turkey. A medium onion, a medium carrot, and one celery stalk are all the recipe needs; cut the carrot and celery into chunks so they’re easy to strain out after simmering.
- Bay leaves and whole peppercorns — Whole aromatics steep in the stock and come out with the solids. Whole peppercorns are useful here because they’re simple to remove when you strain the stock; ground pepper goes into the finished gravy later.
- Unsalted butter and all-purpose flour — Together they form the roux that thickens the gravy. Unsalted butter leaves the salt level easier to control, while all-purpose flour gives the gravy its familiar smooth, spoon-coating texture. Whisk the flour into melted butter before adding stock so it has a chance to cook evenly.
- Kosher salt and ground black pepper — These season the gravy after the stock and roux have come together. Add them at the end, when you can taste the finished base rather than trying to guess how concentrated the stock will be.
Build the Gravy in Four Stages, from Browned Wings to Smooth Sauce
Brown the Wings Until the Pan Drippings Are Deeply Colored
Heat the oven to 425°F and arrange the turkey wings in a single layer on an 18×13-inch rimmed baking sheet. Roast for 45–55 minutes, until the wings are well browned. Look for color across the skin and exposed edges, not just a little pale gold. If the wings are crowded, they won’t brown as evenly, so give them the space of the full sheet pan.
Simmer the Stock Until the Meat Is Tender
Transfer the wings and pan drippings to a 6-quart pot, then add the quartered onion, carrot, celery, bay leaves, peppercorns, and water. Bring the pot to a boil, reduce the heat, partially cover it, and simmer for 2 hours. The meat should be tender and reach at least 165°F. Keep the simmer gentle rather than letting the pot boil hard; a steady, quiet simmer is easier to manage for the full cooking time.
Strain, Then Reduce to the Measured Amount
Pour the stock through a strainer into a large heatproof bowl and discard the solids. Return the strained stock to the pot and simmer it uncovered until it measures 4 cups. This is the stage where patience pays off: don’t stop based only on how long it has been simmering. Use the measured volume as your cue so the gravy starts from the intended concentration.
Cook the Roux and Whisk in the Stock Gradually
Melt the butter in a 3-quart saucepan over medium heat, whisk in the flour, and cook for 2 minutes, whisking constantly. Gradually whisk in the 4 cups of turkey stock; adding it steadily helps the liquid blend into the roux rather than forming lumps. Simmer for 5–8 minutes, whisking often, until the gravy is smooth and thickened. Stir in the kosher salt and ground black pepper, then take the saucepan off the heat.
Two Small Changes That Shift the Flavor or Make Serving Easier
Lean Into a Deeper Roast
For a more pronounced roasted flavor, use the longer end of the wing-roasting window, stopping when the wings are well browned. That brings a darker note to the stock without adding anything to the ingredient list. Keep an eye on the pan rather than extending the roasting time beyond the stated range.
Freeze Smaller Gravy Portions
If you don’t need all eight servings at once, divide the gravy among smaller shallow containers before freezing. You’ll be able to thaw only what you plan to use, while keeping the same turkey-wing stock and smooth roux-thickened texture.
Storage and Reheating
- Refrigerator: Transfer the gravy to shallow containers and refrigerate within 2 hours. Keep it for up to 3 days; it will firm up as it chills.
- Freezer: Freeze for up to 3 months. Thaw frozen gravy overnight in the refrigerator before reheating.
- Reheating: Warm it in a saucepan over medium heat for 5–8 minutes, whisking often, until it reaches 165°F. Don’t leave it unwhisked on high heat, where the bottom can heat faster than the rest.
Questions That Come Up When Making Turkey Gravy Ahead
Make-Ahead Turkey Gravy
Ingredients
Equipment
Method
- Heat the oven to 425°F.
- Arrange the turkey wings in a single layer on an 18x13-inch rimmed baking sheet.
- Roast for 45–55 minutes, until well browned.
- Transfer the wings and pan drippings to a 6-quart pot.
- Add the onion, carrot, celery, bay leaves, peppercorns, and water.
- Bring to a boil.
- Reduce the heat, partially cover, and simmer for 2 hours, until the meat is tender and reaches at least 165°F.
- Strain the stock into a large heatproof bowl and discard the solids.
- Return the stock to the pot.
- Simmer uncovered until it measures 4 cups.
- Melt the butter in a 3-quart saucepan over medium heat.
- Whisk in the flour and cook for 2 minutes, whisking constantly.
- Gradually whisk in the 4 cups turkey stock.
- Simmer for 5–8 minutes, whisking often, until smooth and thickened.
- Stir in the salt and pepper.
- Transfer the gravy to shallow containers.
- Refrigerate within 2 hours for up to 3 days, or freeze for up to 3 months.
- Thaw frozen gravy overnight in the refrigerator.
- To serve, reheat the gravy in a saucepan over medium heat for 5–8 minutes, whisking often, until it reaches 165°F.