
Ground beef releases a little liquid before it gets a chance to brown, and that’s where a slow cooker chili can lose some of its savory depth. I cook the beef and diced onion together in a skillet first, then drain the excess fat before the taco seasoning goes in. That quick start gives this slow cooker taco chili with ground beef a more rounded flavor than tossing everything in uncooked.
The balance of canned tomatoes, tomato sauce, and beef broth gives the chili enough liquid to bubble slowly without turning soupy. Beans and frozen corn go straight into the slow cooker, so there’s no extra prep once the skillet is done. After a few hours, the beef and beans are coated in a tomato-rich broth with a gentle kick from the green chiles.
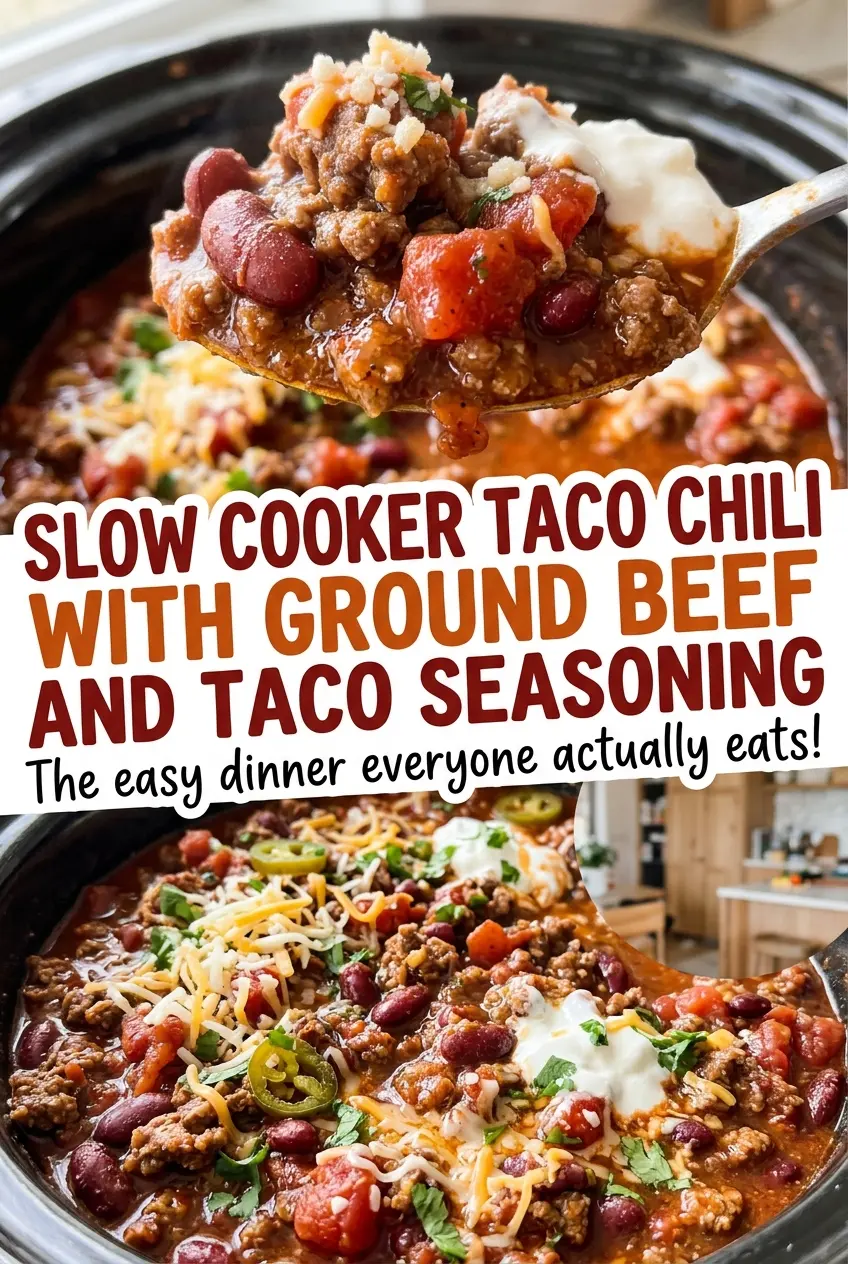
Let the finished chili stand for a few minutes before ladling it. The bubbling settles, and each scoop holds its beans, beef, and corn together in a hearty spoonful.
Kitchen Note
Give the chili its full 10-minute rest after you turn off the slow cooker. It’s still bubbling when the heat goes off, and that short pause makes it calmer and easier to ladle.
Save this slow cooker taco chili for an easy, hearty meal with seasoned ground beef, two kinds of beans, and sweet corn.
Why This Slow Cooker Chili Starts in a Skillet
A slow cooker is good at holding steady heat, but it won’t brown ground beef. Starting the beef and onion in a skillet gives the meat a chance to develop savory browned bits before it meets the tomatoes and broth. That bit of browning makes a noticeable difference in a chili where the seasoning and beef carry most of the flavor.
Draining the excess fat matters for a second reason: the slow cooker is covered, so very little liquid evaporates while the chili cooks. Fat left behind can collect on the surface, while extra liquid can leave the finished chili loose. The measured broth, tomato juices, and tomato sauce provide the liquid the beans and beef need; there’s no need to add more at the beginning.
Use a skillet large enough to spread the beef and onion across the surface rather than crowding them into a mound. Break the meat apart as it cooks, then drain away only the excess fat before stirring in the seasoning. That keeps the chili’s base savory instead of greasy.
What the Beef, Beans, and Tomatoes Each Bring
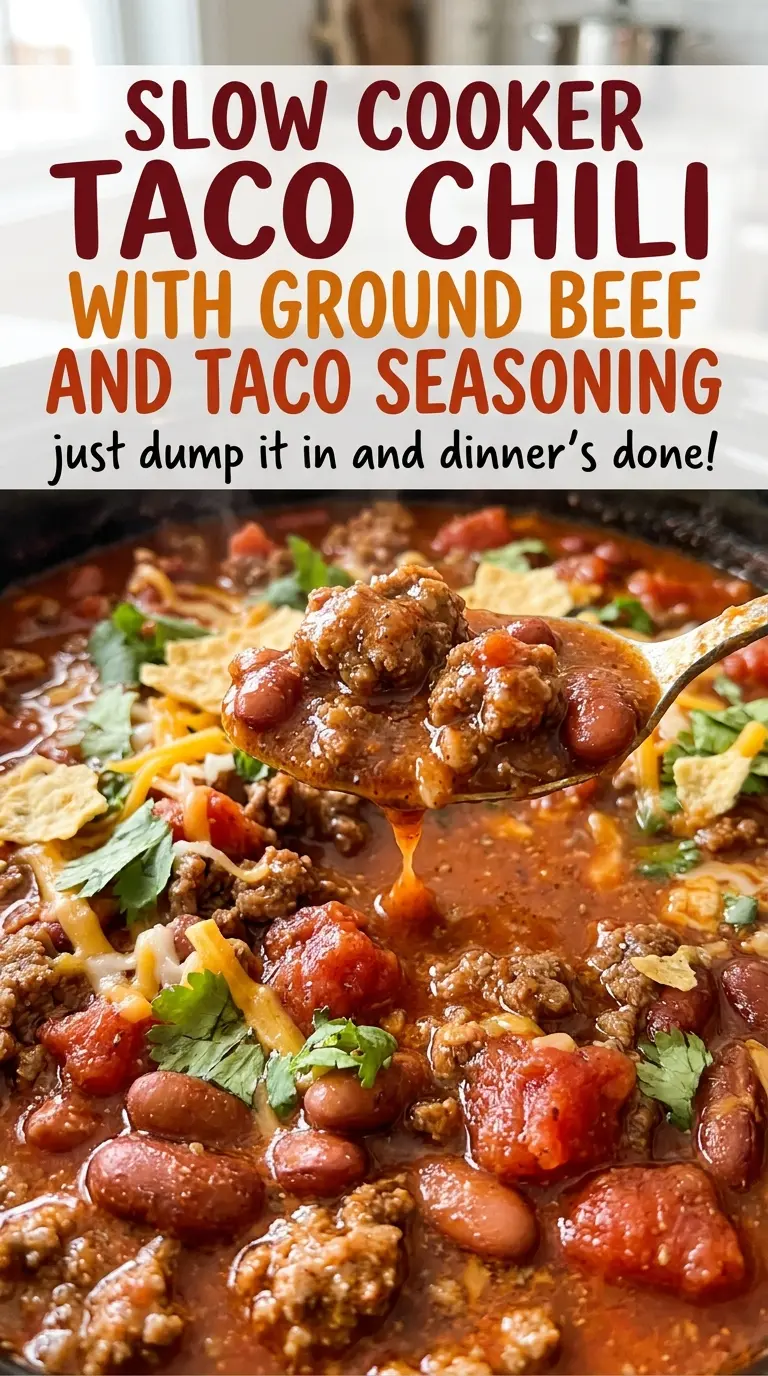
- Ground beef — The 85% lean beef has enough fat to brown well and give the chili a full, meaty base. There’s no need to buy premium beef here; the skillet step builds plenty of flavor, and draining takes care of the excess fat.
- Yellow onion — Diced onion softens alongside the beef and brings sweetness to the base. White onion works in the same way if that’s what you have; dice it to a similar size so it softens at the same pace.
- Taco seasoning — The packet gives the chili its familiar blend of spices and salt in one step. Different brands vary in saltiness and heat, so the exact packet you use will shape the final seasoning.
- Kidney and black beans — The two beans give the chili a mix of firm, creamy textures. Canned beans are a practical choice here; draining and rinsing them removes the packing liquid so it doesn’t cloud the chili.
- Diced tomatoes and tomato sauce — The diced tomatoes bring pieces of tomato and their juices, while tomato sauce fills in the gaps and gives the broth a smoother body. Choose a can of tomatoes with juices rather than draining it.
- Diced green chiles — These add a mild chile note without turning the whole pot into a hot chili. They’re ready to use right from the can, including their liquid.
- Low-sodium beef broth — Beef broth adds a savory backbone without competing with the taco seasoning. Low-sodium broth gives you more control over the salt, since the seasoning packet and canned ingredients also contribute.
- Frozen corn — Frozen kernels can go in straight from the freezer, with no thawing step. They add little pops of sweetness that balance the tomato and seasoning.
Build the Chili in Four Steady Stages
Brown the Beef and Soften the Onion
Heat the neutral oil in a 12-inch skillet over medium-high heat, then add the ground beef and diced onion. Break the beef into small pieces as it cooks so it browns evenly instead of staying in large clumps. Cook until the beef reaches 160°F and the onion has softened, about 8 minutes. Drain the excess fat before moving on; leaving a pool in the skillet can make the finished chili greasy.
Coat the Meat Before It Goes Into the Cooker
Stir the taco seasoning into the skillet until the meat is evenly coated. This lets the seasoning cling to the beef rather than settling in one spot among the beans. Transfer the mixture to a 6-quart slow cooker. Add the kidney beans, black beans, diced tomatoes with their juices, tomato sauce, green chiles, beef broth, and frozen corn, then stir to combine.
Let the Slow Cooker Bring It to a Bubble
Cover the slow cooker and cook on LOW for 6 to 8 hours or HIGH for 3 to 4 hours. The finished chili should be bubbling throughout, not just warm around the edges. Keep the lid on while it cooks; lifting it lets heat escape and can slow the cooking. If your slow cooker runs hot or cool, the bubbling cue is more useful than relying on the earliest time alone.
Let the Bubbles Settle Before Serving
Turn off the slow cooker and leave the chili to stand for 10 minutes before serving. It will still be hot, but the surface will settle rather than surging as you scoop. Give it a gentle stir before ladling if the beans and corn have gathered unevenly. The chili should look thick enough to coat a spoon, with broth still visible between the beans.
Simple Changes for Different Tables
Use Pinto Beans in Place of Kidney Beans
Swap the kidney beans for a 15-ounce can of pinto beans, drained and rinsed. Pinto beans are softer and creamier, so the chili will have a less firm bite while keeping the black beans for contrast.
Make It Gluten-Free with the Seasoning Swap
Use an equal-size, 1-ounce gluten-free taco-seasoning packet in place of the standard packet. The chili keeps the same seasoned beef-and-bean character; the spice level and saltiness still depend on the brand you choose.
Reduce the Corn and Beans for a Lower-Carb Bowl
Leave out the corn and black beans while keeping the beef and kidney beans. The result is less sweet and less filling, with fewer carbohydrate-rich ingredients in each bowl.
Storage and Reheating
- Refrigerator: Store in a covered container for 3 to 4 days. The beans will soften a little more as the chili sits.
- Freezer: Freeze in airtight portions for up to 2 to 3 months. Thaw in the refrigerator before reheating for the most even texture.
- Reheating: Warm on the stovetop over medium-low heat, stirring occasionally, or microwave in a covered, microwave-safe bowl, stirring partway through. Heat leftovers to 165°F; avoid boiling them hard, which can break down the beans.
Questions That Come Up with Slow Cooker Taco Chili
Slow Cooker Taco Chili with Ground Beef and Taco Seasoning
Ingredients
Equipment
Method
- Heat the oil in a 12-inch skillet over medium-high heat.
- Add the ground beef and onion and cook, breaking up the beef, until the beef reaches 160°F and the onion is softened, about 8 minutes.
- Drain excess fat.
- Stir the taco seasoning into the skillet until the meat is evenly coated.
- Transfer the mixture to a 6-quart slow cooker.
- Stir in the kidney beans, black beans, diced tomatoes, tomato sauce, green chiles, beef broth, and corn.
- Cover and cook on LOW for 6 to 8 hours or HIGH for 3 to 4 hours, until the chili is bubbling throughout.
- Turn off the slow cooker and let the chili stand for 10 minutes before serving.