
The pan can look full of turkey juices until the fat rises to the top and you realize those two parts need different jobs in the gravy. I strain and separate the drippings first, then measure the juices and fat instead of guessing from what’s left in the roasting pan. That small bit of measuring gives this turkey gravy from drippings a smooth texture and a proper turkey flavor without making it greasy.
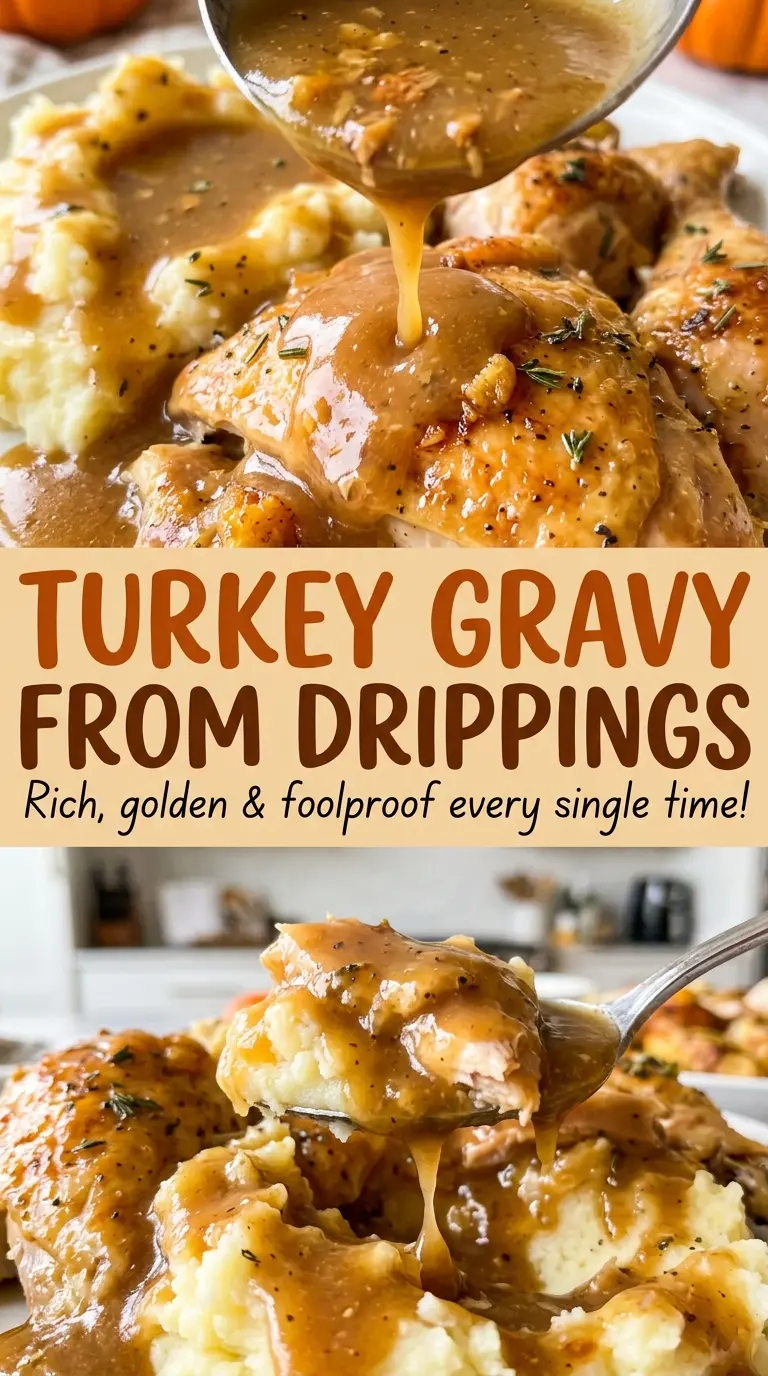
The balance is straightforward: flour and fat make the roux, while the juices and low-sodium turkey broth become the liquid. I use butter only to make up any shortfall in the turkey fat, so nothing from the pan goes to waste. After a gentle simmer, the gravy should coat a spoon and pour in a soft ribbon over sliced turkey.

Kitchen Note
Give the strained drippings the full five minutes in the fat separator. Rushing that pause makes it harder to pour off the juices cleanly and measure the fat accurately.
Save this turkey gravy from drippings for a silky, spoon-coating gravy that makes good use of the pan juices.
Why Turkey Gravy Needs a Measured Fat Balance
Pan drippings aren’t uniform. One roast leaves plenty of fat, another leaves only a thin layer, and the amount of juice can vary too. If you build the roux from whatever happens to be in the pan, you can end up with a gravy that feels oily or one that’s too thick to pour. Separating and measuring the fat lets you adjust for those differences before anything reaches the saucepan.
Here, the flour and total fat are each measured to the same volume, while the juices and broth are brought to a measured total as well. That balance gives the roux enough fat to cook smoothly and gives the gravy enough liquid to loosen it into a sauce. Butter fills in only what the turkey fat doesn’t provide, rather than adding an unmeasured extra spoonful. The payoff is control: you can use the flavor in the pan without letting the changing amount of drippings decide the texture.
Keep the fat and liquid in separate measures while you work. Once the roux is ready, the liquid goes in gradually, and the mixture has a chance to turn smooth before it reaches a simmer. It’s a small, deliberate sequence, but it takes the guesswork out of gravy.
What the Drippings, Broth, and Roux Each Bring
- Pan drippings — They carry the roasted turkey flavor, but they also contain fat and browned particles that need separating. Straining before measuring keeps solids out of the finished gravy. There’s no need to buy special drippings; the juices from your turkey are the point of this version.
- Low-sodium turkey broth — It brings the total liquid to the right level without crowding out the roasted flavor. Low-sodium broth is especially useful because pan drippings can already be seasoned. A regular, high-salt broth makes it harder to control the final seasoning.
- Turkey fat and unsalted butter — The turkey fat carries the flavor of the roast into the roux. Butter is the built-in backup when the pan doesn’t yield enough fat, and unsalted butter leaves you in charge of the seasoning. Measure the combined fat rather than relying on the amount in the separator.
- All-purpose flour — Flour thickens the liquid as the roux simmers and gives the gravy its familiar, soft body. It’s worth using the all-purpose flour specified here; a different thickener won’t behave the same way when cooked in fat. A standard bag from the pantry works well.
- Black pepper and kosher salt — The pepper adds a gentle savory warmth, and the salt is added at the end so you can account for the seasoning already present in the drippings. Taste before adding salt, particularly if the turkey was heavily seasoned.
From Separated Drippings to Smooth, Spoon-Coating Gravy
Strain and Separate the Pan Juices
Pour the drippings through a fine-mesh strainer into a fat separator, then let them stand for five minutes. The fat will rise above the darker juices, making it easier to keep the two measures distinct. Pour the juices into a measuring cup once they’ve separated. Leaving the solids behind gives the gravy a smooth finish.
Measure the Liquid and Roux Fat
Add enough low-sodium turkey broth to the juices to bring the total liquid to four cups. Measure the turkey fat separately, then add unsalted butter as needed to bring the total fat to one-third cup. Keep those measures ready before heating the saucepan, since the roux comes together quickly once the fat is warm. This is where measuring beats estimating.
Cook a Lightly Golden Roux
Heat the measured fat in a 3-quart saucepan over medium heat. Whisk in the flour and keep whisking constantly for two to three minutes, until the mixture is smooth and lightly golden. It should look cohesive rather than powdery, with no dry flour visible. Don’t walk away during this short cook; constant whisking helps the roux cook evenly.
Simmer Until the Gravy Coats a Spoon
Gradually whisk the measured liquid into the roux so it blends in instead of forming floury pockets. Bring it to a gentle simmer over medium-high heat, then reduce the heat to medium-low and simmer for five to eight minutes, whisking often. The gravy is ready when it coats the back of a spoon. Season with kosher salt to taste and the black pepper.
Two Useful Ways to Adjust This Turkey Gravy
Dairy-free, when the turkey renders enough fat
If your separated drippings give you the full amount of fat needed, use turkey fat alone and leave out the butter. The result stays rich and turkey-forward without dairy. If you don’t have enough turkey fat, this version won’t provide the measured fat needed for the roux; use butter to make up the difference instead.
A milder drippings flavor
When the pan juices taste especially concentrated, use a smaller share of them and let low-sodium turkey broth make up more of the measured liquid. Keep the total liquid at four cups. You’ll get a gentler roasted flavor while keeping the same smooth texture.
Storage and Reheating
- Refrigerator: Store in an airtight container for 3 to 4 days. The gravy will thicken as it chills.
- Freezer: Freeze in an airtight container for up to 3 months; thaw it in the refrigerator before reheating. The texture may look a little separated when cold.
- Reheating: Warm it gently in a saucepan over low heat, whisking until smooth and steaming throughout. Avoid a hard boil, which can make the gravy reduce too much.
Questions That Come Up While Making Turkey Gravy
Turkey Gravy from Drippings
Ingredients
Equipment
Method
- Pour the pan drippings through a fine-mesh strainer into a fat separator.
- Let stand for 5 minutes.
- Pour the juices into a measuring cup.
- Add enough low-sodium turkey broth to the juices to make 4 cups total liquid.
- Measure the turkey fat and add unsalted butter as needed to make 1/3 cup total fat.
- Heat the turkey fat and butter in a 3-quart saucepan over medium heat.
- Whisk in the all-purpose flour and cook for 2 to 3 minutes, whisking constantly, until smooth and lightly golden.
- Gradually whisk in the liquid.
- Bring to a gentle simmer over medium-high heat.
- Reduce the heat to medium-low and simmer for 5 to 8 minutes, whisking often, until the gravy coats the back of a spoon.
- Season with kosher salt to taste and the ground black pepper.