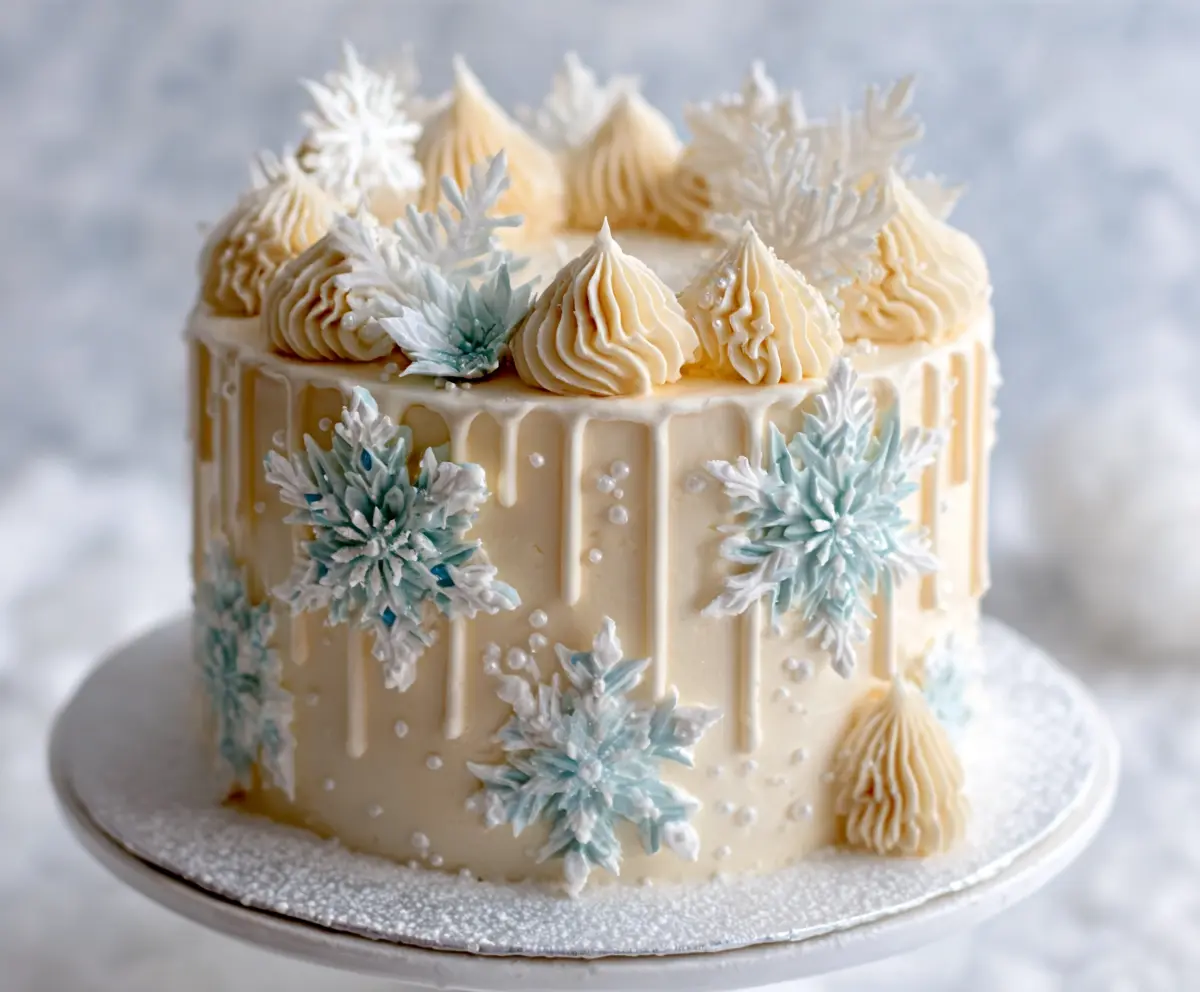
Winter Vanilla Snowflake Cake is a charming treat that feels like a little celebration on your plate. It’s a soft, moist vanilla cake layered and topped with fluffy white frosting, delicately decorated with snowflake designs that bring a touch of winter magic to any table.
I love making this cake when the days get chilly because it feels cozy and bright all at once. The vanilla flavor is simple and comforting, and the snowflake decorations remind me of fresh snow gently falling outside. It’s one of those cakes that makes me smile, whether I’m baking it with friends or sharing it with family.
My favorite way to serve this cake is with a warm cup of tea or hot cocoa. It’s perfect for holiday gatherings or just a special weekend dessert to enjoy while wrapped up in a cozy sweater. If you want an extra touch, try adding a few crunchy sugar pearls or a sprinkle of edible glitter to make those snowflakes shine even more!
Key Ingredients & Substitutions
Flour: All-purpose flour works great for structure. If you want a lighter cake, try cake flour instead for a softer crumb.
Butter & Sour Cream: Butter adds richness and flavor, while sour cream keeps the cake moist and tender. You can swap sour cream for plain yogurt if needed.
Vanilla Extract: Pure vanilla extract gives the cake its classic warm flavor. If you have vanilla bean paste, that works wonderfully too for extra aroma.
Milk: Whole milk adds creaminess, but you can use any milk type you have on hand, like almond or oat, for a dairy-free option.
Powdered Sugar & Butter for Frosting: Use unsalted butter and sifted powdered sugar to get smooth frosting. For dairy-free, swap butter with a plant-based alternative and use non-dairy milk.
Royal Icing Decorations: You can make royal icing snowflakes ahead and let them dry, or buy pre-made edible snowflakes for ease. Silver dragees add a pretty sparkle but skip if kids will eat or if allergies are a concern.
How Can I Make Smooth Buttercream and Perfect Snowflake Decorations?
Making smooth buttercream and beautiful snowflakes takes a little care but is totally doable!
- Beat butter first, before adding sugar. Beat on medium speed for at least 2 minutes until creamy.
- Add powdered sugar gradually to avoid dust clouds and ensure full mixing.
- Add milk or cream slowly to reach the right spreading texture. More liquid makes frosting softer.
- For snowflakes, pipe royal icing onto parchment paper using a fine tip. Let them dry completely—overnight if possible—before moving or placing on the cake.
- Attach snowflakes gently onto buttercream peaks or side walls using a small dab of frosting as glue.
- Chill the cake after crumb coat to make frosting easier to smooth on the final layer without crumbs mixing in.
Patience here pays off with a clean, stunning winter look that feels just like fresh snowflakes!
Equipment You’ll Need
- Three 8-inch round cake pans – perfect size for even layers and easy stacking.
- Electric mixer – makes creaming butter and beating frosting smooth and simple.
- Mixing bowls – a few for separating dry and wet ingredients keeps things organized.
- Rubber spatula – great for folding batter gently and scraping bowls clean.
- Piping bags and tips – essential for creating the pretty frosting dollops and snowflake details.
- Offset spatula – helps spread frosting evenly for a smooth cake finish.
- Wire cooling racks – allow cake layers to cool quickly and evenly without getting soggy.
Flavor Variations & Add-Ins
- Swap vanilla extract for almond extract to give the cake a nutty twist that pairs well with winter spices.
- Add a little lemon zest to the batter for a fresh brightness that balances the sweet frosting.
- Include finely chopped toasted pecans or walnuts in the batter for added crunch and warmth.
- Try a cream cheese frosting instead of buttercream for tangier richness that complements the vanilla perfectly.
Winter Vanilla Snowflake Cake
Ingredients You’ll Need:
For the Cake:
- 3 cups all-purpose flour
- 2 ½ tsp baking powder
- ½ tsp baking soda
- ½ tsp salt
- 1 cup unsalted butter, softened
- 1 ¾ cups granulated sugar
- 4 large eggs
- 1 tbsp vanilla extract
- 1 cup whole milk
- ½ cup sour cream
For the Vanilla Buttercream Frosting:
- 1 ½ cups unsalted butter, softened
- 6 cups powdered sugar, sifted
- 2 tsp vanilla extract
- 4–6 tbsp whole milk or heavy cream
- Pinch of salt
For Decorations:
- White and pale blue royal icing for snowflakes (or pre-made snowflake decorations)
- Edible silver dragees or silver sugar pearls
- Edible glitter (optional)
How Much Time Will You Need?
You’ll spend about 20 minutes prepping, 25-30 minutes baking, and around 20-30 minutes assembling and decorating. Including cooling and chilling time, expect roughly 2 to 2 ½ hours before this beautiful cake is ready to wow everyone!
Step-by-Step Instructions:
1. Prepare the Cake:
Start by preheating the oven to 350°F (175°C). Grease and flour three 8-inch round cake pans. In a medium bowl, whisk together the flour, baking powder, baking soda, and salt. In a large bowl, cream the softened butter and sugar together until light and fluffy, about 3-5 minutes. Add eggs one by one, mixing well after each, then stir in vanilla extract. Alternately add the dry ingredients and milk in three parts, beginning and ending with dry ingredients. Fold in sour cream gently. Divide the batter evenly into the pans and smooth the tops. Bake for 25-30 minutes or until a toothpick comes out clean. Let cakes cool in pans for 10 minutes, then remove them to a wire rack to cool completely.
2. Make the Vanilla Buttercream Frosting:
In a large bowl, beat softened butter until creamy, about 2 minutes. Gradually add sifted powdered sugar while mixing slowly. Add vanilla extract and a pinch of salt. Add milk or cream, one tablespoon at a time, until the frosting is smooth and spreadable. Beat on high speed for about 3 minutes until light and fluffy.
3. Assemble the Cake:
Place one cooled cake layer on your serving plate or board. Spread a generous, even layer of buttercream on top. Repeat with the second and third layers. Apply a thin crumb coat of frosting around the whole cake; chill it for 15-30 minutes to set. Then, finish frosting the cake with a smooth, even layer of buttercream.
4. Decorate the Cake:
Use white and pale blue royal icing or edible paint to pipe or paint snowflake designs on the cake’s sides. Pipe vanilla buttercream swirls or star-shaped dollops evenly around the top. Place edible snowflake decorations atop each frosting peak. Add edible silver dragees or sugar pearls around the peaks and snowflakes for sparkle. Optionally, dust the cake lightly with edible glitter for a magical winter shimmer.
5. Serve and Enjoy:
Store your finished cake in the refrigerator until serving time. For best flavor and texture, let it sit at room temperature for 20-30 minutes before slicing and serving. Enjoy your lovely Winter Vanilla Snowflake Cake with friends and family!
Can I Use Frozen Cake Layers for This Recipe?
Yes! If you’re short on time, you can bake the layers ahead and freeze them. Wrap each cooled cake layer tightly in plastic wrap and foil, then freeze. When ready to assemble, thaw in the fridge overnight and bring to room temperature before frosting.
Can I Substitute Greek Yogurt for Sour Cream?
Absolutely! Greek yogurt is a great substitute for sour cream and will keep the cake moist. Use the same amount (½ cup) and fold it in gently as directed.
How Should I Store Leftover Cake?
Store leftovers in an airtight container in the refrigerator for up to 3 days. Before serving, let the cake warm for about 20-30 minutes at room temperature to soften the frosting and enhance flavors.
Can I Make This Cake Dairy-Free?
Yes! Replace butter with a plant-based margarine and use non-dairy milk (like almond or oat). For the frosting, use dairy-free butter and non-dairy milk to maintain that creamy texture.