
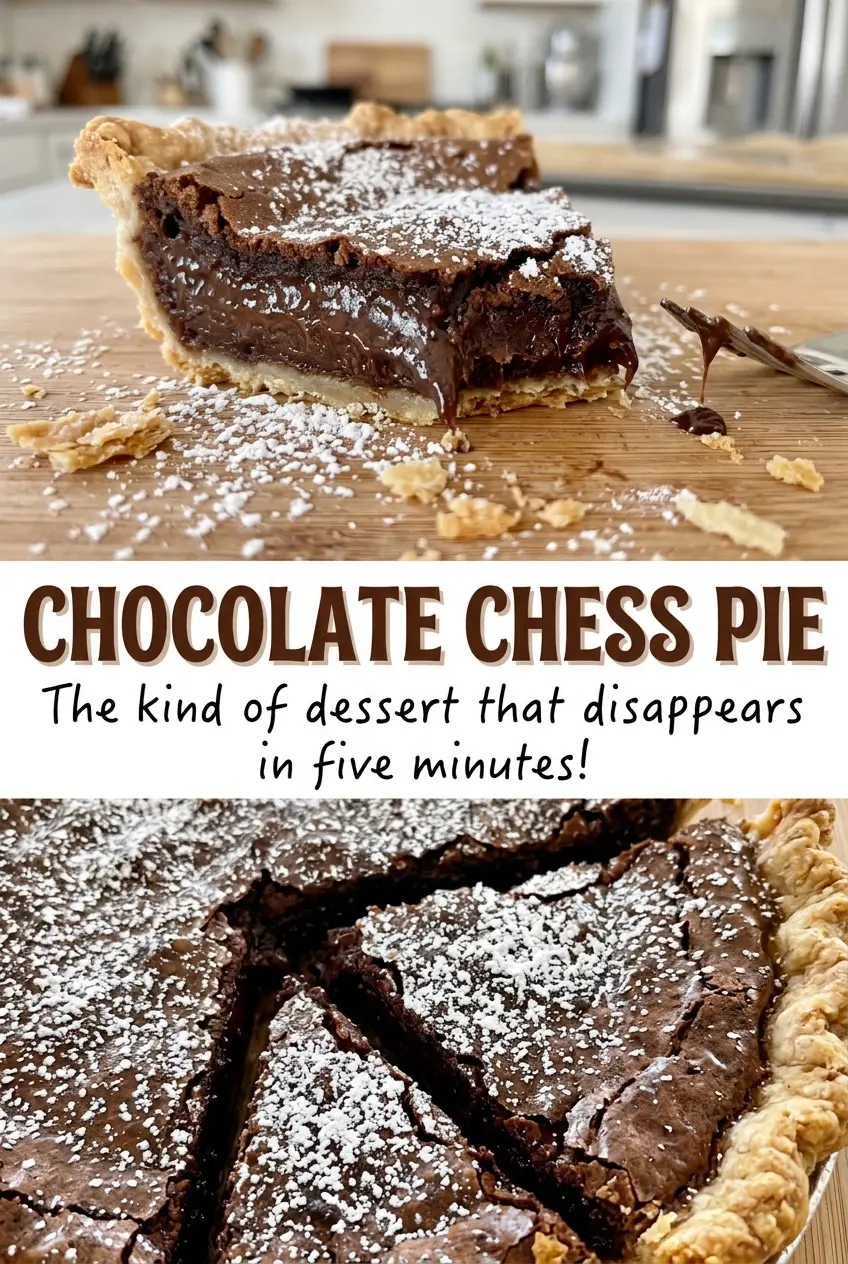
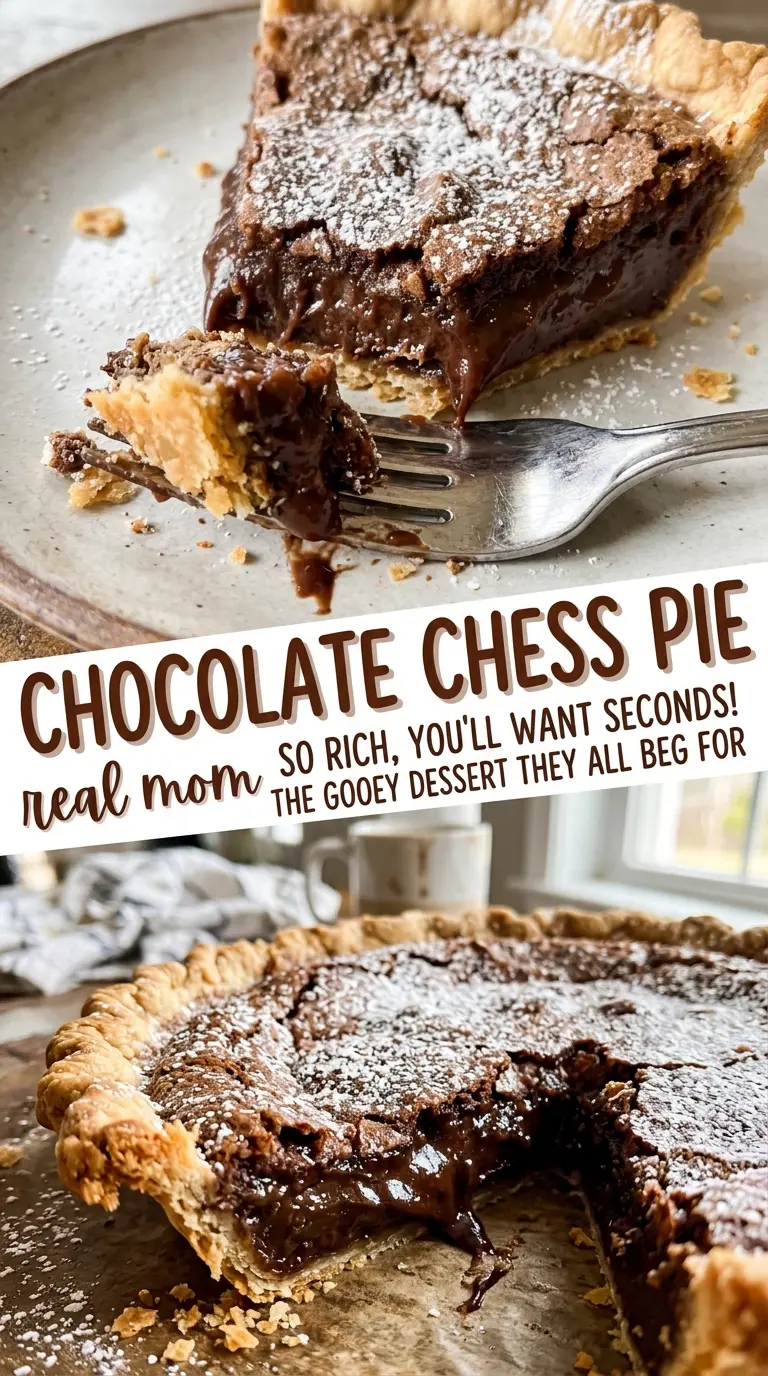
The pie is still warm when I check it: the edges look settled, but the middle gives a small wobble when I nudge the plate. That’s the point I want for Chocolate Chess Pie, not a center that looks completely firm in the oven. It finishes setting as it cools, and waiting for the whole surface to look rigid can leave the filling overbaked.
This pie starts with a refrigerated 9-inch crust and a cocoa filling whisked together in one bowl. Cornmeal and a little flour help the filling set, while evaporated milk keeps it rich without making it heavy. I bake it until the edges are set and the center barely moves, then give it the full cooling time before slicing. The result is a deep chocolate pie with a tender, sliceable center that serves eight.
Kitchen Note
Let the melted butter cool until it’s lukewarm before it goes into the sugar and cocoa. Butter that’s still hot can start cooking the eggs when they’re added, so I give it a few minutes to lose that heat first.
Save this Chocolate Chess Pie for a bake when you want a simple cocoa filling and a tender, sliceable center.
Why Chocolate Chess Pie Should Still Jiggle When It Leaves the Oven
A chocolate pie filling can look unfinished right when it’s actually ready to come out. The edges should be set, while the center still gives a slight jiggle; waiting until the middle is completely firm risks taking the bake too far. That small movement isn’t the same as a liquid wave across the surface. It should be a restrained wobble in the center, with the outer ring holding its shape.
I use the visual cue and the thermometer together because either one alone can be misleading. The center should reach at least 160°F, and the pie still needs its full rest on a wire rack to cool completely. As it cools, the filling becomes firm enough to cut into neat wedges. Slicing while it’s warm interrupts that setting time, so resist the first tempting cut and let the pie finish cooling.
Why Cornmeal Belongs in This Chocolate Filling
- Unbaked 9-inch pie crust — A refrigerated crust keeps the prep uncomplicated and gives the filling a ready-made shell. A store-brand crust works well here; the important detail is using an unbaked crust that fits a 9-inch pie plate. A homemade unbaked crust of the same size is a straightforward alternative.
- Granulated sugar — It sweetens the cocoa and contributes to the filling’s set. Regular granulated sugar is the right choice; swapping in a liquid sweetener changes both the sweetness and the amount of moisture, so it isn’t a direct replacement.
- Unsweetened cocoa powder — Cocoa supplies the chocolate flavor without bringing extra sugar into the filling. A standard grocery-store cocoa works; choose one you enjoy the taste of, since its flavor comes through clearly in a pie with no melted chocolate to soften it.
- Flour and cornmeal — These small additions help the egg-based filling set and give it the familiar chess-pie texture. The cornmeal isn’t interchangeable with more flour; leaving it out changes the character of the filling. For a gluten-free adaptation, use a gluten-free 1:1 baking flour for the flour and gluten-free cornmeal.
- Unsalted butter — Melted butter brings richness and helps the cocoa mixture whisk together smoothly. Ordinary unsalted butter is fine; there’s no need for a specialty brand. If salted butter is what you have, use it and leave out the salt listed for the filling.
- Large eggs — Eggs provide the structure that turns the whisked mixture into a sliceable filling. Use large eggs for the intended balance; changing egg size can change how firmly the pie sets.
- Evaporated milk and vanilla — Evaporated milk adds concentrated dairy richness, while vanilla rounds out the cocoa. Use evaporated milk, not sweetened condensed milk, which has added sugar and a much thicker consistency. Standard vanilla extract is perfectly suitable.
From a Crimped Crust to a Set, Sliceable Center
Fit the Crust Without Stretching It
Heat the oven to 350°F, then fit the unbaked crust into a 9-inch pie plate and crimp the edge. Ease the dough into the plate rather than pulling it tight; stretched dough is more likely to draw back as it bakes. Set the prepared crust aside while you mix the filling, and keep the crimp even so the edge has a consistent shape.
Whisk the Cocoa Base Until Even
In a medium bowl, whisk together the sugar, cocoa powder, flour, cornmeal, and salt. Break up any visible cocoa lumps before adding the wet ingredients, since dry clumps are harder to smooth out once the mixture is damp. The mixture should look evenly colored, without pale streaks of flour or pockets of cocoa.
Add the Butter, Then the Eggs
Whisk in the melted, lukewarm butter until the mixture looks smooth. Add the eggs one at a time, whisking after each so the mixture stays cohesive rather than streaky. Whisk in the evaporated milk and vanilla last; the filling will be fluid enough to pour, with no dry patches clinging to the bowl.
Bake to the Cues, Then Cool Fully
Pour the filling into the crust and bake for 45–55 minutes. Look for set edges and a center that jiggles only slightly, then check the center with an instant-read thermometer; it should read at least 160°F. If the center still moves like liquid, it needs more oven time. Cool the pie completely on a wire rack, about 3 hours, before slicing.
Three Practical Ways to Adapt Chocolate Chess Pie
Make the Pie Gluten-Free
Use a 9-inch unbaked gluten-free pie crust, replace the all-purpose flour with the same amount of gluten-free 1:1 baking flour, and use gluten-free cornmeal. The filling keeps its chocolate-and-cornmeal character, though a gluten-free crust may be more delicate when you cut and lift slices.
Use Salted Butter Instead
If salted butter is already in your refrigerator, use it in place of the unsalted butter and omit the filling’s added salt. The pie will have a slightly more seasoned edge, but the filling still comes together in the same way.
Start with a Homemade Crust
A homemade crust works in place of the refrigerated one as long as it’s unbaked and sized for a 9-inch pie plate. It gives you more control over the crust’s flavor and edge, while the cocoa filling remains unchanged.
Storage and Reheating
- Refrigerator: Cover the completely cooled pie and refrigerate it for up to 4 days. The filling will be firmer when cold.
- Freezer: Freeze individual slices, wrapped airtight, for up to 1 month. Thaw them in the refrigerator; the filling may be a little softer after thawing.
- Reheating: This pie doesn’t need reheating. Serve it chilled or let a slice lose some of its chill before eating; microwaving can soften the filling unevenly.
Questions That Come Up While Making Chocolate Chess Pie
Chocolate Chess Pie
Ingredients
Equipment
Method
- Heat the oven to 350°F.
- Fit the pie crust into a 9-inch pie plate and crimp the edge.
- Whisk the sugar, cocoa powder, flour, cornmeal, and salt in a medium bowl.
- Whisk in the melted butter until smooth.
- Whisk in the eggs one at a time.
- Whisk in the evaporated milk and vanilla.
- Pour the filling into the crust.
- Bake for 45–55 minutes, until the edges are set, the center jiggles only slightly, and an instant-read thermometer inserted in the center reads at least 160°F.
- Cool completely on a wire rack, about 3 hours, before slicing.