
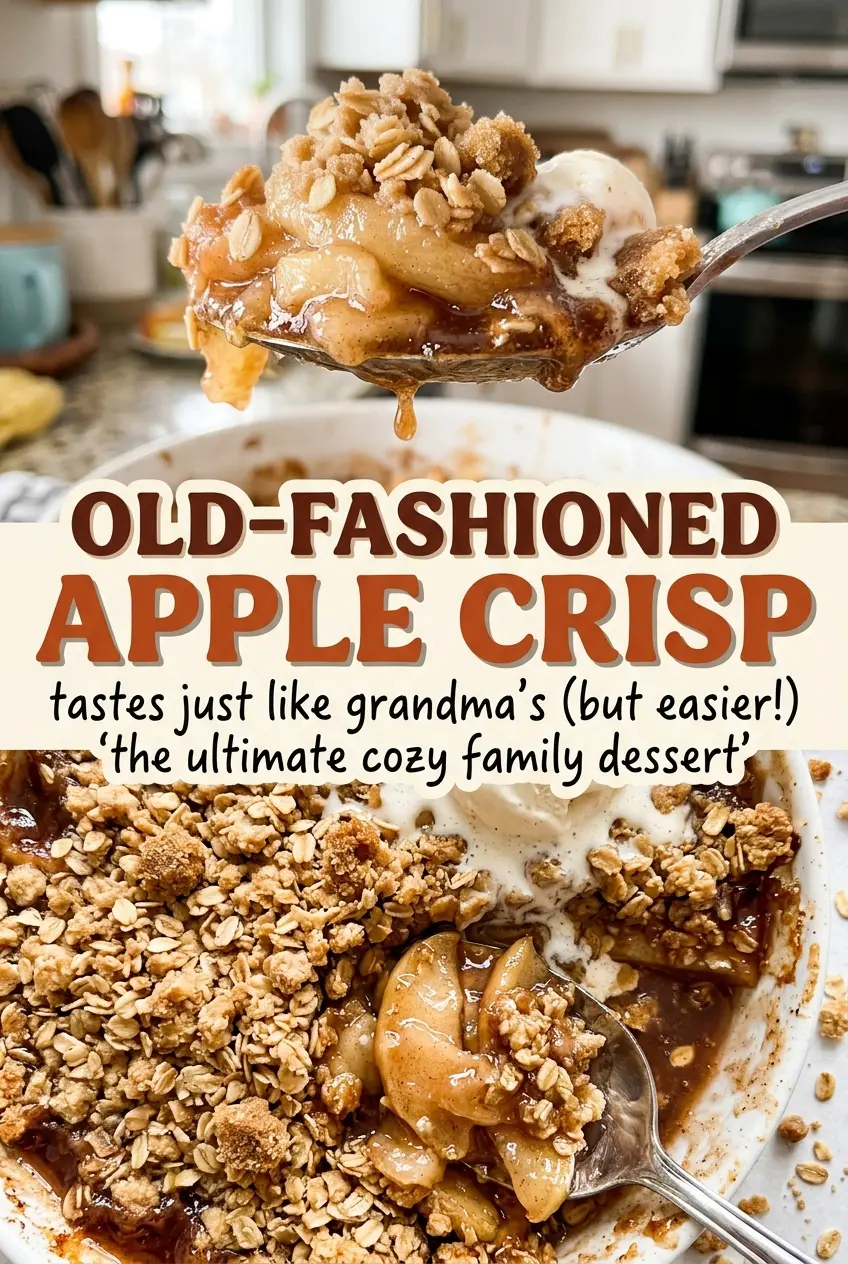
When the apple filling starts bubbling around the edges, the topping should be turning a deep golden brown. That’s the moment I watch for with this Old-Fashioned Apple Crisp: the apples are softening underneath while the oats toast on top, and the kitchen smells like cinnamon and butter.
The balance here comes from keeping the fruit layer simple and giving the topping enough texture to stay crisp. A little flour goes in with the apples to help their juices thicken as they bake, while cold butter rubbed into the oats and flour makes those irregular crumbs instead of a smooth paste.
I like this crisp best when it’s warm but not scorching hot. Letting it sit before serving gives the bubbling filling a chance to settle, so each spoonful holds tender apples beneath a buttery oat topping.
Kitchen Note
Give the crisp the full 15-minute rest before serving. The filling is bubbling when it comes out of the oven, and that pause lets it settle instead of running straight across the plate.
Save this Old-Fashioned Apple Crisp for its bubbling apple filling and golden oat topping.
Thin Apple Slices Keep the Fruit Tender While the Oats Brown
Apple crisp has two parts cooking at once: the fruit needs enough time to soften, and the exposed topping needs enough heat to turn golden. Thin, fairly even slices help those two things happen together. If some pieces are much thicker than others, the smaller ones can collapse into the juices while the thickest pieces still have a firm bite.
That matters in a 9×13-inch dish, where the apples sit in a broad layer under the crumble. Take a little care as you slice, but don’t worry about making every piece identical; aim for slices that look close in thickness so they bake at a similar pace. Then use the visual cues rather than guessing from the clock alone. The topping should be golden, and you should see filling bubbling at the edges before the dish comes out. That combination tells you the top has browned while the apple layer has had time to cook through.
This is also why I don’t pile the topping into one thick mound. Scattering it evenly gives the apples a consistent blanket and leaves plenty of surface exposed to the oven’s heat. You get crisp crumbs across the top, not a few dark spots with a pale, doughy patch between them.
The Apple, Flour, and Oat Choices That Shape Every Bite
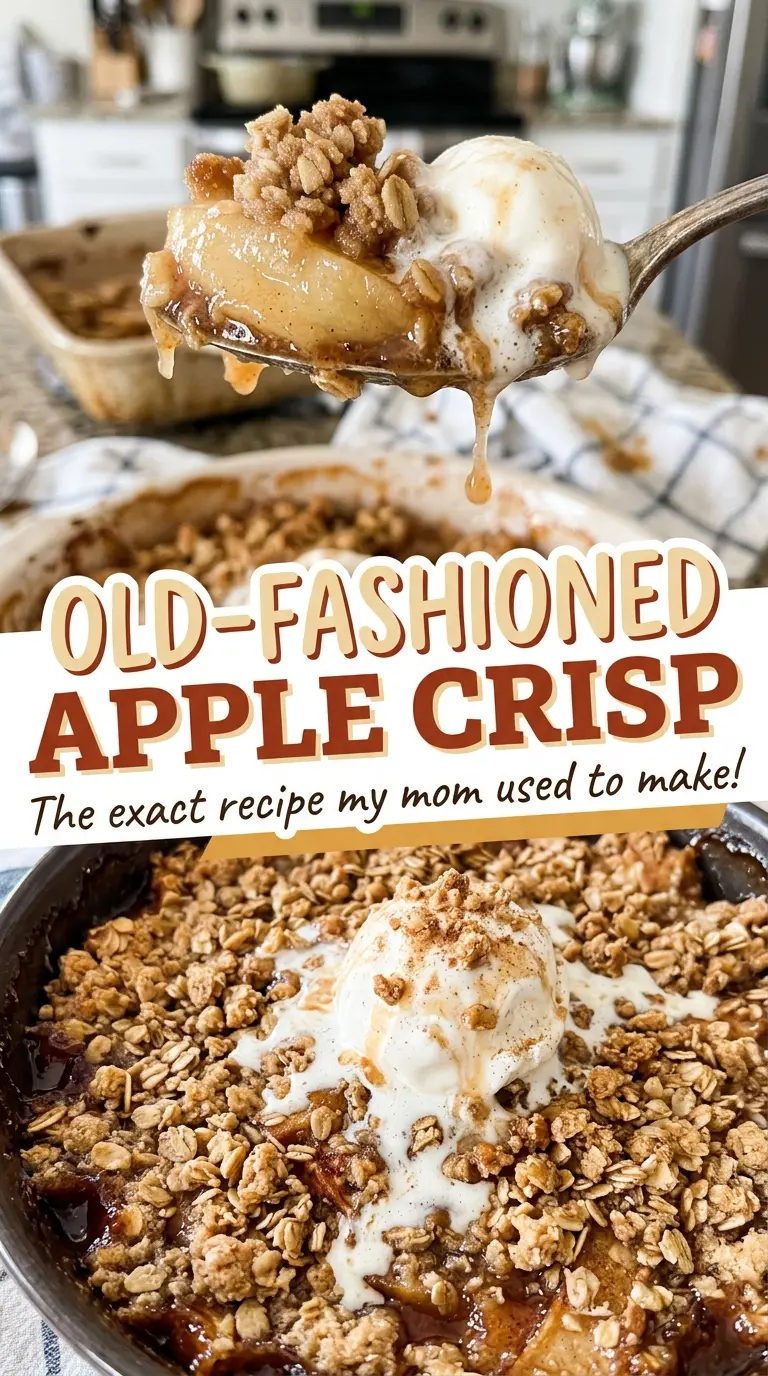
- Apples — Use apples that feel firm and aren’t mealy; they hold their shape better as the filling softens. A mix of apple varieties gives the filling a little variation in sweetness and tartness, while a single variety keeps the flavor more consistent. Peeling, coring, and slicing are worth doing carefully because tough peel or stray core pieces interrupt the soft texture.
- All-purpose flour — In the filling, flour helps the juices released by the apples turn into a lightly thickened syrup instead of staying thin and watery. In the topping, it gives the oats and butter enough structure to form crumbs. A reliable, inexpensive all-purpose flour is perfectly suitable here; there’s no need to reach for specialty flour for the standard version.
- Lemon juice and granulated sugar — Lemon juice keeps the apple mixture bright against the sweetness and cinnamon, while granulated sugar sweetens the fruit and draws out some of its juice. Bottled lemon juice works fine; use the listed amount rather than adding more, since the flour is balanced for the filling as written.
- Old-fashioned oats and brown sugar — Rolled oats give the topping its distinct, chewy-crisp texture, and packed light brown sugar adds a soft caramel note and helps the crumbs brown. Old-fashioned oats are the best choice for a substantial crumble; finer oats make a more compact topping.
- Cold unsalted butter — Cold cubes are easier to work into the dry ingredients without melting into them. Unsalted butter lets the small amount of salt in the topping stay predictable. Choose a fresh butter you enjoy, but an everyday grocery-store brand works well because cinnamon, brown sugar, and toasted oats bring plenty of character.
From the Apple Layer to a Bubbling 9-by-13 Crisp
Coat the Apples Before They Go in the Dish
Heat the oven to 350°F and lightly coat a 9×13-inch baking dish with nonstick cooking spray. In a large bowl, toss the peeled, cored, thinly sliced apples with the granulated sugar, flour, lemon juice, cinnamon, and kosher salt. Keep tossing until the dry ingredients are distributed instead of sitting in a pocket at the bottom of the bowl. Spread the mixture in the prepared dish in an even layer.
Work the Butter into Coarse Crumbs
Stir the oats, flour, packed light brown sugar, cinnamon, and kosher salt together in a medium bowl. Add the cold butter cubes and work them in with your fingertips. Stop when the mixture forms coarse crumbs, with visible buttery pieces rather than a uniform sandy texture. If you keep squeezing until the butter feels soft, the topping loses the rough crumbly texture that makes it crisp.
Scatter the Topping and Bake Until the Edges Bubble
Scatter the oat mixture evenly over the apples so no section is left bare and no mound is much thicker than the rest. Bake for 45 to 55 minutes. Look for a golden-brown surface and filling bubbling around the edges of the dish; if the top is still pale and the edges are quiet, it needs more time. Start checking near the shorter end of the range, since ovens can vary.
Let the Filling Settle Before Serving
Take the dish out once the topping is golden and the filling is bubbling at the edges. Leave the crisp to rest for 15 minutes before serving. The topping stays on top while the hot fruit filling settles underneath, making it easier to scoop a portion with both layers intact.
Apple Choices and a Gluten-Free Oat Topping
Choose tart apples for a sharper filling
Use a tart baking apple such as Granny Smith for all the apples, keeping the rest of the ingredient amounts the same. The filling will taste brighter and less sweet than one made with sweeter apples, while the cinnamon-brown-sugar topping stays unchanged.
Make a gluten-free version with a one-to-one flour blend
Replace the all-purpose flour in both the apple filling and topping with a measure-for-measure gluten-free flour blend, and use oats labeled gluten-free. The fruit stays tender and the topping keeps its crumble, though the exact browning can vary a little by flour blend.
Storage and Reheating
- Refrigerator: Cover and refrigerate leftovers for up to 4 days. The topping softens as it sits against the fruit.
- Freezer: Freeze cooled portions in an airtight freezer-safe container for up to 3 months. Thaw overnight in the refrigerator; the topping will be softer than freshly baked.
- Reheating: Warm portions in a 350°F oven until heated through to bring back some crispness. A microwave is quicker, but it softens the oat topping further.
Questions That Come Up Before Serving Apple Crisp
Old-Fashioned Apple Crisp
Ingredients
Equipment
Method
- Heat the oven to 350°F and lightly coat a 9x13-inch baking dish with nonstick cooking spray.
- In a large bowl, toss the apples with the granulated sugar, flour, lemon juice, cinnamon, and salt, then spread the mixture in the prepared dish.
- In a medium bowl, stir together the oats, flour, brown sugar, cinnamon, and salt, then work in the cold butter with your fingertips until the mixture forms coarse crumbs.
- Scatter the topping evenly over the apples and bake for 45 to 55 minutes, until the topping is golden brown and the filling is bubbling around the edges.
- Let the crisp rest for 15 minutes before serving.