
Creamy pumpkin custard underneath and a crisp, buttery cake layer on top is the kind of dessert that disappears fast, even when nobody was planning to have seconds. The contrast is what makes it work: the pumpkin bakes into a silky, lightly set base while the cake mix turns into a golden crust with caramelized edges and just enough crunch to keep each bite interesting.
The trick is leaving the cake mix alone and letting the butter do the work. If you stir everything together, you lose the layered texture that makes a dump cake worth baking in the first place. Drizzling the butter slowly over the dry mix helps more of the surface bake into a crisp topping instead of a floury patch.
Below you’ll find the exact bake cues that matter, plus a few swaps that still keep the custardy pumpkin layer and the crunchy top intact. If you’ve ever pulled a dump cake from the oven and wondered whether the center was set enough, the notes below will save you from guesswork.
The pumpkin layer set up beautifully and the top turned crisp instead of soggy. I baked it for the full 60 minutes and it sliced cleanly after cooling, which never happens when I rush a dessert like this.
Save this pumpkin dump cake for when you want a silky spiced filling and a crisp buttery top without a complicated crust.
The Reason the Top Stays Crisp Instead of Turning Cakey
The biggest mistake with dump cake is treating it like a batter. It isn’t one. The cake mix needs to stay dry on top of the pumpkin layer so the butter can soak through in patches and create that craggy, toasted crust. Stirring collapses the whole thing into a thick, pasty bake instead of distinct layers.
Even butter coverage matters. If you pour it all in one spot, you’ll get dry flour on one side and an oily pocket on the other. Drizzle it slowly over the surface, letting it hit as much dry mix as possible, and don’t worry if a few pale spots remain. The bake will still finish evenly because the steam from the pumpkin layer helps hydrate the last bits.
What the Pumpkin Layer and Cake Mix Are Each Doing
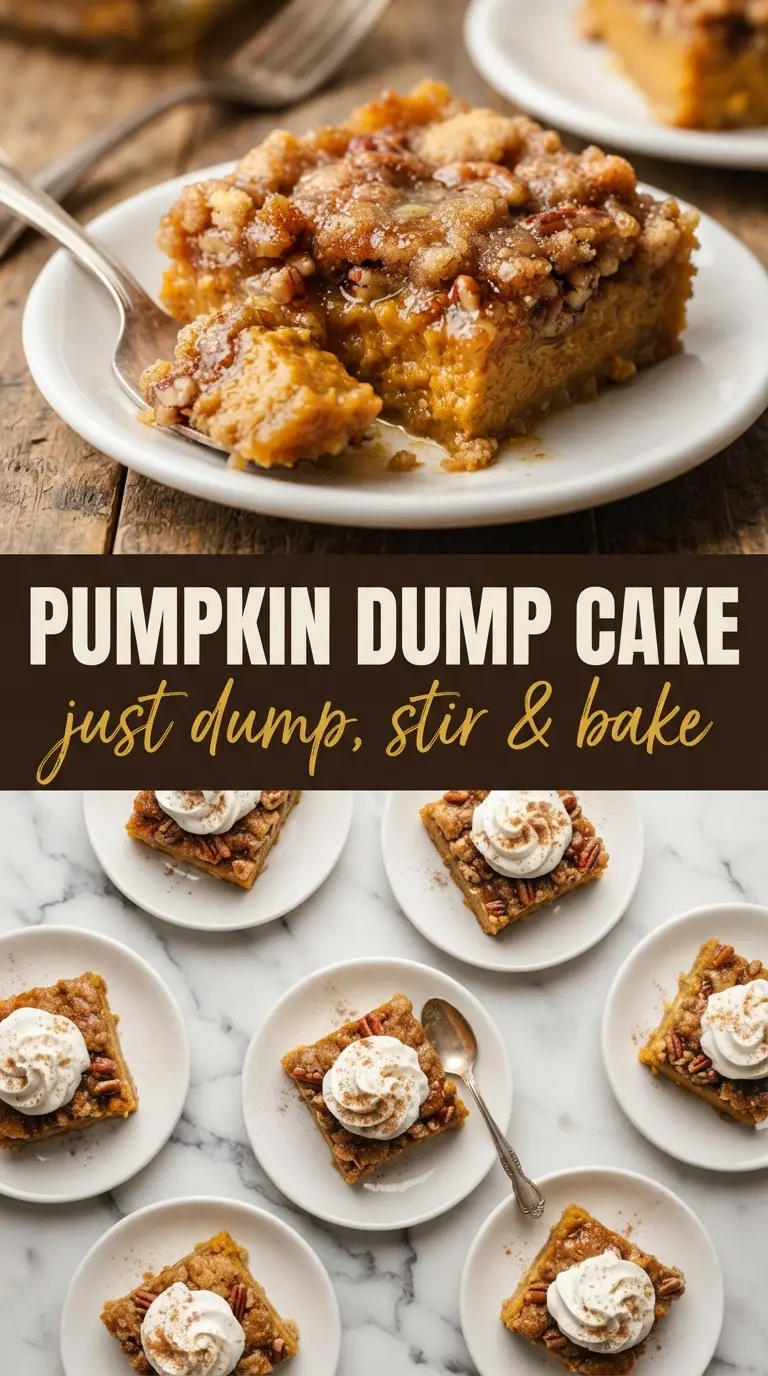
- Pumpkin purée — Use plain pumpkin purée, not pumpkin pie filling. Pie filling already contains sugar and spice, which throws off the balance and can make the base overly sweet and loose.
- Evaporated milk — This adds body and a custardy texture without watering the filling down. Regular milk works in a pinch, but the finished layer is softer and a little less rich.
- Eggs — They set the pumpkin layer so it slices instead of puddling. Whisk them in completely; streaks of egg can bake into curds.
- Yellow cake mix — The boxed mix is the shortcut that gives you the crisp top without mixing up a separate crumble. Spice cake mix also works if you want a stronger warm-spice note.
- Butter — Melted unsalted butter is what transforms the dry mix into a browned, crunchy topping. If you use salted butter, the dessert gets a little more savory, which is fine, but the sweet-spice balance shifts.
Building the Layers Without Overmixing
Mixing the Pumpkin Base
Whisk the pumpkin, evaporated milk, eggs, sugar, spice, vanilla, and salt until the mixture looks completely smooth and glossy. That base should pour like a loose custard, not a thick batter. If you still see egg streaks or pockets of spice, those spots will bake unevenly and give the filling a scrambled texture in patches.
Adding the Cake Mix Dry
Spread the dry cake mix evenly over the pumpkin layer and leave it alone. Don’t press it down or stir it in. The dry powder needs air and space so the butter can penetrate from the top and create a layered crust rather than a dense cake.
Drizzling the Butter for a Crisp Finish
Slowly drizzle the melted butter over the cake mix, moving across the whole pan so more of the surface gets coated. A few dry specks are fine, but large dry patches stay powdery after baking. Finish with cinnamon, then bake until the top is deep golden and the center has only a slight jiggle; if the middle sloshes, it needs more time.
How to Adapt This for Different Pantries and Preferences
Gluten-Free Version with a Gluten-Free Cake Mix
Swap in a gluten-free yellow cake mix and keep the rest of the recipe the same. The texture stays close, though the topping can be a touch more delicate, so let the dessert cool before cutting. The pumpkin layer doesn’t need any changes.
Dairy-Free Pumpkin Dump Cake
Use a full-fat canned coconut milk in place of the evaporated milk and a plant-based butter that melts cleanly. Coconut milk gives the filling a slightly softer, richer finish, so bake until the center sets with just a small wobble. The flavor stays in the pumpkin-spice lane, but you’ll notice a faint coconut note.
Spice Cake Swap for a Stronger Warm-Spice Flavor
Use spice cake mix instead of yellow cake mix if you want the top to taste more like a bakery-style autumn dessert. It gives you a deeper cinnamon-clove note and a darker crust. Keep the cinnamon dusting light or it can start tasting bitter at the edges.
Storage and Reheating
- Refrigerator: Store covered for up to 4 days. The top softens a bit as it sits, but the filling stays creamy.
- Freezer: Freeze in tight layers for up to 2 months. Thaw overnight in the refrigerator before reheating; the topping won’t stay fully crisp, but the texture is still good.
- Reheating: Warm individual slices in a 325°F oven until heated through. The microwave works for speed, but it turns the top soft fast, so use the oven if you want to bring back some of the crust.
Questions I Get Asked About This Recipe
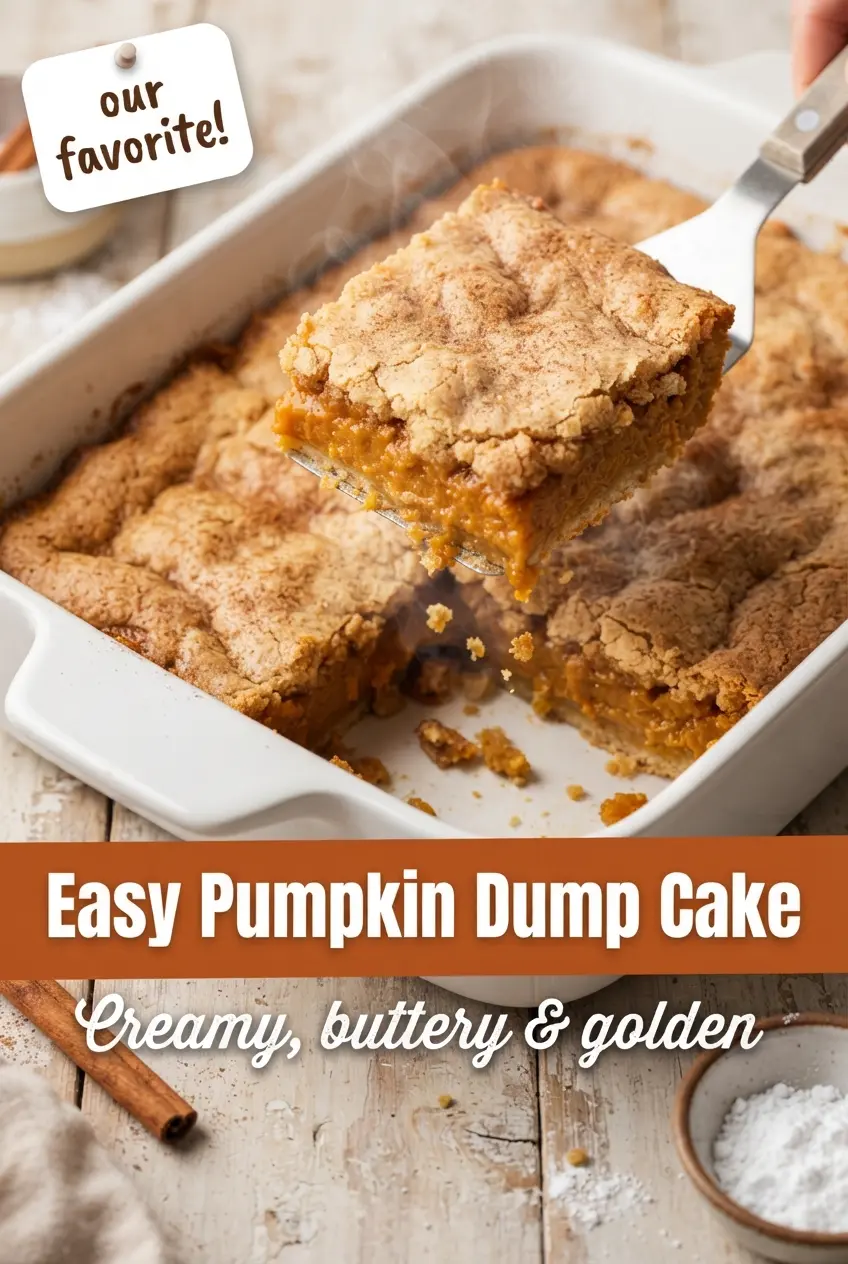
Easy Baked Pumpkin Dump Cake
Ingredients
Equipment
Method
- Preheat the oven to 350°F (175°C) and grease a 9x13-inch baking dish. Make sure the dish is well coated so the pumpkin custard releases cleanly.
- Whisk the pumpkin purée, evaporated milk, eggs, sugar, pumpkin pie spice, vanilla, and salt until smooth in a large bowl. Stop when no streaks remain for an even custard layer.
- Pour the pumpkin mixture into the prepared dish and spread it evenly. Aim for an even layer so the cake crust bakes consistently.
- Sprinkle the dry cake mix evenly over the pumpkin layer, without stirring. Keep it distributed so the topping turns crisp and golden.
- Drizzle the melted butter slowly over the cake mix, covering as much of the dry powder as possible. Let the butter soak through for a caramelized, crisp top.
- Dust the top with ground cinnamon. Add it lightly but evenly for warm spice notes.
- Bake for 55–60 minutes at 350°F (175°C), until the top is deep golden and crisp and the pumpkin layer is set with only a slight jiggle in the center. Use the visual cue of a set custard—no wet wobble—around the edges.
- Let cool for at least 30 minutes so the pumpkin layer can firm up. The surface will settle and cut more neatly after resting.
- Cut into squares and serve warm or chilled. Top each piece with a generous swirl of whipped cream.