
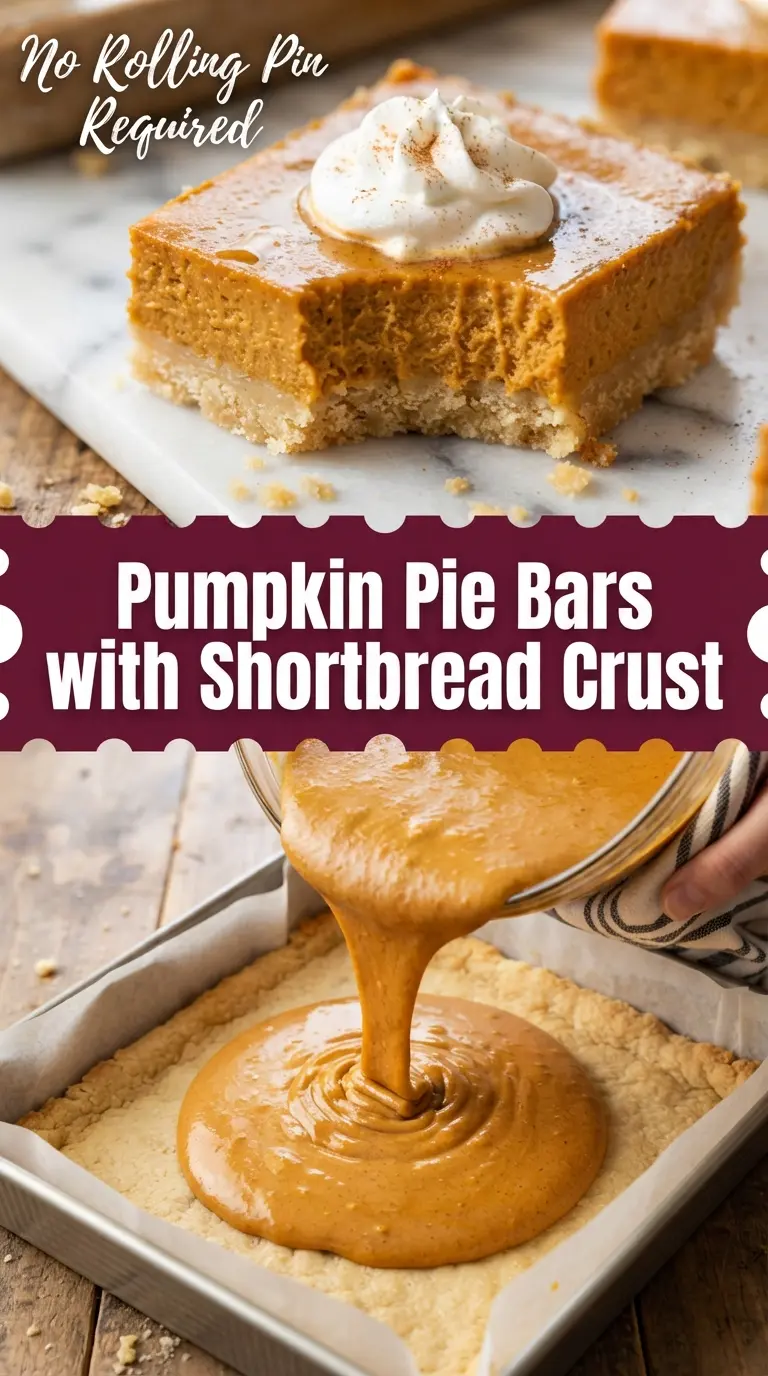
Silky pumpkin pie filling and a tender shortbread base turn into neat, bakery-style bars that slice cleanly and travel well. You get all the familiar spice and creaminess of pumpkin pie, but without the stress of rolling dough or waiting on a finicky crust. The shortbread layer stays buttery and firm enough to hold the filling, so every square gives you a neat, even bite from top to bottom.
The trick is baking the crust before the filling goes in. That head start keeps the bottom from turning soft or gummy once the pumpkin mixture bakes. Sweetened condensed milk does the heavy lifting in the filling, giving it that smooth, custardy texture without extra steps, while the warm spice blend keeps the pumpkin from tasting flat.
Below, you’ll find the little details that matter most: how to know when the filling has set, why the bars need to chill before cutting, and the easiest way to get sharp, tidy squares that look as good as they taste.
The crust stayed buttery instead of soggy, and the filling set up perfectly after chilling. I cut them into clean squares for a potluck and people kept asking for the recipe.
Save these pumpkin pie bars for the kind of dessert that slices cleanly, travels well, and brings all the pumpkin pie flavor without the crust drama.
The One Move That Keeps the Bottom Crust Tender, Not Soggy
The crust needs a short solo bake before the filling goes on. That isn’t just a technical step; it’s what keeps the bars from turning damp underneath. A raw shortbread base would absorb the pumpkin custard and lose that clean, buttery snap when you cut into it.
Pricking the dough with a fork helps it bake evenly and keeps it from puffing into an uneven layer. You want the edges just turning pale gold, not deeply browned, because the crust goes back into the oven with the filling. If it starts to look too dark on the first bake, the finished bars will taste dry around the edges before the center even sets.
What Each Ingredient Is Actually Doing in This Dish
- Unsalted butter — This is the backbone of the crust. Softened butter creams with the powdered sugar to create a tender, sandy dough that bakes into a shortbread texture instead of a cookie crumb. Salted butter will work in a pinch, but the crust will taste less balanced, so skip it if you can.
- Powdered sugar — It melts smoothly into the butter and helps the crust bake up fine and delicate. Granulated sugar gives a more crisp, gritty result, which changes the texture enough that it won’t feel like the same bar.
- Sweetened condensed milk — This is what makes the filling silky and rich without needing extra starch or cream. It thickens as it bakes and sets into that classic pumpkin pie texture. There isn’t a true one-to-one substitute here, so if you swap it out, expect a looser filling and a different finish.
- Pumpkin purée — Use pure pumpkin, not pumpkin pie filling. Pie filling already contains sugar and spices, and it throws off the balance here. If your purée looks watery, drain it briefly in a fine mesh strainer so the bars don’t bake up soft in the middle.
- Warm spices — Cinnamon, ginger, nutmeg, and cloves build depth. The mix matters more than any single spice, because pumpkin on its own is mild and needs that layered backbone. If you only have pumpkin pie spice, use about 2 teaspoons total and move on.
Building the Bars So They Bake Up Smooth and Slice Cleanly
Mix the Crust Until It Just Comes Together
Beat the butter, powdered sugar, and vanilla until the mixture looks pale and fluffy, then add the flour and salt on low speed. Stop as soon as the dough turns crumbly and starts clumping when pressed; if you keep mixing, the crust can turn tough instead of tender. Press it into the pan in an even layer, getting all the way into the corners so the bars bake uniformly.
Bake the Crust Before the Filling Goes On
Give the crust 18 to 20 minutes in the oven, just until the edges are lightly golden and the center looks set but not deeply colored. It should smell buttery and look dry on top. If you pour the filling onto an underbaked crust, the bottom can go paste-like under the custard.
Whisk the Filling Until It Is Completely Smooth
Whisk the pumpkin, condensed milk, eggs, spices, salt, and vanilla until there are no streaks left. The eggs need to disappear into the mixture before it goes into the oven, or you’ll end up with little bits of cooked egg in the final bars. Pour it over the warm crust and spread it gently to the edges so it bakes in an even layer.
Watch for the Gentle Jiggle
Bake until the edges are set and the center still has the tiniest wobble when you nudge the pan. That slight jiggle is what you want; the filling finishes setting as it cools. If you wait until the center is completely firm in the oven, the bars will be overbaked and prone to cracking or a grainy texture.
Cool, Chill, and Slice with a Sharp Knife
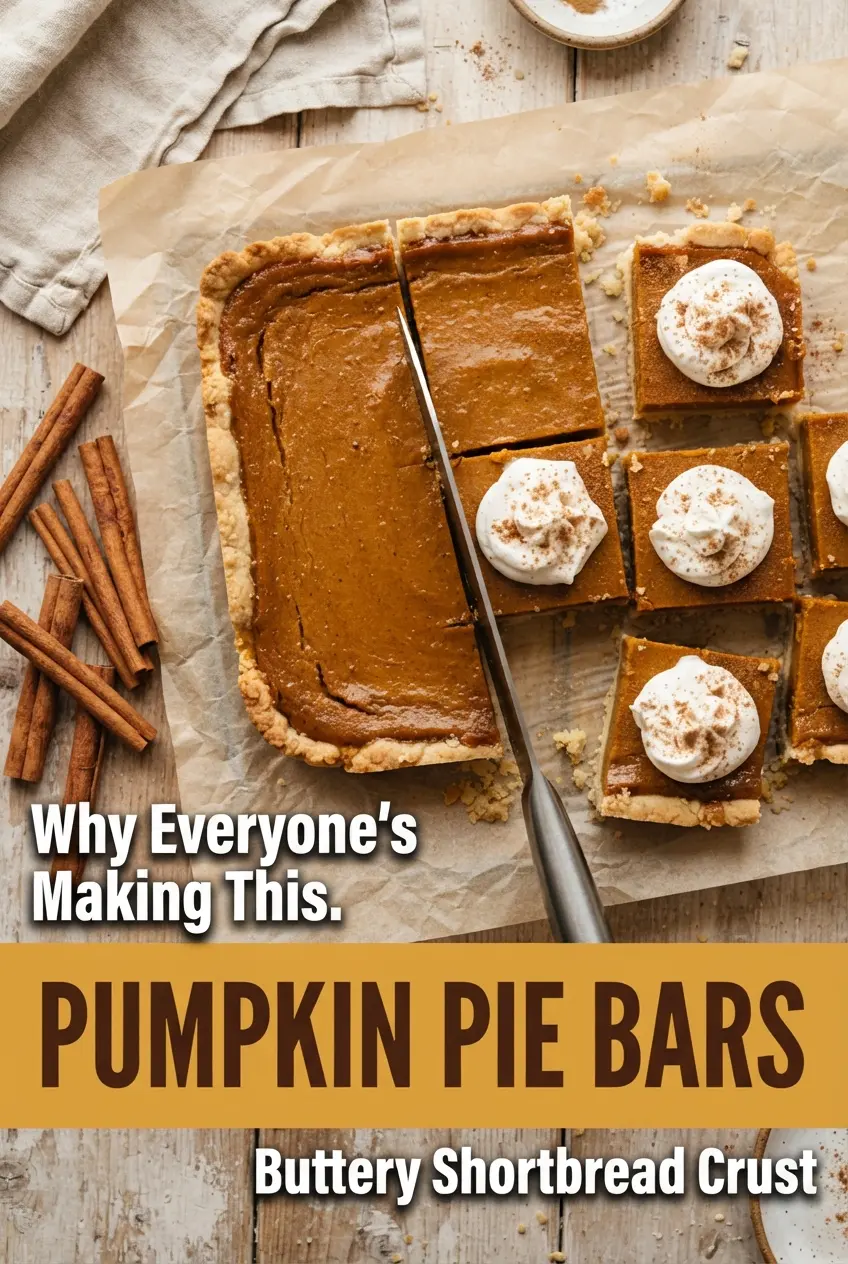
Let the pan cool fully at room temperature, then refrigerate until firm enough to cut cleanly. This is the part that gives you neat squares instead of soft scoops. Lift the slab out with the parchment overhang, wipe the knife between cuts, and you’ll get tidy edges on every bar.
How to Adapt These Pumpkin Pie Bars for Different Tables
Dairy-Free Version with a Different Texture
Swap the butter for a solid plant-based butter that comes in sticks, not a soft tub spread. The crust will still hold together, but it may bake up a little less rich and a touch more fragile when warm. The filling is trickier because condensed milk does the thickening work here, so the cleanest dairy-free route is to use a tested dairy-free sweetened condensed milk product rather than trying to replace it ingredient by ingredient.
Gluten-Free Crust with the Same Shortbread Feel
Use a cup-for-cup gluten-free flour blend that includes xanthan gum. The crust won’t be quite as delicate as the original, but it will still press and bake well if you keep the dough from overmixing. If the dough seems dry, add a teaspoon of milk at a time until it holds when squeezed.
Extra-Spiced Bars for People Who Want More Warmth
Add another 1/2 teaspoon of cinnamon and a pinch more cloves if you want the filling to taste bolder and less mellow. This works especially well if your pumpkin purée is bland or your crowd likes a stronger pie spice note. Go slowly with the cloves; too much turns the bars sharp and medicinal fast.
Make-Ahead Storage and Reheating
- Refrigerator: Keep the bars covered in the fridge for up to 5 days. The filling stays smooth, and the crust holds its texture better than it would at room temperature.
- Freezer: These freeze well. Cut into squares, wrap individually, and store in an airtight container for up to 2 months. Thaw in the refrigerator so the filling doesn’t sweat and loosen at the top.
- Reheating: Serve them chilled or let them sit out for 15 to 20 minutes if you want a softer bite. Don’t microwave them for long bursts, or the filling can turn wet and lose that clean slice.
Answers to the Questions Worth Asking
Pumpkin Pie Bars with Buttery Shortbread Crust
Ingredients
Equipment
Method
- Preheat the oven to 350°F (175°C) and line a 9x13-inch baking pan with parchment paper, leaving an overhang on the long sides. This helps you lift the bars out cleanly later (visual cue: parchment overhang ready).
- In a large bowl, beat the softened butter, powdered sugar, and vanilla until light and creamy, about 2 minutes. Stop when the mixture looks smoother and paler (visual cue: creamy consistency).
- Add the flour and salt and mix on low just until a soft, crumbly dough forms. Mix only until it comes together (visual cue: no dry flour pockets).
- Press the dough evenly into the bottom of the prepared pan and prick all over with a fork. Make the surface evenly dotted (visual cue: fork holes throughout).
- Bake the crust for 18–20 minutes, until the edges are lightly golden. Watch for a pale-golden rim while the center stays set (visual cue: lightly golden edges).
- While the crust bakes, whisk the pumpkin purée, sweetened condensed milk, eggs, cinnamon, ginger, nutmeg, cloves, salt, and vanilla until completely smooth. Keep whisking until no streaks remain (visual cue: uniform, glossy mixture).
- Pour the pumpkin filling over the warm crust and spread it to the edges. Ensure the filling reaches the corners (visual cue: full coverage).
- Bake for 30–35 minutes, until the filling is set around the edges with only a slight jiggle in the center. Look for a gentle wobble when nudged (visual cue: edges set, center barely jiggles).
- Cool completely at room temperature. Wait until the pan is not warm to the touch (visual cue: fully cooled surface).
- Refrigerate for at least 2 hours until firm. Chill until you can slice neatly (visual cue: holds shape when pressed lightly).
- Lift the bars out using the parchment overhang and cut into squares with a sharp knife, wiping it clean between cuts. Clean the blade for sharp lines (visual cue: tidy, straight square edges).
- Serve chilled with a swirl of whipped cream and a pinch of cinnamon. Add toppings right before serving (visual cue: cream swirl on each square).