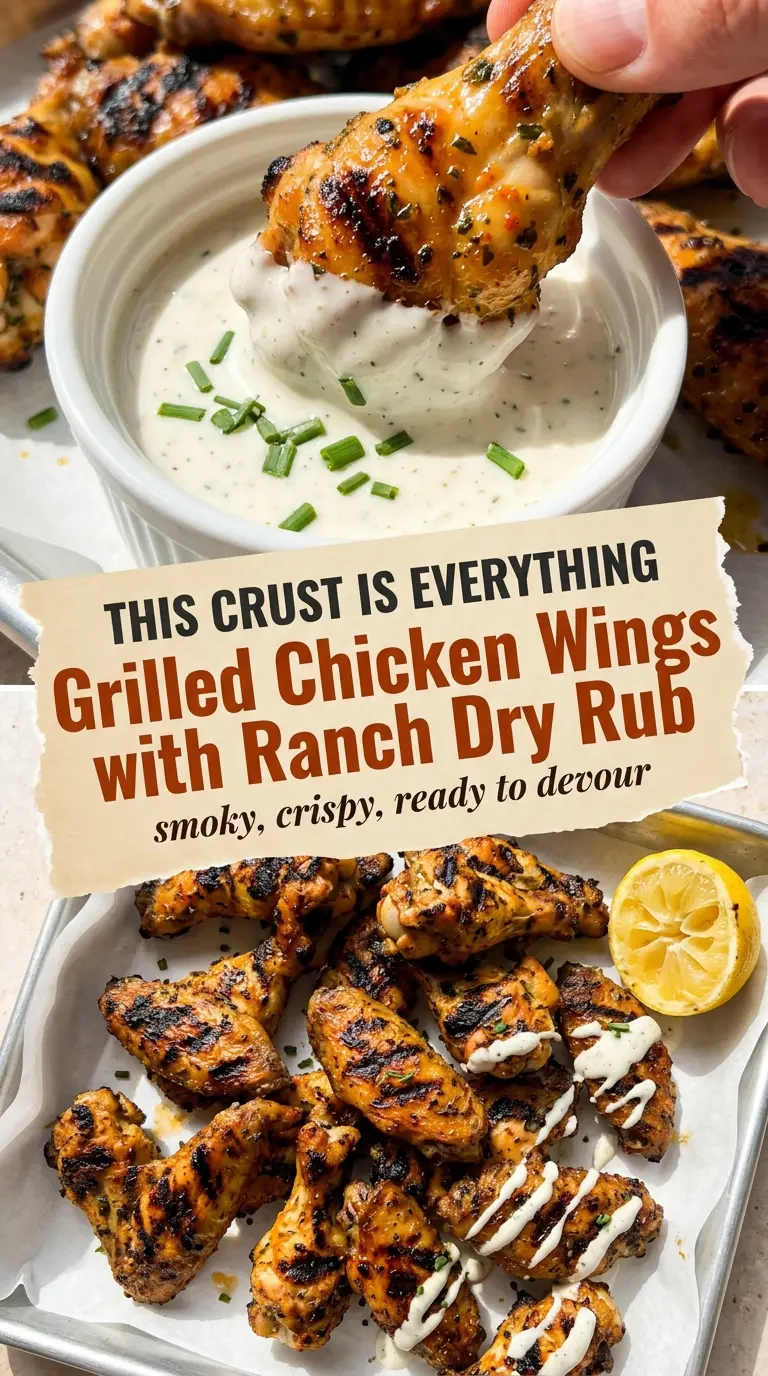
Smoky grilled chicken wings with a ranch dry rub land in that sweet spot between backyard-cookout food and snackable comfort food. The skin turns crisp and deeply seasoned, the edges pick up just enough char, and the meat stays juicy underneath instead of drying out on the grill. The ranch flavor is there in a dry, concentrated way that clings to every bite, so you get all the familiar tang and herbiness without a heavy coating.
What makes these wings work is the combination of a dry surface, a little baking powder, and a well-balanced rub. The baking powder helps the skin blister and tighten as it cooks, which is what gives you that crackly bite instead of soft grilled skin. The dried buttermilk powder adds the ranch note without making the seasoning pasty, and the smoked paprika gives the rub enough color and warmth to stand up to the grill.
Below, I’ve broken down the part that matters most: drying the wings properly, building flavor before they hit the heat, and knowing when to move them over direct heat for that last burst of char. There’s also a short list of swaps and a few answers to the questions that usually come up the first time people grill wings this way.
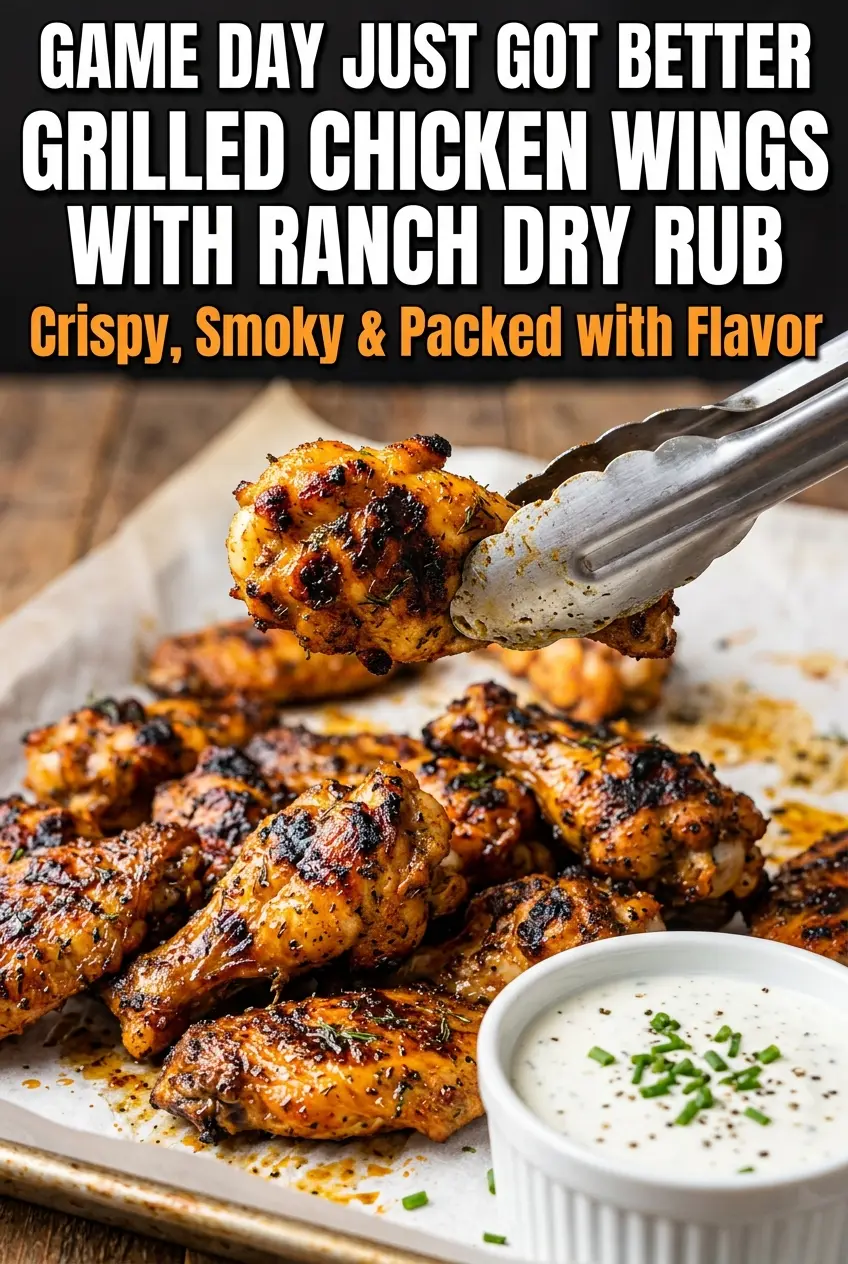
The baking powder and dry rub gave the wings a crisp skin and the ranch seasoning tasted like it had been there the whole time. I left them on the grill the full 12 minutes per side and they came off juicy with great char.
Grilled chicken wings with ranch dry rub are the kind of crispy, smoky wings worth pinning for game day or backyard grilling.
The Secret to Crispy Grilled Wings Is Dry Skin, Not More Sauce
Wings on the grill can go one of two ways: blistered and crisp, or soft and a little rubbery. The difference is almost always moisture. If the skin goes on wet, it steams before it browns, and no amount of high heat at the end can fully fix that. Patting the wings dry and letting them sit uncovered with the seasoning gives the surface time to dry out, which is what lets the skin take on that crackly finish.
The other thing that matters here is restraint with the rub. This isn’t a wet marinade, so the seasoning stays on the skin instead of washing off or turning gummy over the flames. When the wings hit the grill, the sugars and spices in the rub caramelize against the hot grates, which is where that deep golden color and smoky edge come from.
- Chicken wings — Split wings cook more evenly than whole wings, and flats and drumettes both benefit from the same dry-rub treatment. If you buy whole wings, cut them at the joints before seasoning so the pieces cook at the same pace.
- Baking powder — This is the crispiness insurance. Use aluminum-free baking powder if you can, because it helps dry the skin without adding a metallic note. Don’t swap it for baking soda; baking soda is much stronger and can leave the wings tasting harsh.
- Dried buttermilk powder — This is what gives the rub its ranch character without making the wings wet. If you can’t find it, use a store-bought ranch seasoning packet and reduce the salt slightly, since those blends usually run saltier than this homemade version.
- Smoked paprika — This adds color and a little campfire depth that plain paprika won’t give you. If you only have sweet paprika, the wings will still work, but they’ll taste lighter and won’t look quite as richly grilled.
How to Build the Coating So It Clings and Crisps
Dry the wings first, then season
Start with wings that are as dry as you can get them. Paper towels work best, and if you have time, leave the wings uncovered in the fridge for an hour after drying so the skin tightens up a little more. If there’s surface moisture left behind, the rub slides around and the grill has to spend its time evaporating water instead of crisping the skin.
Use the oil and baking powder as the base
Toss the wings with olive oil first, then add the baking powder so it coats evenly. The oil helps the seasoning stick, and the baking powder changes the way the skin browns as it cooks. You want a light, even coating here, not a thick paste; clumps of powder can leave pale spots or a chalky texture.
Let the ranch rub sit before grilling
Once the wings are coated in the ranch dry rub, give them at least an hour in the fridge, uncovered if possible. That resting time lets the flavors soak in and gives the surface another chance to dry. If you’re short on time, even 20 to 30 minutes helps, but overnight is where the flavor really settles in.
Grill over medium-high, then finish hot
Medium-high heat gets the wings cooked through without scorching the spice blend too early. Flip once, and watch for dark char in spots and skin that looks taut and blistered. If the wings are close on temperature but need more color, move them to direct high heat for the last couple minutes per side; that’s the point where the edges turn crisp instead of just cooked.
Gluten-Free and Naturally Low Carb
These wings are already a strong fit for gluten-free and low-carb cooking as written, as long as your ranch dip is too. Keep the seasoning blend the same and serve with celery and a dip made from full-fat sour cream or mayo-based ranch if you want to keep the carbs low.
No Buttermilk Powder?
Use 1 tablespoon of store-bought ranch seasoning instead of the dried buttermilk powder plus the herbs, garlic, and onion. The flavor will be a little less fresh and a little more processed, but it still gives you that classic ranch profile on the grill.
Add Heat Without Changing the Texture
The cayenne is optional, but it’s an easy way to bring heat without changing the coating. If you want a bigger kick, add a pinch of chipotle powder or serve with hot sauce on the side instead of pushing the rub too far and overpowering the ranch notes.
Storage and Reheating
- Refrigerator: Store leftovers in an airtight container for up to 4 days. The skin softens in the fridge, but the flavor stays strong.
- Freezer: These freeze well for about 2 months, though the skin won’t stay crisp. Freeze on a tray first, then move to a sealed bag or container so the wings don’t stick together.
- Reheating: Warm them on a wire rack set over a baking sheet in a 400°F oven until hot and the skin starts to re-crisp, usually 10 to 15 minutes. The common mistake is microwaving them, which makes the skin leathery and wipes out the grill texture you worked for.
Questions I Get Asked About This Recipe
Grilled Chicken Wings with Ranch Dry Rub
Ingredients
Equipment
Method
- Pat the chicken wings completely dry with paper towels, so the skin will crisp on the grill (no visible moisture on the surface).
- In a small bowl, combine dried buttermilk powder, garlic powder, onion powder, dill, parsley, dried chives, smoked paprika, black pepper, kosher salt, and cayenne pepper (if using); mix until the rub looks evenly speckled.
- Toss the dried wings with olive oil, then sprinkle over baking powder and toss again until evenly coated with a dry powder film.
- Add the ranch dry rub to the wings and toss thoroughly until every piece is fully coated, then refrigerate uncovered to marinate for at least 1 hour or up to overnight (let them sit until the rub looks slightly pasty from moisture).
- Preheat your grill to medium-high heat, about 400–425°F, and oil the grates well (aim for a steady heat before cooking).
- Place wings on the grill in a single layer and cook 10–12 minutes per side, flipping once, until skin is deeply charred in spots and the internal temperature reaches 165°F (look for dark caramelized patches).
- Move wings to direct high heat for the final 2 minutes per side to intensify char and crispiness (edges should look darker and more set).
- Remove wings from the grill and rest 3–4 minutes, so juices redistribute and the coating firms up (surface should stay crisp, not wet).
- Scatter fresh chopped chives over the wings (you should see bright green flecks on top).
- Serve immediately with ranch dipping sauce, celery sticks, and lemon wedges (add lemon last for best freshness).