Soft cake mix thumbprint cookies have a way of disappearing fast, and this red, white, and blue version goes even quicker because the texture is tender, the centers stay jammy, and the whole tray looks festive without any extra decorating work. The cake mix gives you a cookie that bakes up with a light, cakey crumb instead of the dense, dry bite that thumbprints sometimes get when the dough is overmixed or the cookies are baked too long.
The trick here is keeping the dough soft enough to shape but not so sticky that the wells collapse in the oven. A box of white cake mix brings sweetness, structure, and that familiar vanilla base, while the egg and oil keep the cookies plush. Strawberry preserves and blueberry preserves do more than add color — they also give you two different fruit notes, so every bite tastes a little brighter than a plain jam cookie.
Below, I’ll show you how to keep the centers from baking shut, how to get the cleanest indentation, and what to change if you want to swap in a different preserve or make the cookies ahead for a party.
The cookies stayed soft for days and the preserves set up just enough that they didn’t run all over the pan. I used a spoon to press the centers and they held their shape perfectly after baking.
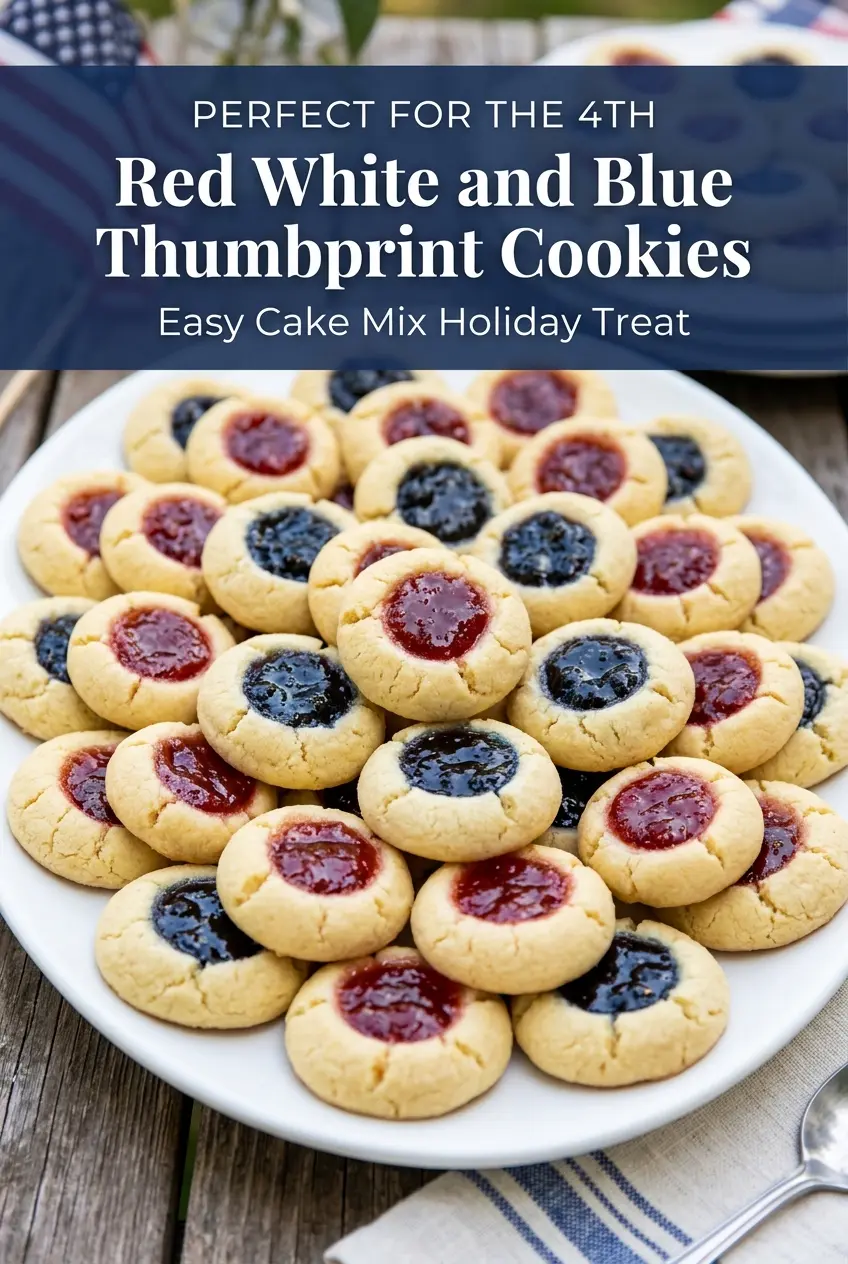
These red, white, and blue thumbprint cookies with cake mix bake up soft, fruity, and party-ready with almost no fuss.
The Thumbprint That Won’t Spread Into a Jam Puddle
The biggest mistake with thumbprint cookies is pressing the centers too shallow or filling them too aggressively before baking. The dough puffs in the oven, and if the wells aren’t deep enough, the preserves slide off the top instead of settling into the cookie. On the other hand, if the indentation goes all the way through, the jam leaks out and you lose the soft center that makes these cookies worth baking.
Use gentle pressure to make the well, then spoon in just enough preserves to fill it without mounding over the edge. The cookies should look slightly underfilled before they go into the oven; they finish shaping as they bake. If the tops start to crack a little, that’s fine. What you don’t want is a flattened cookie that looks glossy all over, because that means the jam has spread before the dough set.
What Each Ingredient Is Actually Doing in This Cookie

- White cake mix — This is the shortcut that gives the cookies their soft, lightly sweet base. A standard white mix works best because the neutral flavor lets the fruit preserves stand out. If you only have yellow cake mix, it still works, but the cookies taste a little richer and look less bright.
- Eggs — They bind the dough and help the cookies rise into that tender, cakey texture. Room-temperature eggs mix in more evenly, which keeps the dough smoother and easier to roll.
- Vegetable oil — Oil keeps the cookies soft longer than butter would. Butter adds flavor, but it also firms up more as the cookies cool, and these are meant to stay plush and tender. If you swap in melted butter, expect a slightly firmer cookie with a more classic bakery flavor.
- Strawberry and blueberry preserves — Preserves give you the color and the fruit flavor without having to cook a filling first. Thicker preserves work better than thin jelly because they stay put in the center well. If yours are loose, stir them first and spoon carefully so they don’t run.
- Powdered sugar — Optional, but it adds a soft finish and a little visual contrast once the cookies cool. Dust them only after they’re fully cool or the sugar will melt into the surface.
The 15 Minutes That Matter Most
Mixing a Dough That Can Still Be Rolled
Stir the cake mix, eggs, and oil just until a soft dough forms. It should be smooth and slightly sticky, but not wet enough to slump in the bowl. If you beat it too long, the dough can turn loose and the cookies spread more than they should. A short mix keeps the texture tender.
Shaping the Cookies Without Flattening Them
Roll the dough into 1-inch balls and set them on parchment-lined baking sheets with space between each one. They should hold their shape when you set them down, not puddle outward. Press the centers gently with your thumb or the back of a spoon; a quick, firm press works better than repeated poking, which can crack the dough edges too much.
Filling and Baking to the Right Set
Fill half the wells with strawberry preserves and the rest with blueberry preserves, then bake at 350°F until the edges are set and the centers look puffed but still soft, about 10 to 12 minutes. Pull them when the bottoms are just beginning to color; waiting for deep browning dries them out fast. The jam should look glossy and settled, not bubbling hard across the top.
Cooling So the Centers Stay Clean
Let the cookies cool completely on the pan before moving them. They firm up as they cool, and the preserves finish setting during that time. If you try to lift them too early, the centers can slide or the bottoms can break. A light dusting of powdered sugar goes on last, after the cookies are fully cool.
How to Adapt These Cookies for Different Tables
Make Them With Different Preserves
Raspberry, apricot, or cherry preserves all work here. Pick a thicker preserve, not a thin jam, so it stays in the center and doesn’t melt into the cookie top. The flavor changes more than the method does, which makes this an easy way to match what you already have in the pantry.
Gluten-Free Version
Use a gluten-free white cake mix in the same amount. The dough may feel a little softer, so chill it for 15 to 20 minutes if it seems hard to roll. That small rest helps the cookies keep their shape and keeps the centers from spreading too much.
Dairy-Free and Pantry-Friendly
This recipe is naturally dairy-free as written if your cake mix doesn’t contain milk ingredients. That makes it one of the easier cookies to bring to a mixed crowd without changing the texture or the bake time. Just check the cake mix label before you start.
Storage and Reheating
- Refrigerator: Store in an airtight container for 4 to 5 days. The cookies stay soft, though the jam center firms up a bit.
- Freezer: These freeze well. Freeze them in a single layer first, then transfer to a container with parchment between layers. Thaw at room temperature so the preserves don’t get sticky.
- Reheating: You don’t need to reheat them, but if you want that just-baked feel, warm a cookie for 5 to 7 seconds in the microwave. Longer than that makes the jam runny and the cookie too soft.
Answers to the Questions Worth Asking
Red White and Blue Thumbprint Cookies with Cake Mix
Ingredients
Equipment
Method
- Preheat oven to 350°F (175°C). Keep two oven-ready racks so the cookies bake evenly.
- Line two baking sheets with parchment paper. This prevents sticking and helps the thumbprints hold their shape.
- Combine cake mix, eggs, and vegetable oil in a large bowl. Mix just until a soft dough forms, with no dry pockets.
- Roll the dough into 1-inch balls. Keep them uniform so the baking time stays consistent.
- Place dough balls on the prepared baking sheets. Leave a little space between each cookie for slight spreading.
- Use your thumb or the back of a spoon to create an indentation. Press deep enough to hold preserves without tearing through the cookie.
- Fill half the cookies with strawberry preserves. Spoon in carefully so the centers stay mostly level.
- Fill the remaining cookies with blueberry preserves. Keep the fills inside the indentation to prevent overflow.
- Bake for 10–12 minutes. The cookies should look set around the edges while the centers remain slightly soft.
- Allow cookies to cool completely. This helps the preserves thicken so the thumbprints don’t slump.
- Dust lightly with powdered sugar if desired. Serve once dusting is set on top of the cool cookies.