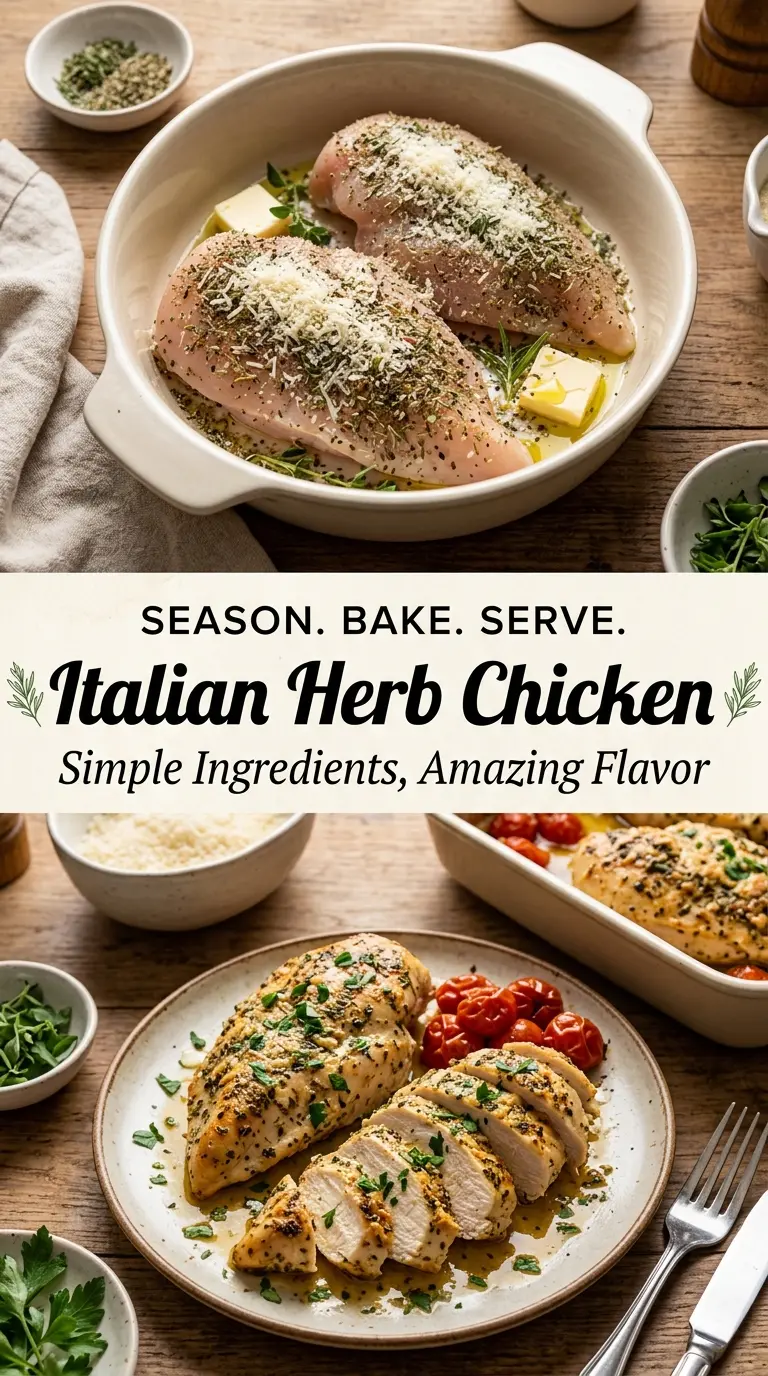
Juicy Italian Herb Chicken earns its place in the weeknight rotation because the seasoning clings to the outside, the meat stays tender, and the oven does the heavy lifting without drying everything out. The Parmesan in the spice mix gives the top a savory crust, while the olive oil helps the herbs bloom and keeps the chicken from turning leathery in the oven.
The part that matters most is starting with dry chicken and a thin, even coating of seasoning. If the breasts are damp, the spices slide off and you lose that concentrated savory layer on the outside. This version also keeps the herb blend straightforward: oregano, basil, parsley, thyme, garlic, and onion powder build that familiar Italian flavor without overwhelming the chicken.
Below, I’ll walk you through the small details that keep boneless chicken breasts juicy, plus a few smart swaps if you’re working with what’s already in your pantry.
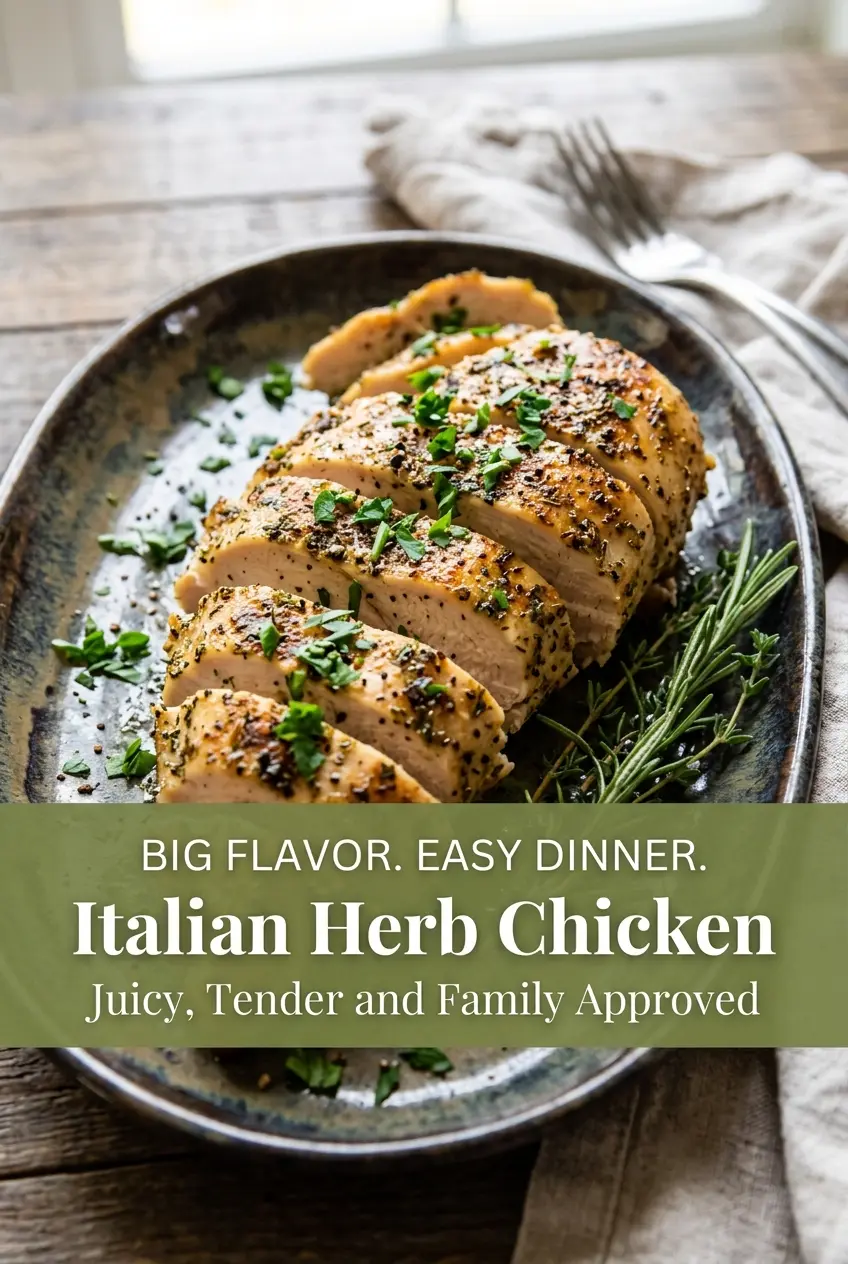
The Parmesan-herb coating came out crisp on top and the chicken stayed juicy all the way through. I baked mine for 23 minutes and it was perfect with roasted potatoes.
Save this juicy Italian Herb Chicken for the nights when you want a crisp Parmesan crust and a simple oven-baked dinner without extra fuss.
The Difference Between Juicy Chicken and Dry Chicken Starts Before the Oven
Boneless chicken breasts dry out for two common reasons: they’re uneven in thickness, or they go into the oven already wet. A thick end and a thin end won’t finish at the same time, which leaves one side overcooked by the time the center is safe. If you’ve ever pulled out chicken that looked done on the outside but still felt stringy and tight inside, that’s usually what happened.
Drying the surface matters more than people think. The herb-Parmesan mixture sticks better, the top browns instead of steaming, and the oil can do its job instead of sliding off onto the pan. If your chicken breasts are especially large, pound them lightly to an even thickness so they bake at the same pace.
- Chicken breasts — Boneless, skinless breasts work well here because they cook fast and take on the herb coating cleanly. If yours are very thick, split them horizontally or pound them to an even 1-inch thickness for better results.
- Olive oil — This helps the seasoning adhere and gives the top a little color. A standard everyday olive oil is fine; save the expensive finishing oil for another use.
- Dried herbs — Oregano, basil, parsley, and thyme create the Italian-style backbone. Dried herbs work better than fresh in the coating because they don’t burn as quickly in the oven.
- Parmesan — Finely grated Parmesan melts into the seasoning blend and adds salty, nutty depth. Pre-grated is usable, but freshly grated will coat more evenly and brown better.
Seasoning, Coating, and Baking Without Losing the Juices
Dry the Chicken First
Pat each breast dry with paper towels before anything else touches it. That one step keeps the seasoning from clumping and helps the top brown instead of going soft. If the chicken is coming straight from a package with extra liquid, blot it twice and discard any pooled moisture before you start.
Build the Herb Crust
Mix the garlic powder, onion powder, oregano, basil, parsley, thyme, salt, pepper, and Parmesan together before coating the chicken. An even dry mix keeps you from getting pockets of too much cheese or too much salt in one spot. Press the seasoning onto both sides so it actually sticks; sprinkling it from a height won’t give you the same coverage.
Bake Until the Center Reaches 165°F
Place the chicken in a lightly greased baking dish and bake at 400°F until the thickest part reaches 165°F, usually 22 to 25 minutes. Start checking early if the breasts are on the smaller side, because they can overcook fast once they pass the safe temperature. Pull the pan from the oven and let the chicken rest for 5 minutes so the juices settle back into the meat instead of running out onto the cutting board.
Make It Dairy-Free
Skip the Parmesan and add 1 to 2 teaspoons of nutritional yeast plus an extra pinch of salt. You lose a little of that salty, nutty crust, but the herbs still carry the dish and the chicken stays every bit as juicy.
Turn It Into a Thigh Dinner
Boneless skinless chicken thighs work here if you want a richer, more forgiving cut. They usually need a few extra minutes in the oven, and they stay juicier even if you go slightly past the target temperature.
Add a Little Heat
A pinch of red pepper flakes or a little cayenne gives the seasoning more edge without changing the structure of the recipe. The heat lands after the herbs and Parmesan, so it reads as background warmth instead of a hot-sauce bite.
Storage and Reheating
- Refrigerator: Store leftovers in an airtight container for up to 4 days. The coating softens a bit, but the flavor holds up well.
- Freezer: It freezes well for up to 2 months. Wrap tightly and freeze in single portions so the chicken thaws evenly.
- Reheating: Warm it covered in a 300°F oven with a splash of broth or water in the pan, or reheat gently in a skillet over low heat. High heat dries the lean meat out fast, so avoid blasting it in the microwave unless you’re reheating a single small piece.
Questions I Get Asked About This Recipe
Juicy Italian Herb Chicken
Ingredients
Equipment
Method
- Preheat the oven to 400°F (205°C) and set up a lightly greased baking dish or sheet pan for the chicken.
- Pat the chicken breasts dry with paper towels so the seasoning and oil cling well.
- Drizzle the olive oil over the chicken.
- Combine garlic powder, onion powder, dried oregano, dried basil, dried parsley, thyme, salt, black pepper, and Parmesan cheese until evenly mixed.
- Coat both sides of the chicken with the seasoning mixture, pressing lightly so it adheres.
- Place the chicken in a lightly greased baking dish.
- Bake at 400°F (205°C) for 22–25 minutes, until the internal temperature reaches 165°F.
- Let the chicken rest for 5 minutes before serving to keep the juices inside.
- Garnish with fresh parsley and serve with vegetables, rice, or potatoes.