
Magic Pumpkin Cobbler with Salted Caramel Sauce bakes into one of those desserts people spoon straight from the pan and then go back for “just one more” scoop. The batter rises around the pumpkin filling as it bakes, so you get crisp, buttery edges, a soft cake-like top, and a center that tastes like pumpkin pie without the crust work. The salted caramel sauce pushes it into full dessert territory, but the cobbler itself is still easy enough for a weeknight baking project.
What makes this version work is the layering. The melted butter stays under the batter, which helps the edges fry and brown instead of turning dense. The pumpkin filling goes on in dollops, not a swirl, so it settles into pockets and gives you those rich, custardy bites without sinking the whole dish. If you’ve ever had pumpkin desserts turn gummy or flat, this method fixes both problems.
Below, I’ll show you the one thing that matters most when you assemble it, plus a few swaps that keep the texture on track if you need to change the dairy or serve a bigger crowd.
The batter rose up around the pumpkin exactly like you said, and the caramel sauce thickened into this glossy, spoonable topping. I served it warm with vanilla ice cream and my husband went back for a second bowl before dinner dishes were even done.
Save this magic pumpkin cobbler for the nights when you want pumpkin pie flavor, caramel sauce, and a spoon-only dessert with almost no fuss.
The Batter Can’t Wait for the Filling
The biggest mistake with cobbler-style desserts is treating the batter like a topping. Here, it has to be poured over hot melted butter before anything else goes in, because that butter is what gives the base its fried, crisp edges. If the dish cools down too much before the batter hits it, the butter starts to firm up and you lose that clean lift around the edges.
The other part people fight is the instinct to stir. Don’t. The batter and pumpkin filling need to stay in separate layers so the oven can do the work. As the cobbler bakes, the batter rises through the filling and the pumpkin settles into soft pockets. Stirring turns the whole thing muddy and dense.
- Why the melted butter matters — It creates the crisp edge and keeps the bottom from tasting bready.
- Why the pumpkin goes on in dollops — Dollops give you pockets of filling instead of a uniformly heavy center.
- Why the bake time matters — Pull it when the edges are deep golden and the center no longer looks wet in the middle.
What Each Ingredient Is Doing in This Dish
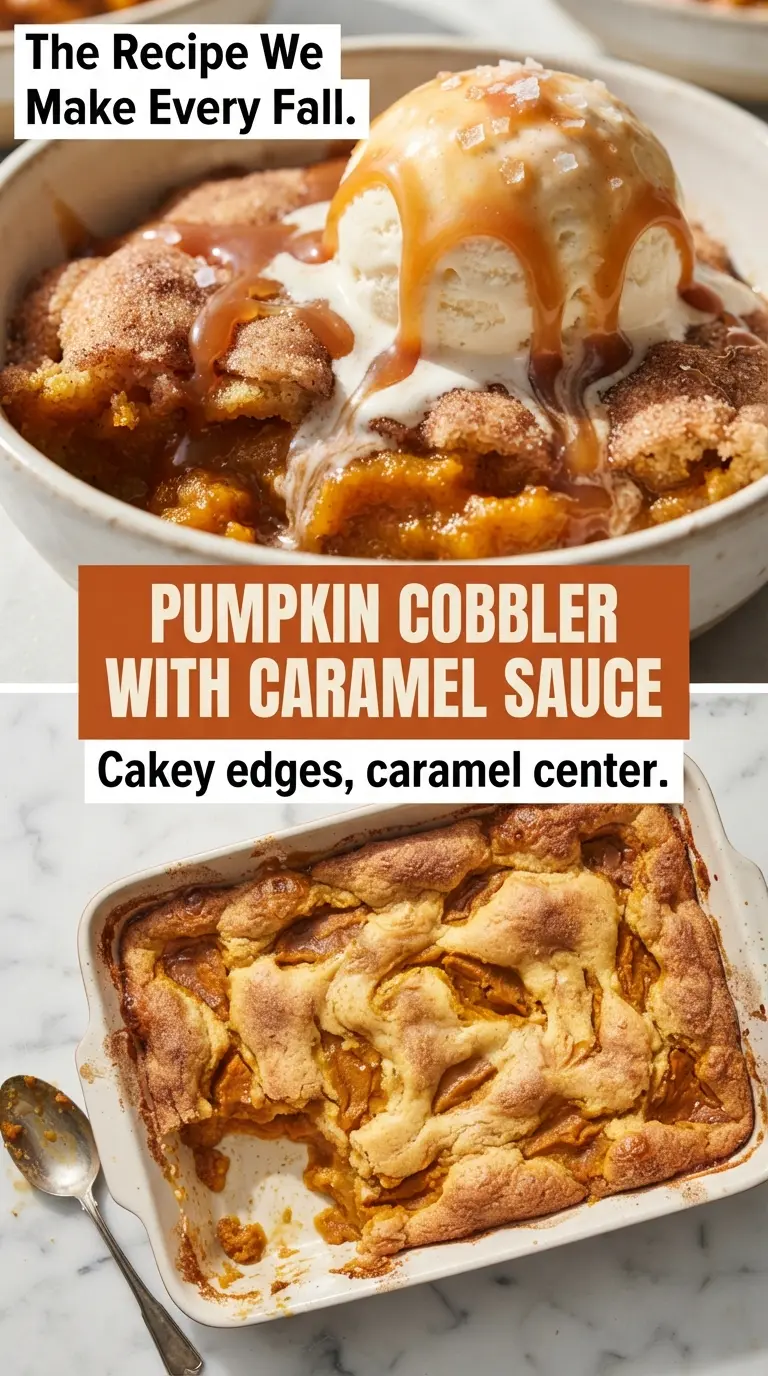
The pumpkin purée is the heart of the filling, but canned pumpkin varies more than people think. Use plain pumpkin purée, not pumpkin pie filling. Pie filling already has sugar and spices added, and that throws off both the texture and the sweetness. The brown sugar in the filling brings molasses depth and helps the pumpkin taste fuller, not flat.
Evaporated milk gives the filling body without thinning it out the way regular milk can. It bakes into a softer, richer center. If you need a substitution, heavy cream works, but the filling turns a little more luxurious and less pie-like. The pumpkin pie spice carries the whole thing, so if yours has been sitting in the cabinet for years, replace it. Stale spice tastes dusty in a dessert this simple.
The salted caramel sauce uses brown sugar, cream, and butter for a fast stovetop caramel that stays pourable. Flaky salt matters here because it cuts the sweetness and gives the sauce a clean finish. If you only have table salt, use less. It dissolves fast and can overpower the whole pan.
Building the Cobbler So the Layers Stay Distinct
Melting the Butter in the Baking Dish
Put the butter directly in the baking dish and let it melt in the oven. You want the dish hot enough that the butter is fully liquid before you pour in the batter, because the batter should spread over the butter instead of sinking into it. If the butter starts browning, that’s fine; just don’t let it burn. Brown butter here would shift the flavor away from pumpkin and toward toastiness, which can be nice but changes the dessert.
Mixing the Batter Just Until Smooth
Whisk the batter until you don’t see dry flour, then stop. Overmixing develops gluten and gives you a chewy, biscuit-like top instead of a tender cobbler crumb. The batter will be thin, and that’s correct. It should pour easily so it can float over the butter and bake up in a light layer.
Spoon the Pumpkin, Then Leave It Alone
Drop the pumpkin filling over the batter in large spoonfuls. Don’t drag the spoon through the batter, and don’t try to spread the filling into a full layer. The oven needs those separate pockets of pumpkin to create the uneven, cobbler-style texture. If you smooth it out, the dessert loses its contrast and turns cakey all the way through.
Watching for the Right Finish
The cobbler is done when the top is set, the edges are deeply golden, and the center has only the slightest jiggle. If the middle still looks wet, give it a few more minutes. Underbaking leaves the center gummy, especially because of the pumpkin and evaporated milk. Let it rest before serving so the filling settles and the spoonfuls hold together instead of running across the plate.
Three Ways to Make This Cobbler Work for Your Table
Dairy-Free Without Losing the Spoonable Center
Use plant-based butter and full-fat coconut milk in the filling and caramel sauce. The cobbler will still bake up with crisp edges, but the flavor shifts slightly toward coconut. Choose an unsweetened version so the caramel doesn’t turn cloying.
Gluten-Free With the Same Cakey Top
Swap the all-purpose flour for a 1:1 gluten-free baking blend that includes xanthan gum. That keeps the batter from falling apart and still lets it rise through the pumpkin. Skip single-ingredient starch blends here; they tend to bake up gummy instead of tender.
Making It for a Bigger Crowd
Double the recipe and divide it between two 9×13-inch dishes rather than forcing everything into one pan. If you overcrowd the dish, the batter won’t rise properly and the center takes too long to set. Two pans also give you more of those crisp, buttery edges everyone fights over.
Skipping the Caramel When You Need Less Sweetness
You can serve the cobbler plain or with a dusting of powdered sugar if you want the pumpkin to lead. The dessert is still complete without the sauce, but you lose the salty contrast that sharpens the pumpkin spice. For the best middle ground, drizzle on just a little caramel and keep the ice cream unsweetened or lightly sweetened.
Storage and Reheating
- Refrigerator: Store leftovers covered for up to 4 days. The top softens as it sits, but the flavor stays good.
- Freezer: Freeze portions without the caramel sauce for up to 2 months. Wrap tightly and thaw in the refrigerator before reheating.
- Reheating: Warm individual servings in the microwave in short bursts or reheat the whole dish in a 300°F oven, covered loosely with foil. Too much heat dries out the cake layer and makes the sauce grainy.
Answers to the Questions Worth Asking
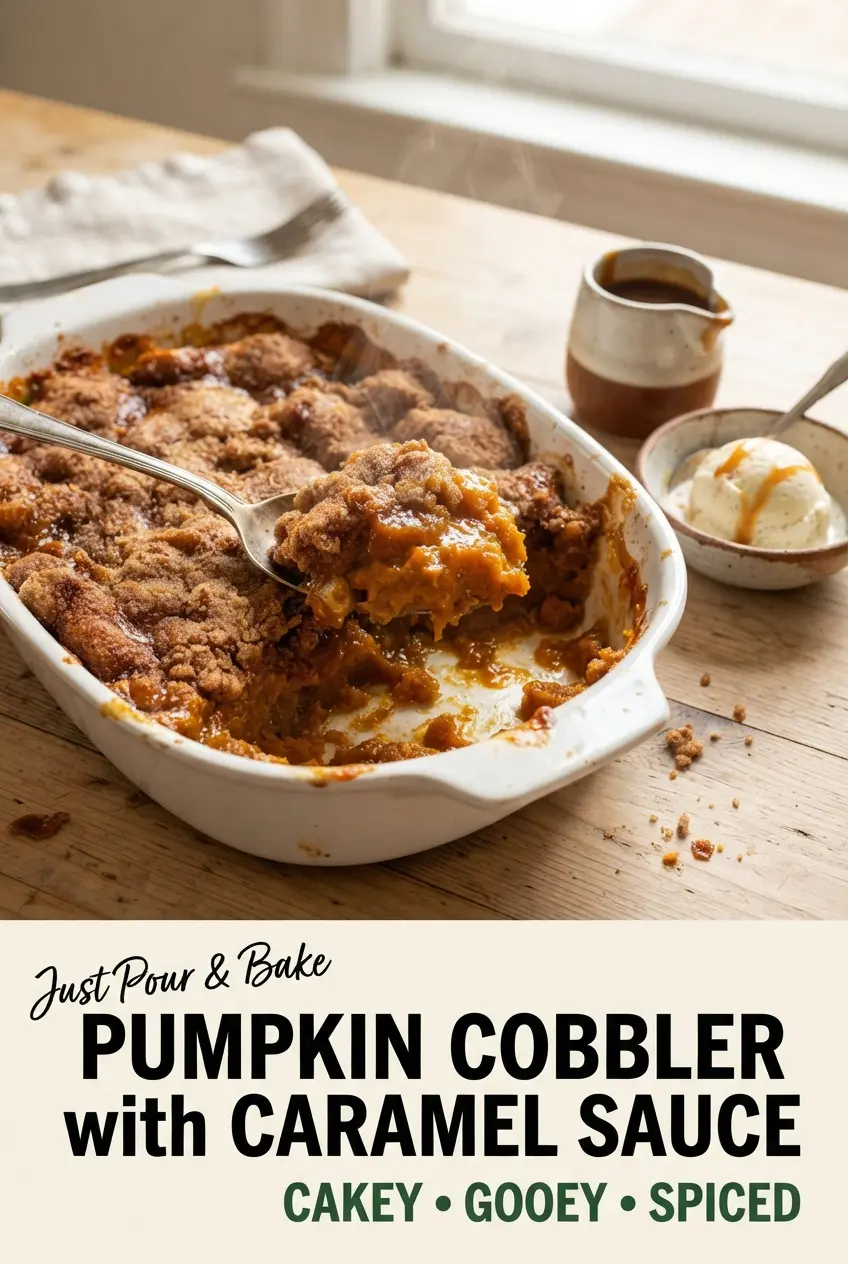
Magic Pumpkin Cobbler with Salted Caramel Sauce
Ingredients
Equipment
Method
- Preheat the oven to 350°F (175°C). Place 1/2 cup butter in a 9x13-inch baking dish and set it in the oven for 5–7 minutes, until melted, with the surface just starting to bubble.
- In a medium bowl, whisk the flour, granulated sugar, baking powder, and salt until evenly combined. Add the whole milk and pure vanilla extract and whisk until smooth, with no dry streaks remaining.
- Pour the batter evenly over the melted butter in the baking dish. Do not stir so the layers stay intact during baking.
- In another bowl, whisk the pumpkin purée, packed light brown sugar, evaporated milk, large egg, and pumpkin pie spice until smooth. The mixture should look uniform and pourable.
- Spoon the pumpkin filling in large dollops evenly over the batter. Do not stir so the filling bakes into a soft, pumpkin pie-like center.
- Mix the granulated sugar and ground cinnamon, then sprinkle it over the top. Aim for an even dusting so the cobbler browns in spots.
- Bake at 350°F (175°C) for 40–45 minutes, until the batter has risen around the pumpkin, the edges are golden and crisp, and the center is set. Look for a gentle jiggle in the middle with no wet batter on top.
- While the cobbler bakes, melt 1/2 cup butter in a saucepan over medium heat. Stir until fully melted and glossy.
- Stir in the packed light brown sugar and heavy cream in the saucepan. Keep stirring so the mixture thickens evenly.
- Simmer, stirring constantly, for 4–5 minutes until thick and glossy. The sauce should cling to the spoon.
- Remove from heat and stir in pure vanilla extract and flaky sea salt. Taste carefully and keep the sauce warm for serving.
- Let the cobbler rest for 15 minutes. This helps the center set as the caramel-like juices settle.
- Scoop into bowls and top with vanilla ice cream as desired. Pour warm salted caramel sauce over each serving right before eating for the best contrast.