
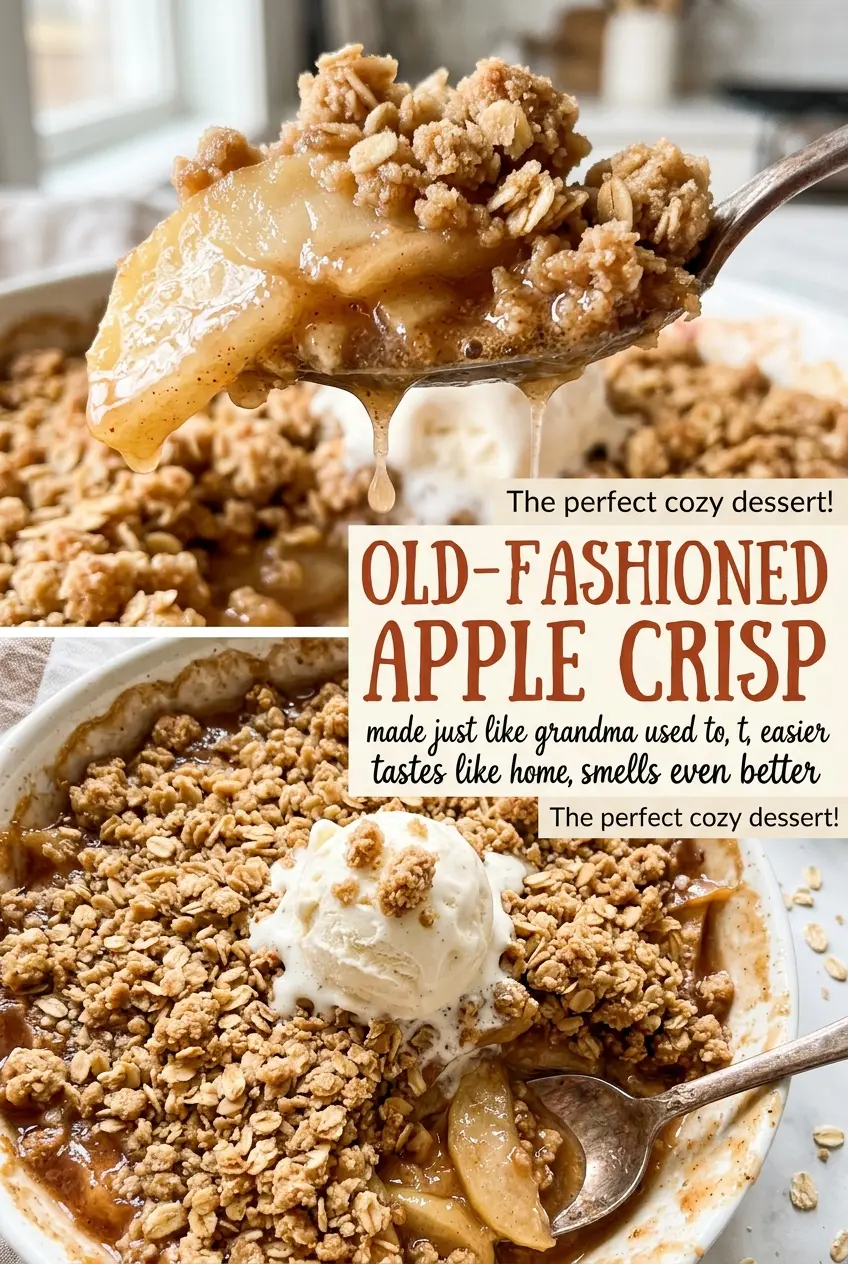
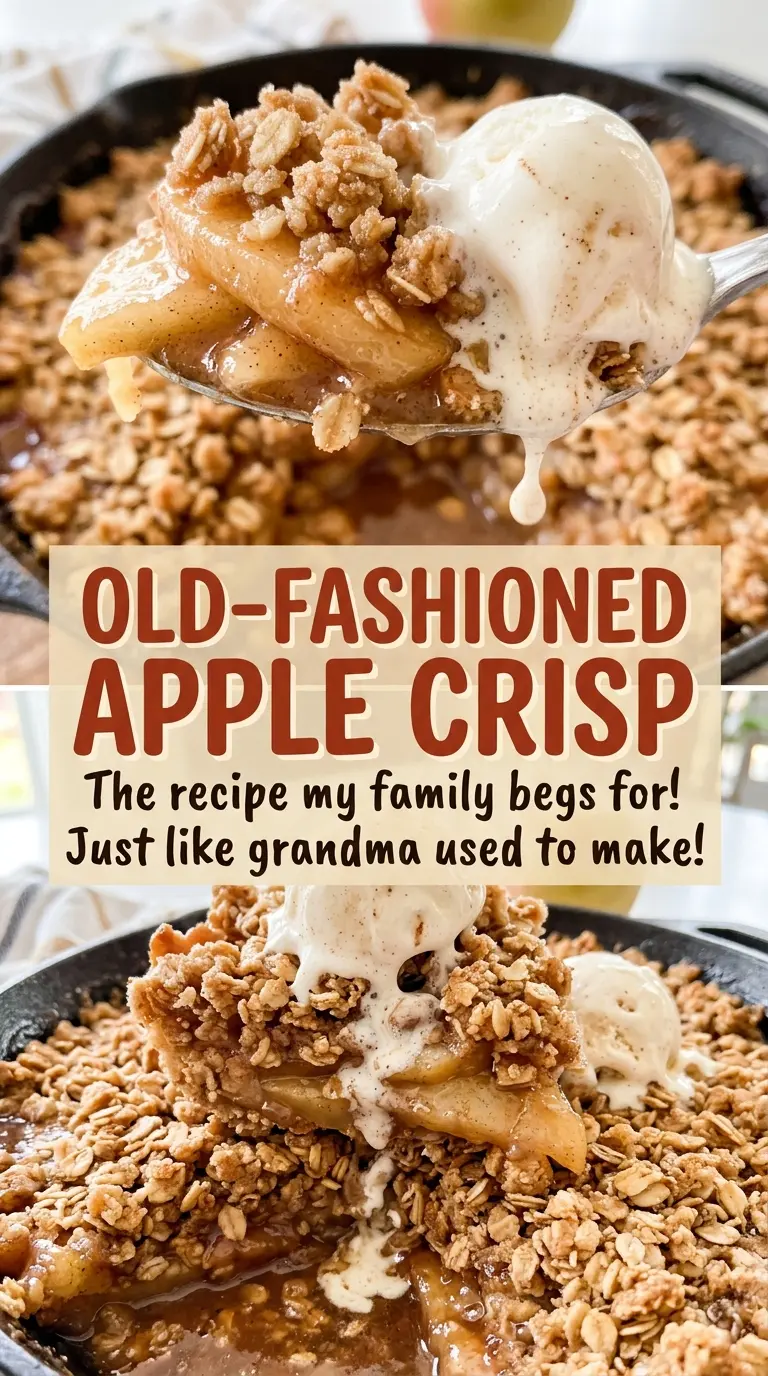
The baking dish comes out with a golden oat layer and little bubbles creeping up around the edges. That contrast is what I look for in Old-Fashioned Apple Crisp: browned crumbs above apples tender enough for a knife to pass through, but still holding their shape. Cinnamon comes through first, with a little warmth from the nutmeg underneath.
I slice the apples evenly so they soften at about the same pace, then toss them with the sugar, lemon juice, spices, and cornstarch before they go into the dish. That gives the filling a bright, lightly spiced taste and helps its juices thicken as it bakes. The topping is a simple mix of oats, flour, brown sugar, and butter, with a rough texture that stays distinct from the soft fruit.
This crisp fills a 9×13-inch dish and serves eight, so there’s enough topping to cover the apples without burying them. Once it’s baked, a short rest lets the bubbling filling settle into each spoonful. The best bite has tender apples underneath and crisp, buttery oat crumbs on top.
Kitchen Note
Stop working the butter in when you see coarse clumps about the size of peas. If you keep rubbing until the mixture looks uniform, you lose the little buttery pockets that bake into crisp crumbs.
Save this Old-Fashioned Apple Crisp for a cozy bake: tender cinnamon apples under a golden, buttery oat topping.
Why the Cornstarch Has to Coat the Apples, Not Just the Dish
Apples release juice as they bake, and cornstarch thickens that liquid into a soft filling. For it to work evenly, it needs to be tossed with the fruit before the apples go into the baking dish. Sprinkling the starch over the top after the apples are arranged can leave powdery pockets in one place and thin juice in another.
The sugar, lemon juice, spices, and starch all go into the bowl with the sliced apples, so each piece gets coated before baking. Give the mixture a thorough toss and scrape the bottom of the bowl once or twice; dry-looking patches of starch shouldn’t be left behind. The filling will still bubble as it cooks, but the juices will thicken more consistently when the starch is spread through the apples instead of sitting in clumps.
This matters especially in a fruit dessert, where the apples bring their own moisture and can vary a little from one batch to another. Even coating is a small step that makes the finished filling spoonable rather than watery or streaked with thickened spots.
What the Apples and Oats Bring to This Crisp
- Apples — Choose firm apples that hold their shape in the oven; a mix of tart and sweet apples gives the filling more dimension. Peel, core, and slice them evenly so you don’t end up with soft edges around thicker, firm centers. Keep the total quantity and quarter-inch slices consistent for this dish.
- Lemon juice and cornstarch — Lemon juice keeps the fruit from tasting flat, while cornstarch thickens the juices the apples release. Neither ingredient brings much flavor of its own, so use fresh lemon juice if it’s handy; the cornstarch needs to be evenly mixed through the fruit rather than left in dry pockets.
- Cinnamon and nutmeg — Ground cinnamon gives the filling its familiar warmth, and a smaller amount of nutmeg adds depth. Freshness matters most with ground spices that have been open for a long time; older spices tend to taste muted, though there’s no need for a specialty brand.
- Old-fashioned rolled oats — These give the topping visible flakes and a hearty bite. Quick oats make a finer, more compact crumb, so rolled oats are the better choice if you want the topping’s texture to stand apart from the filling.
- All-purpose flour and light brown sugar — Flour helps bind the oat topping, while packed brown sugar adds moisture and a mild molasses note. The light variety keeps the topping sweet without letting a strong molasses flavor take over.
- Cold unsalted butter — Cold cubes work into the dry ingredients as small pieces, then melt as the topping bakes. Soft or melted butter makes it harder to form those distinct crumbs, so keep it cold until you work it in.
From Even Apple Slices to a Crisp, Golden Top
Coat the Apples Before They Hit the Pan
Heat the oven to 375°F and lightly coat a 9×13-inch baking dish with cooking spray. Peel, core, and slice the apples 1/4 inch thick, then toss them in a large bowl with the granulated sugar, lemon juice, cornstarch, cinnamon, nutmeg, and kosher salt. Spread the coated apples evenly in the prepared dish so the fruit forms a level layer rather than a mound in the middle.
Make Crumbly Oat Clusters
Stir the rolled oats, flour, and packed light brown sugar together in a medium bowl. Add the cold, cubed butter and work it in with your fingers until coarse clumps about the size of peas form. The mixture should look uneven, with loose dry crumbs and small butter-bound clusters; don’t knead it into a smooth dough.
Bake Until the Fruit Is Tender
Scatter the topping evenly over the apples, reaching across the dish without pressing it down into a solid layer. Bake at 375°F for 45 to 55 minutes. Look for a golden-brown top and filling bubbling around the edges, then pierce an apple with a knife; it should slide in easily rather than meet a firm, crunchy center.
Let the Filling Settle
Set the baked crisp aside to rest for 20 minutes before serving. The filling is still loose and hot right out of the oven, so scooping immediately makes it harder to get fruit and topping together in one serving. After the rest, the apples are easier to portion beneath their layer of crisp crumbs.
Two Ways to Adapt the Apples and Topping
Use a Blend of Tart and Sweet Apples
Mix apple varieties while keeping the total amount and slice thickness the same. Tart apples make the filling taste brighter, while sweeter apples soften that edge; choose firm fruit so the slices keep some shape under the topping.
Make the Topping Gluten-Free
Replace the all-purpose flour with the same amount of a cup-for-cup gluten-free flour blend, and use oats labeled gluten-free. The topping may have a slightly different crumb depending on the blend, but the apple filling stays unchanged.
Storage and Reheating
- Refrigerator: Cover leftovers and refrigerate for up to 4 days. The topping softens somewhat as it sits with the moist filling.
- Freezer: Freeze cooled portions in a tightly sealed, freezer-safe container for up to 3 months. Thaw in the refrigerator before reheating.
- Reheating: Warm portions in a 350°F oven until heated through; reheating uncovered helps the topping regain some crispness. The microwave is quicker, but it softens the oat crumbs.
Questions That Come Up When Baking Apple Crisp
Old-Fashioned Apple Crisp
Ingredients
Equipment
Method
- Heat the oven to 375°F.
- Lightly coat a 9x13-inch baking dish with the cooking spray.
- In a large bowl, toss the apples with the granulated sugar, lemon juice, cornstarch, cinnamon, nutmeg, and salt.
- Spread the mixture evenly in the prepared dish.
- In a medium bowl, mix the oats, flour, and brown sugar.
- Work in the cold butter with your fingers until the mixture forms coarse, pea-size clumps.
- Scatter the topping evenly over the apples.
- Bake for 45 to 55 minutes, until the topping is golden brown and the filling bubbles around the edges and the apples are tender when pierced with a knife.
- Let the crisp rest for 20 minutes before serving.