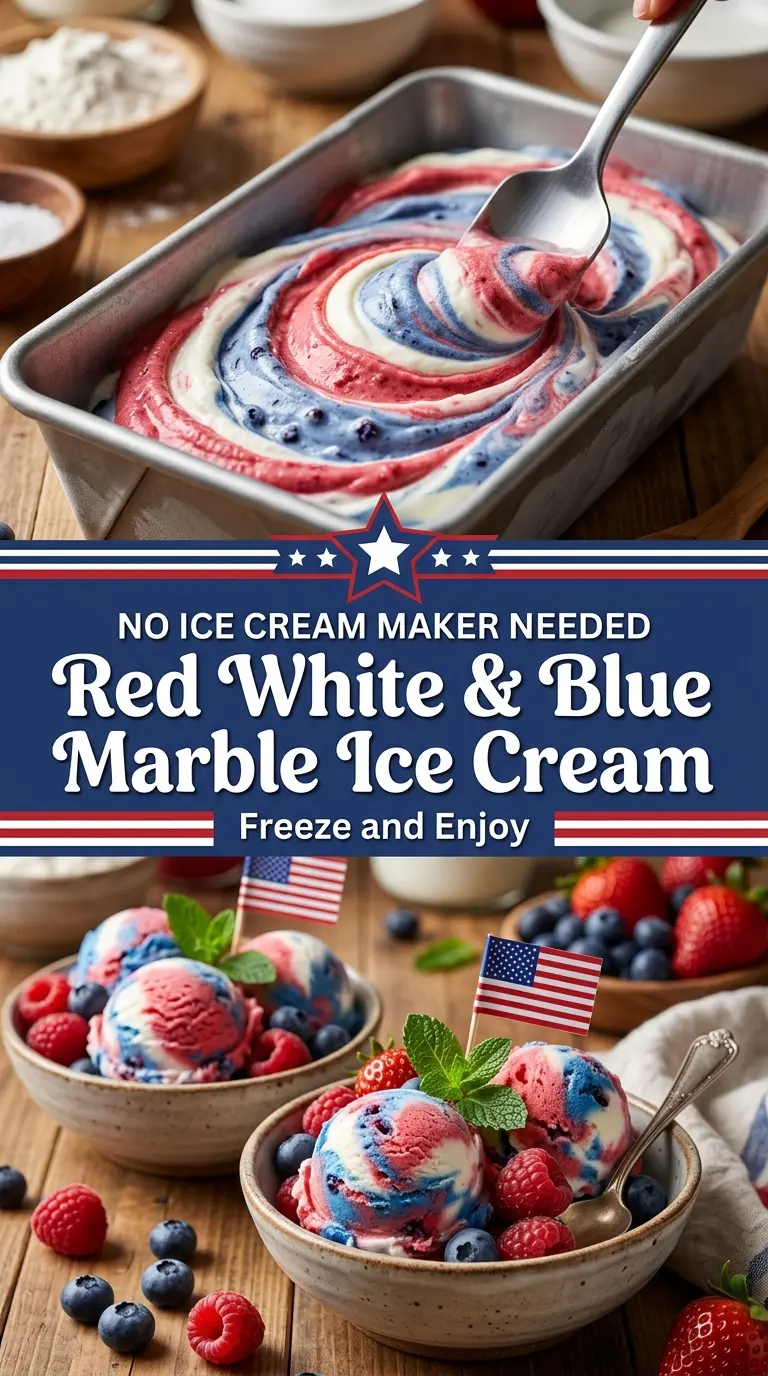
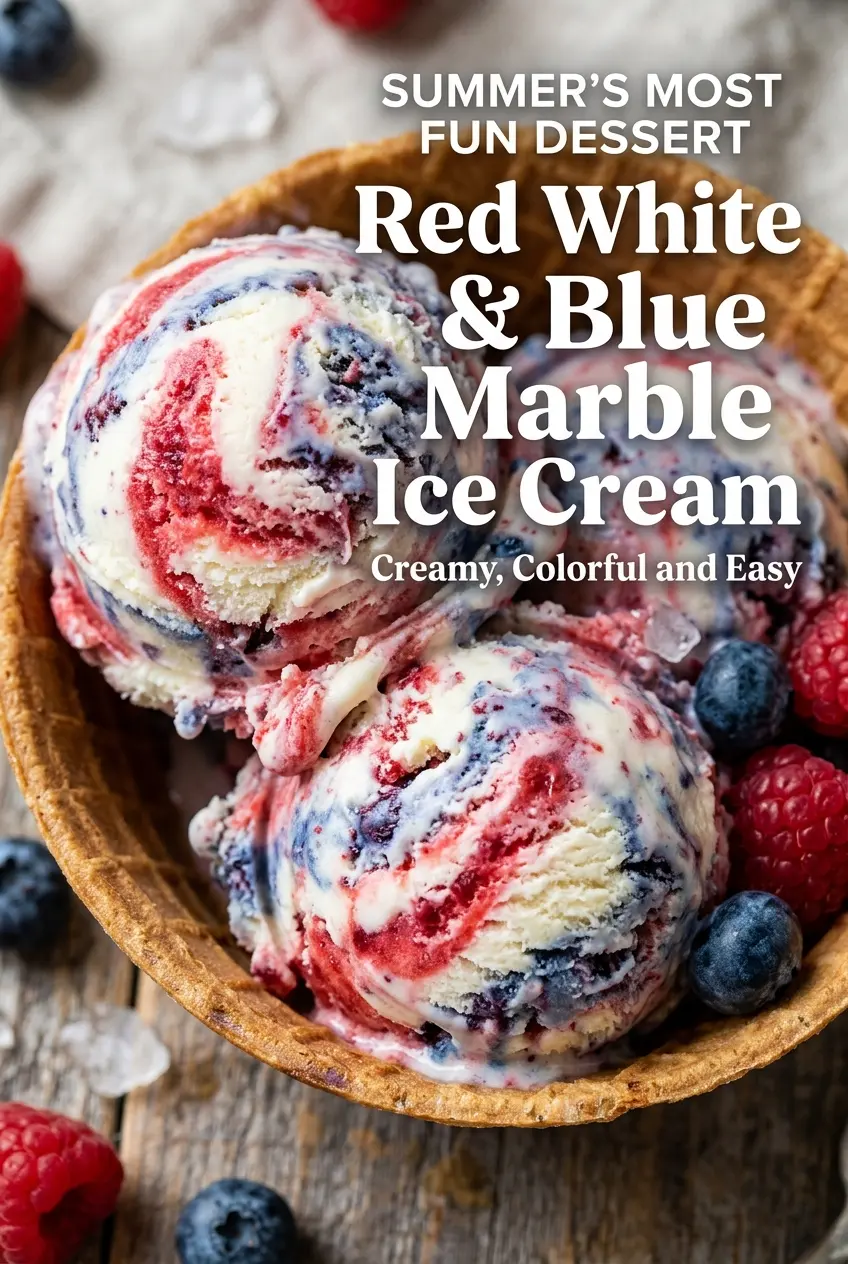
Red White & Blue Marble Ice Cream sets up into a creamy, scoopable frozen dessert with bold swirls that hold their shape instead of turning muddy. The texture lands somewhere between a homemade ice cream and a soft no-churn semifreddo, which is exactly why it works for a crowd: it slices cleanly, scoops beautifully, and looks festive without needing any fancy decorating work.
The trick is keeping the base light while still rich. Whipping the cream to stiff peaks gives the dessert its structure, and folding it in gently keeps the mixture airy enough to freeze smoothly. The strawberry and blueberry sauces do more than add color — they bring a little tartness that keeps the sweetness from flattening out. If you swirl too much, the red and blue disappear into a purple blur, so the goal is just a few confident passes with a knife.
Below, you’ll find the small details that matter most: how to keep the layers distinct, why the sauces should be thick, and the easiest way to serve this straight from the freezer without fighting the pan.
The swirls stayed bright after freezing, and the ice cream scooped cleanly after about 10 minutes on the counter. I liked that the berry sauces kept it from tasting one-note.
Save this Red White & Blue Marble Ice Cream for the swirls, the scoopable no-churn texture, and the berry ribbons that stay bright in the freezer.
The Trick to Keeping the Swirls Red, Blue, and Separate
Marble ice cream goes wrong when the base is too soft or the sauces are too thin. A loose filling spreads fast, and once the red and blue start bleeding into the cream, you lose the whole effect. This recipe depends on contrast: a thick, airy base and sauces that sit on top long enough to be swirled in by hand.
The other mistake is overworking it. One or two lazy passes with a knife are enough. If you keep stirring, the colors turn pastel and the dessert looks more gray than festive. Think of it as layering, not mixing.
What Each Ingredient Is Actually Doing in This Ice Cream
- Heavy whipping cream — This is the structure. It traps air when whipped, which is what lets the dessert freeze with a light, scoopable texture instead of turning dense and icy. Don’t swap in half-and-half or milk here; they won’t hold peaks.
- Sweetened condensed milk — This gives you sweetness and body without cooking a custard. It keeps the no-churn base smooth because the sugar lowers the freezing point, which helps prevent hard, icy edges.
- Vanilla extract — Vanilla rounds out the berry sauces and keeps the dessert from tasting like straight dairy and sugar. Use a good one if you have it, but standard grocery-store vanilla works fine.
- Strawberry sauce and blueberry sauce — These need to be thick enough to spoon in dollops, not pour like syrup. If yours are thin, simmer them a few extra minutes first so the swirls stay defined in the pan.
- Food coloring — A little goes a long way. Gel coloring gives the strongest color without thinning the base, but liquid coloring works if you add it sparingly.
Building the Base Without Knocking Out the Air
Whip the Cream to Firm Peaks
Beat the heavy cream until it holds stiff peaks and the whisk leaves clear trails. If you stop too early, the base won’t freeze with enough lift and the texture will be flatter. If you go too far, the cream turns grainy and starts to look broken, so watch for peaks that stand straight up without collapsing.
Fold, Don’t Stir
Mix the sweetened condensed milk and vanilla in one bowl, then fold in the whipped cream with a spatula. Use broad strokes from the bottom of the bowl and stop as soon as the streaks disappear. Stirring hard at this stage knocks out the air you worked to build, and that leaves you with a heavier, icier dessert.
Layer the Colors in the Pan
Divide the base into three portions, leaving one white, tinting one red, and one blue. Drop the colors into the loaf pan in alternating spoonfuls so the stripes sit next to each other instead of blending immediately. Add the strawberry and blueberry sauces over the top, then drag a butter knife through the pan just a few times to create ribbons.
Freeze Until Firm All the Way Through
Cover the pan tightly and freeze it for at least 6 hours, though overnight gives the cleanest scoop. If the center still feels soft when you try to serve it, it needs more time — no-churn ice cream should feel solid from edge to middle before you portion it. Let it sit at room temperature for 5 to 10 minutes before scooping so the swirls cut neatly.
How to Adapt This for Different Crowds and Kitchen Shortcuts
Make it dairy-free
Use a full-fat coconut whipping cream and a dairy-free sweetened condensed milk alternative. The texture will be a little softer and you’ll pick up a faint coconut note, but the swirls and the no-churn method still work well.
Use homemade berry sauces
Cook fresh strawberries or blueberries with a little sugar until thick and jammy, then cool them completely before swirling. Warm sauce will melt the base and smear the colors.
Make it less sweet
Skip the garnishes and use unsweetened berry puree for some of the swirl if you want a sharper finish. The condensed milk still carries most of the sweetness, so a little tart fruit helps balance it.
Storage and Reheating
- Refrigerator: Don’t store it in the fridge; it will melt into a soft cream soup within an hour.
- Freezer: Keep it covered for up to 2 weeks. After that, the texture starts to pick up more ice crystals around the edges.
- Reheating: There’s no reheating here. Let the pan sit at room temperature for 5 to 10 minutes before scooping so the surface softens without melting the whole dessert.
Answers to the Questions Worth Asking
Red White & Blue Marble Ice Cream
Ingredients
Equipment
Method
- Whip the heavy whipping cream in a large bowl until stiff peaks form, about 3 to 5 minutes, using a visible stand of peaks as your cue.
- In a second bowl, combine sweetened condensed milk and vanilla extract until smooth, about 30 to 60 seconds, with no streaks remaining.
- Gently fold the whipped cream into the condensed milk mixture just until combined, about 1 to 2 minutes, stopping when the mixture looks uniform and fluffy.
- Divide the mixture into three bowls so each color section is even, about 2 to 3 minutes total.
- Leave one bowl white while tinting one bowl red and the other blue with red food coloring and blue food coloring until the color is vivid, about 30 to 60 seconds.
- Spoon the three colors into a loaf pan in alternating dollops so you can see distinct red, white, and blue ribbons.
- Add spoonfuls of strawberry sauce and blueberry sauce throughout, then pause when you’ve created several visible pockets in each color area.
- Swirl the colors together gently with a butter knife just to marble the surface, about 10 to 20 seconds, and stop as soon as the ribbons are streaked but not fully blended.
- Cover the loaf pan tightly and freeze for at least 6 hours or overnight, until scoopable and firm, with a solid, non-jiggly texture as your cue.
- Scoop and serve with fresh strawberries and blueberries for garnish if desired, using a clean scoop for defined marbling.