
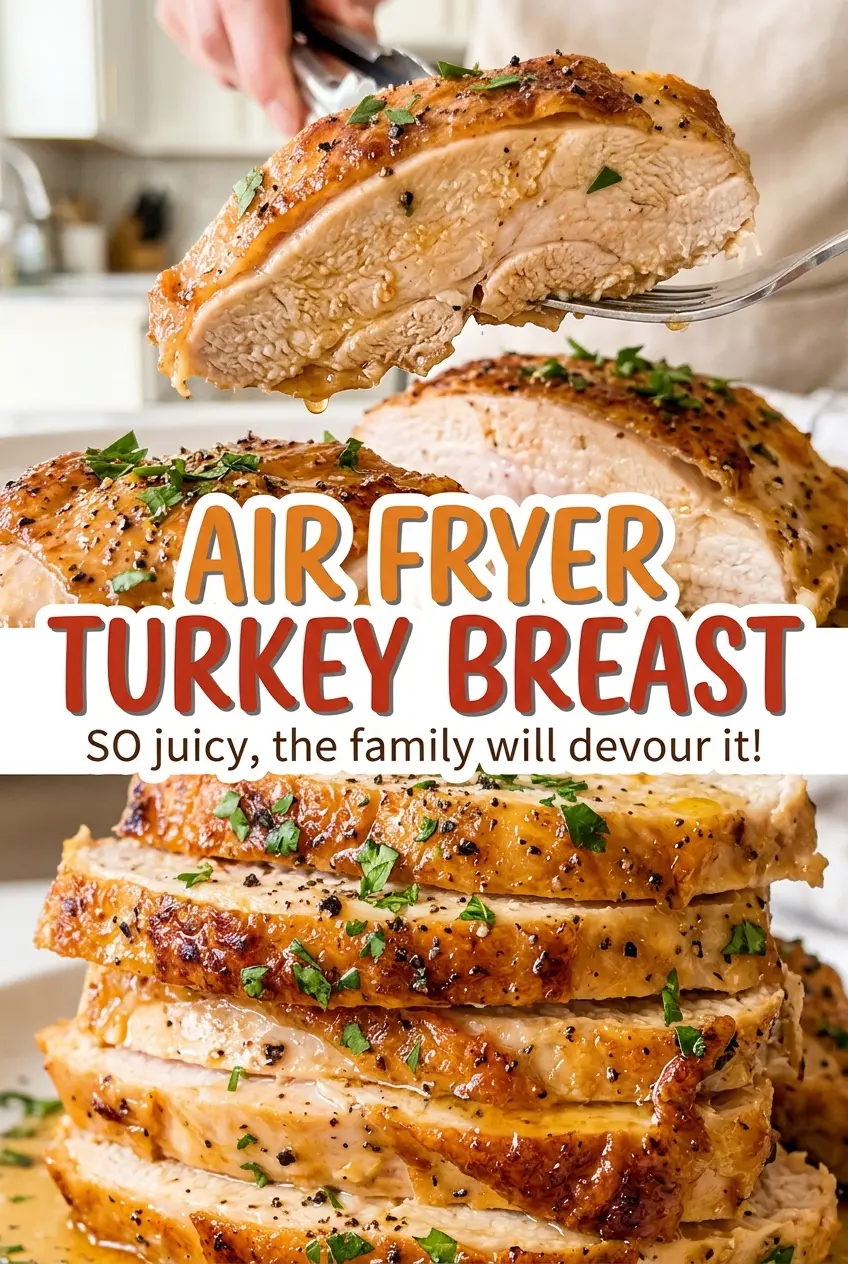
The skin is the first thing I check when I open the air fryer: it should look dry and start turning golden, not sit pale and damp against the turkey. Air fryers give a turkey breast direct, circulating heat, which makes this a practical way to get a roast-style centerpiece without heating the oven. I make this Air Fryer Turkey Breast with a bone-in, skin-on breast half, and the cut matters as much as the seasoning.
Rather than piling all the seasoning on top, I work a softened butter mixture beneath the skin and across the outside. That puts flavor against the meat while the skin cooks exposed in the basket. A fully thawed breast and a little patience at the end give you tender slices with savory seasoning and skin that has had room to brown.
Kitchen Note
The butter should be soft enough to spread without tugging at the skin. If it clumps instead of gliding, give it a few more minutes at room temperature before mixing in the seasonings.
Save this Air Fryer Turkey Breast for tender slices, savory herb butter, and golden skin from the air fryer.
Why This Turkey Breast’s Size Matters More Than Its Cook Time
This method is built for a 2½- to 3-pound bone-in, skin-on turkey breast half in a 6-quart air fryer. That’s a much different shape from a whole turkey or a large, boneless roast. The breast half sits in the basket with its skin facing up, giving the hot air access to the surface instead of burying it beneath another piece of meat.
The stated cook time is a range because breast halves aren’t identical. Their shape and thickness affect how quickly the center cooks, even when the weights are close. Treating the clock as an estimate keeps you from cooking a smaller or thinner piece longer than it needs. The skin and seasoning contribute plenty of flavor, but neither can rescue meat that has gone past its best texture. Stick with the specified cut and size for the most reliable result; a larger piece needs its own timing rather than an automatic extension of this one.
There’s also a useful difference between skin that looks browned and meat that’s ready to carve. Color gives you a read on the outside, not the center. A thermometer gives you the information that matters inside the breast, while the bone can interfere with an accurate reading if the probe touches it.
The Skin, Butter, and Seasonings That Shape Every Slice
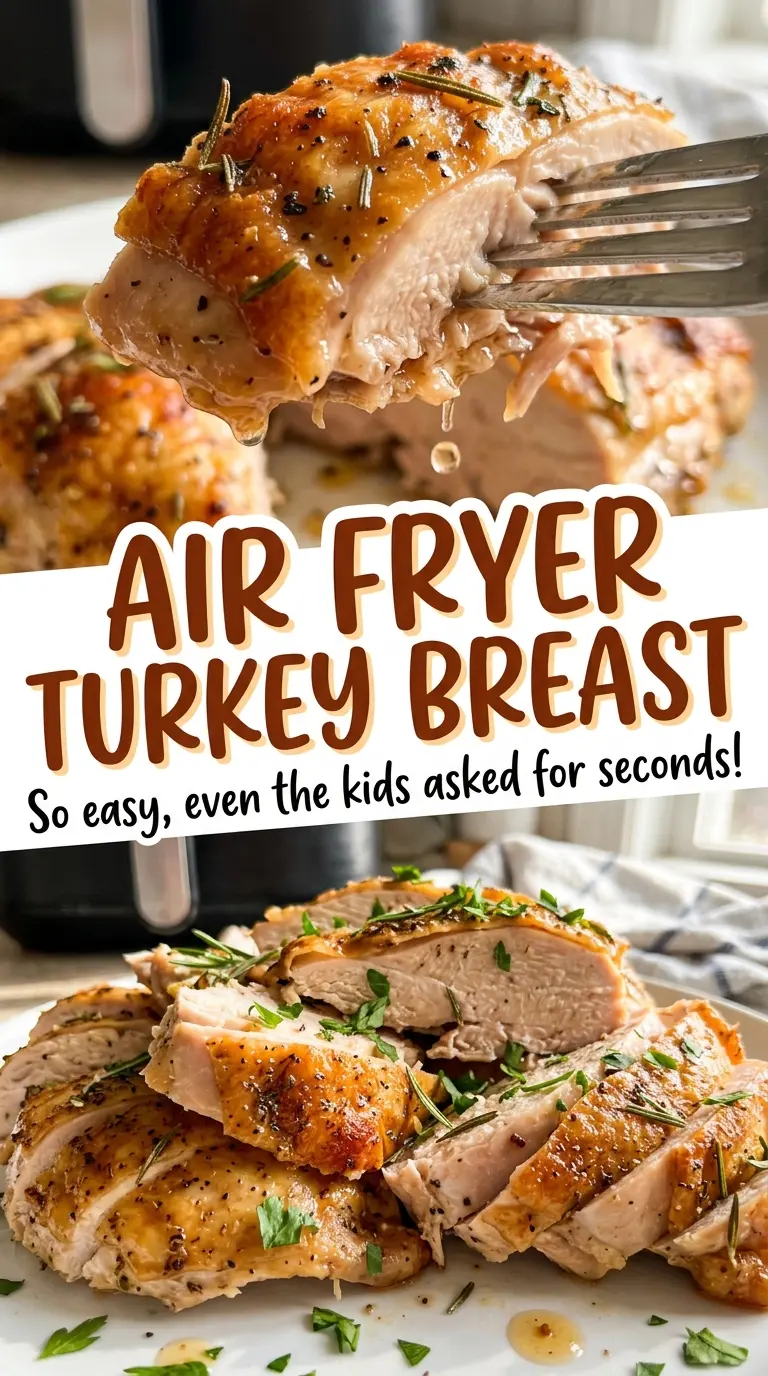
- Bone-in, skin-on turkey breast — The bone helps keep the breast’s shape as it cooks, and the skin protects the surface while giving the seasonings a place to cling. Choose the specified half rather than a whole breast, and thaw it completely before cooking. A standard grocery-store turkey breast works well; there’s no need to seek out a specialty cut.
- Unsalted butter — Softened butter carries the spices and spreads beneath the skin more easily than melted butter, which can run off before it’s rubbed in. Unsalted butter also lets the kosher salt do the seasoning. For a dairy-free version, use a firm, softened dairy-free butter; a neutral cooking oil can work in a pinch, though it won’t have the same buttery aroma or spread as neatly under the skin.
- Kosher salt and black pepper — Salt seasons the meat, while pepper adds a gentle bite that balances the butter. Freshly ground pepper has a brighter aroma, but ordinary pre-ground black pepper is fine here. Keep the kosher salt in the blend rather than relying on a heavily salted butter, which makes the seasoning harder to control.
- Garlic powder, dried thyme, and paprika — These dry seasonings distribute evenly through the softened butter and give the outside a savory, lightly herbal taste. Dried thyme is a good fit because it stays fragrant during the longer cook; fresh herbs are harder to spread evenly in this rub. Regular paprika lends color without turning the turkey hot or smoky.
How to Cook a Bone-In Turkey Breast Without Drying the Edges
Preheat and dry the surface
Preheat a 6-quart air fryer to 350°F. While it heats, pat the fully thawed turkey breast dry with paper towels. Dry skin is easier to season and has a better chance of browning than a damp surface. Take care around the edges and underside, where moisture can collect.
Work the herb butter under the skin
Gently loosen the skin with your fingers, working slowly so it stays intact. Mix the softened butter with the kosher salt, black pepper, garlic powder, dried thyme, and paprika. Rub the mixture under the loosened skin and over the outside of the breast. If you rush this part and tear the skin, keep the rub spread across the remaining exposed surface rather than pulling harder.
Cook skin-side up and check the center
Set the turkey breast skin-side up in the air fryer basket and cook at 350°F for 50 to 65 minutes, checking after 45 minutes. Insert an instant-read thermometer into the thickest part of the breast, taking care not to touch bone. The turkey is ready when that spot reaches 165°F. The exterior may brown before the center is cooked through, so judge doneness by the thermometer rather than the skin’s color.
Rest before carving
Transfer the cooked turkey to a cutting board and let it rest for 15 minutes before carving. The pause gives the juices time to settle instead of running across the board as soon as you cut in. Use a sharp carving knife and steady strokes to get clean slices through the breast meat.
Three Small Changes That Give This Turkey a Different Direction
Make the herb butter dairy-free
Replace the unsalted butter with softened dairy-free butter and keep the rest of the seasoning blend the same. A firm, stick-style product is easiest to spread beneath the skin; the finished turkey will lose some buttery richness but keep the garlic, thyme, and paprika notes.
Give the rub a smoky edge
Swap regular paprika for smoked paprika in the butter mixture. It brings a woodsy aroma and a deeper color without changing the air-fryer method. Keep the garlic and thyme in place so the smoke stays in the background rather than taking over.
Trade thyme for sage
Use dried sage in place of the dried thyme for a more woodsy, savory rub. Keep the same quantity as the thyme in the ingredient list, and mix it into the softened butter as usual. Sage is assertive, so this swap makes the seasoning taste more distinctly herbal.
Storage and Reheating
- Refrigerator: Refrigerate leftovers within 2 hours and keep them covered for 3 to 4 days. Sliced breast dries out faster than a larger piece, so store it in larger portions when you can.
- Freezer: Freeze carved turkey in an airtight container or freezer bag for up to 2 to 6 months for best quality. Press out excess air and thaw it in the refrigerator before reheating.
- Reheating: Warm slices gently in a covered oven-safe dish with a spoonful of water or broth to keep them from drying. The air fryer can crisp the skin again, but it can also dry thin slices quickly; use a covered dish when juicy meat matters more than crisp skin.
Questions That Come Up With Air Fryer Turkey Breast
Air Fryer Turkey Breast
Ingredients
Equipment
Method
- Preheat a 6-quart air fryer to 350°F.
- Pat the turkey breast dry with paper towels.
- Gently loosen the skin without tearing it.
- Mix the softened butter, salt, pepper, garlic powder, thyme, and paprika.
- Rub the mixture under the skin and over the outside of the breast.
- Place the turkey breast skin-side up in the air fryer basket.
- Cook at 350°F for 50 to 65 minutes, checking after 45 minutes, until the thickest part of the breast reaches 165°F without the thermometer touching bone.
- Transfer the turkey to a cutting board.
- Rest for 15 minutes before carving.