
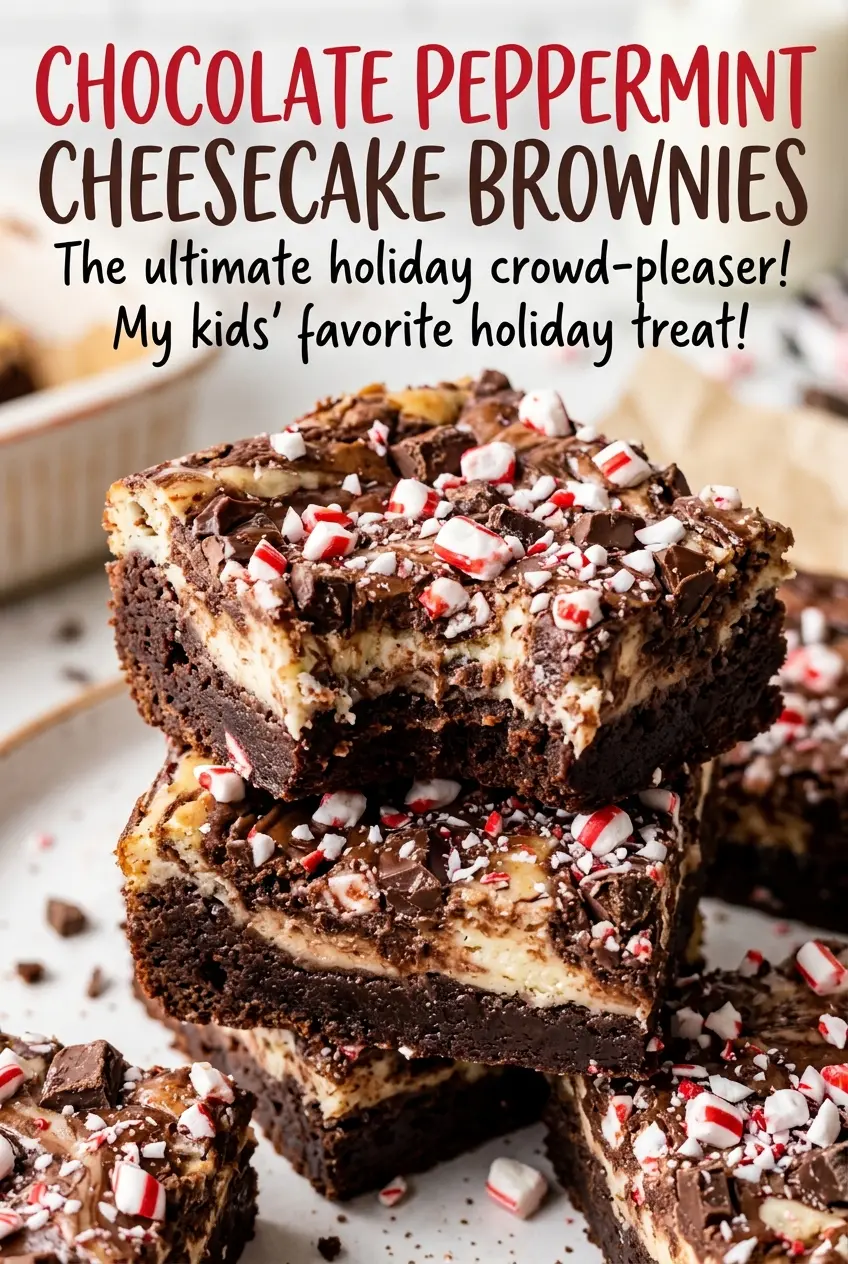
When the knife reaches the center, the brownie layer holds its shape while the cheesecake gives just a little. That contrast is what makes these chocolate peppermint cheesecake brownies different from a pan of frosted brownies: there’s a cool, creamy layer between the chocolate and the peppermint crunch.
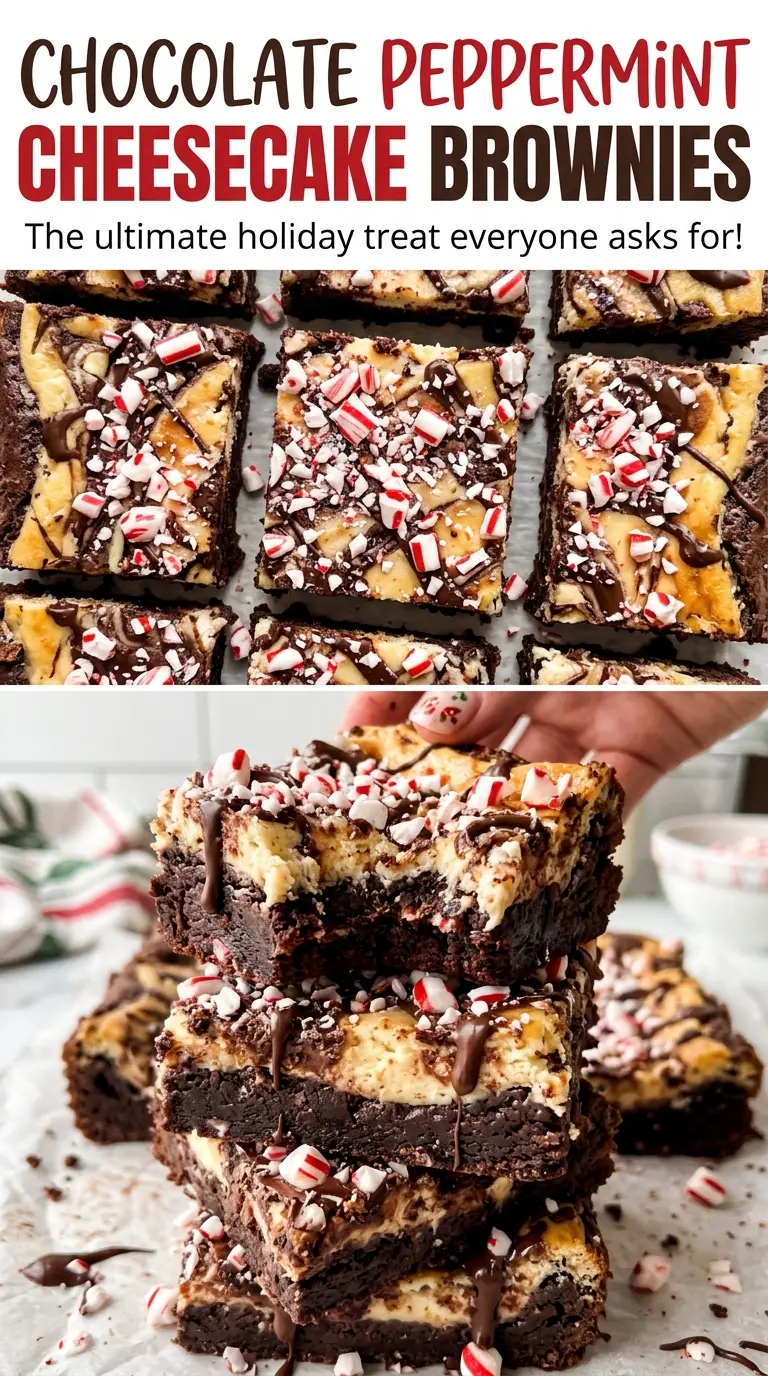
I keep the peppermint extract in the cheesecake mixture, where its cool flavor can stand out without taking over the brownie. A little reserved brownie batter swirled across the top makes the two layers look marbled and gives you chocolate in every bite.
The hardest part is waiting for the pan to chill before cutting. Once it’s firm, the pieces come out with neat edges and a fudgy bottom, a soft cheesecake middle, and candy crunch on top.
Kitchen Note
Wait until the brownies are fully chilled before adding the crushed peppermint. The candies go on just before serving, so their crisp edges stay distinct instead of picking up moisture from the cheesecake.
Save these chocolate peppermint cheesecake brownies for a bake sale or dessert tray: they layer fudgy chocolate with a cool peppermint cheesecake swirl.
Why the Peppermint Goes Into the Cheesecake, Not the Brownie
Peppermint can crowd out chocolate when it’s mixed through an entire dessert. Here, the brownie layer stays focused on semisweet chocolate, and the mint sits in the cheesecake layer above it. Each bite starts with rich brownie, then picks up a cooler, tangier note from the cream cheese.
That separation also gives you control over the balance. The brownie batter is spread as one base, while a small portion is saved for the top. When you drag that reserved batter through the cheesecake with a knife, you get ribbons rather than a fully mixed layer. Keep the swirls loose; the contrast between the two flavors is part of what makes this combination work.
The peppermint candy on top brings a separate bit of sweetness and crunch. It’s a small finish, not a replacement for the extract in the cheesecake, so the mint still comes through in the creamy layer.
What Gives Each Layer Its Character
- Semisweet chocolate — Chopped chocolate melts smoothly with the butter and gives the brownie layer its deep cocoa flavor. Bittersweet chocolate works in the same amount by weight if you prefer a darker, less-sweet base; chocolate chips are a handy backup, though they may melt less fluidly.
- Butter — Unsalted butter lets the fine salt season the brownie without the added salt level varying from one brand of butter to another. Use unsalted rather than trying to adjust for a salted brand.
- Cream cheese — Choose block-style cream cheese and soften it before beating; it gives the top layer its tang and creamy set. Neufchâtel can replace it in the same amount by weight, though the cheesecake layer will be a little less rich and may set more softly.
- Peppermint extract — A pure peppermint extract gives the cheesecake its clean mint note. Peppermint oil isn’t a direct swap because it’s much more concentrated, and the amount used for extract won’t translate safely or reliably.
- All-purpose flour — Flour gives the brownie base enough structure to support the cheesecake layer while keeping it tender. For a gluten-free version, use a cup-for-cup gluten-free baking blend made to replace all-purpose flour.
- Crushed peppermint candies — These add the crisp finish that contrasts with the soft layers. Any hard peppermint candy that crushes cleanly works; the specialty or holiday-shaped versions aren’t necessary.
Building the Brownie Base and Cheesecake Swirl
Melt the Chocolate Without Scorching It
Heat the oven to 350°F and line a 9×13-inch metal pan with parchment, leaving enough overhang to lift the brownies out later. Melt the butter and chopped chocolate together in a medium saucepan over low heat, stirring often for about 4–6 minutes. The mixture should look glossy and smooth, not scorched around the edges. Take the pan off the heat before whisking in the sugar.
Mix the Brownie Batter Gently
Whisk in the eggs one at a time, then add the vanilla. Fold in the flour and fine salt just until no dry streaks remain; stopping there helps keep the brownie layer from turning tough. Measure out 3/4 cup of batter and set it aside for the swirl. Spread the rest evenly in the parchment-lined pan.
Make the Cheesecake Layer and Swirl
Beat the softened cream cheese with the sugar until smooth, about 1–2 minutes. Beat in the egg, vanilla, and peppermint extract just until combined; mixing longer than needed can make the filling loose. Spread the cheesecake mixture over the brownie base, then drop the reserved batter in small spoonfuls over the top. Draw a knife gently through the spoonfuls to make broad swirls rather than blending the layers together.
Bake Until the Center Has a Slight Jiggle
Bake for 35–42 minutes. The cheesecake should be set around the edges with a slight jiggle in the center, while a toothpick inserted into a brownie section should come out with a few moist crumbs. Let the pan cool on a rack until it reaches room temperature, about 2 hours. Refrigerate for at least 3 hours, until firm, before lifting the brownies out and cutting them into 24 pieces.
Ways to Adjust the Chocolate and Peppermint
Use bittersweet chocolate for a darker brownie
Replace the semisweet chocolate with the same amount of chopped bittersweet chocolate. The brownie will taste more cocoa-forward and less sweet beside the cheesecake, while the layers and method stay the same.
Make the brownie layer gluten-free
Replace the all-purpose flour with the same amount of cup-for-cup gluten-free baking blend. Choose a blend formulated for baking, and expect the brownie layer to be a touch more delicate when cut.
Skip the candy topping for a softer finish
Leave off the crushed peppermint candies if you want the brownie and cheesecake textures to stay uninterrupted. The peppermint extract still flavors the cheesecake, but you’ll lose the crisp, sweet finish on top.
Storage and Reheating
- Refrigerator: Keep the cut brownies covered in an airtight container for up to 4 days. The brownie layer will firm up as it chills.
- Freezer: Freeze the cut brownies without the candy topping, wrapped tightly and stored in an airtight container, for up to 2 months. Thaw them in the refrigerator before serving.
- Reheating: These are best chilled or briefly brought toward room temperature; reheating can soften the cheesecake unevenly and make the brownie layer greasy.
Questions About Chocolate Peppermint Cheesecake Brownies
Chocolate Peppermint Cheesecake Brownies
Ingredients
Equipment
Method
- Preheat the oven to 350°F.
- Line a 9x13-inch metal baking pan with parchment paper, leaving enough overhang to lift out the brownies.
- Melt the butter and chocolate in a medium saucepan over low heat, stirring often, about 4-6 minutes.
- Remove the chocolate mixture from the heat and whisk in the sugar.
- Whisk in the eggs one at a time.
- Whisk in the vanilla.
- Fold in the flour and salt just until no dry streaks remain.
- Set aside 3/4 cup of the brownie batter.
- Spread the rest of the brownie batter evenly in the prepared pan.
- Beat the cream cheese and sugar in a medium bowl until smooth, about 1-2 minutes.
- Beat in the egg, vanilla, and peppermint extract just until combined.
- Spread the cheesecake mixture over the brownie layer.
- Drop the reserved brownie batter in small spoonfuls over the top.
- Swirl gently with a knife.
- Bake for 35-42 minutes, until the cheesecake layer is set with a slight jiggle in the center and a toothpick inserted into a brownie section comes out with a few moist crumbs.
- Cool in the pan on a rack until room temperature, about 2 hours.
- Refrigerate for at least 3 hours until firm.
- Lift the brownies from the pan and cut into 24 pieces.
- Sprinkle with the crushed peppermint candies just before serving.