
The paper towels tell you whether the turkey is ready for the dry brine: if the skin still feels slick, keep patting until it’s dry. I don’t rinse the bird, and I take a few minutes to loosen the skin carefully before seasoning. That gives the salt and pepper a way to reach the meat, not just sit on the surface.
With dry brine turkey, the refrigerator does more than chill the bird. Leaving it uncovered gives the skin time to dry while the salt seasons the meat. I use a turkey that hasn’t been injected or pre-salted, since it’s hard to judge how much salt is already inside a treated bird.
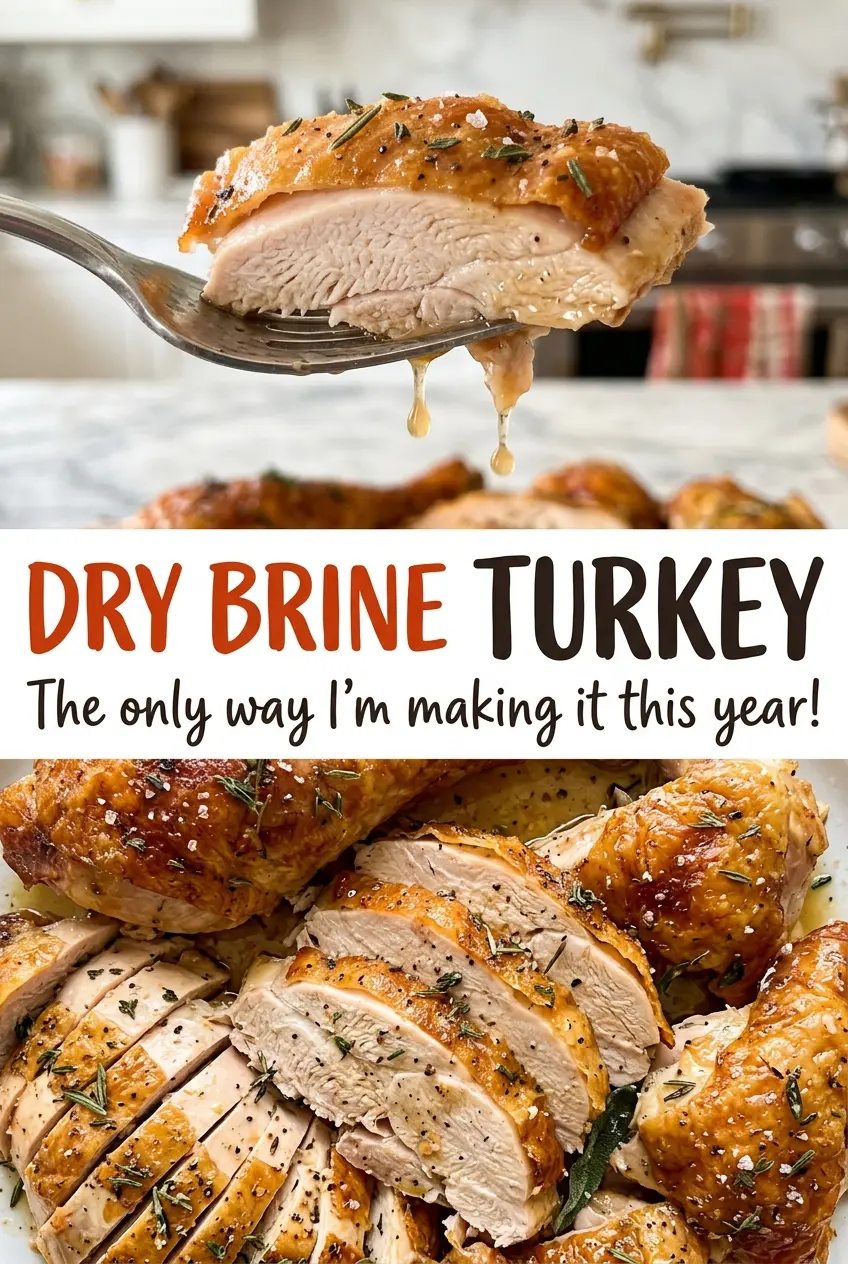
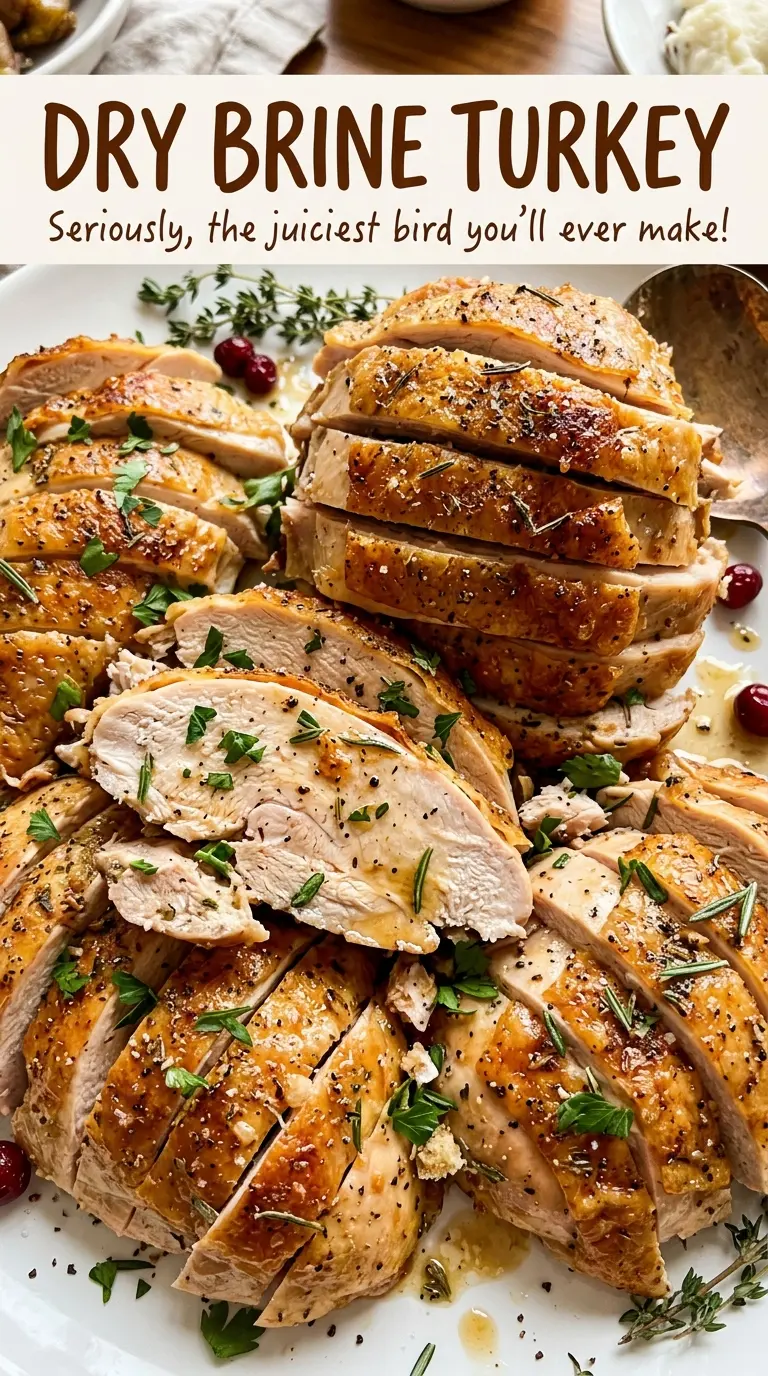
The roast starts hot, then finishes at a lower temperature. That change gives the skin a head start without asking the breast to endure high heat for the whole roast. After a full rest, the turkey is ready for clean slices, with seasoning under the skin and golden skin on top.
Kitchen Note
I rub the oil over the skin after the onion and lemon go into the cavity. Keeping that order makes it easier to coat the outside without getting oil on the aromatics or missing the legs and sides.
Save this dry brine turkey for a roast with well-seasoned meat, golden skin, and a simple onion-and-lemon aroma.
Why a Pre-Salted Turkey Can Turn This Dry Brine Too Salty
Dry brining gives the salt time to season the meat, so the starting turkey matters. A bird that’s been injected or pre-salted already has salt in it; adding a full dry brine on top can leave the meat unpleasantly salty. Look for a plain, untreated turkey, and check the package rather than guessing from the way the bird looks.
The other part of the method is the uncovered refrigerator rest. Salt first draws moisture to the surface, then that seasoned moisture is absorbed back into the meat. Meanwhile, the open air helps the skin dry. Covering the bird traps moisture around it, working against the dry surface this roast needs.
Those two choices solve different problems: an untreated bird lets you control the seasoning, and uncovered chilling helps the skin roast rather than steam. The long rest also means the seasoning has time to reach beyond the outermost layer. It’s a useful distinction from sprinkling salt on just before the turkey goes into the oven.
Why Diamond Crystal and an Untreated Turkey Matter
- Whole turkey — Choose a completely thawed bird that weighs 12 pounds and hasn’t been injected or pre-salted. A treated turkey can take on too much salt, while a partly frozen bird is harder to season evenly beneath the skin.
- Diamond Crystal kosher salt — The salt seasons the meat during the refrigerator rest. This formula is built around Diamond Crystal; kosher salt crystals vary in density, so another brand shouldn’t be measured by the same volume without adjusting the amount.
- Black pepper — It adds a gentle savory bite alongside the salt. Freshly ground pepper gives a more pronounced aroma, but ordinary ground black pepper works for an even, familiar seasoning.
- Onion and lemon — Quartering both exposes their cut surfaces so they can scent the cavity as the turkey roasts. They’re aromatics, not stuffing, so keep them in the cavity rather than packing the bird with additional ingredients.
- Neutral oil — A thin coating helps the skin brown without adding a strong flavor of its own. It also keeps the outside simple and works as the dairy-free fat in this roast.
The Uncovered Brine, Then the Two-Temperature Roast
Dry the bird and season under the skin
Pat the thawed turkey dry with paper towels, and don’t rinse it. Carefully loosen the skin over the breast and thighs, working slowly so it lifts without tearing. Rub the salt and pepper over the outside and inside the cavity, then spread seasoning beneath the loosened skin. If the skin resists, ease your fingers along it rather than pulling hard.
Give the salt time in the refrigerator
Set the turkey breast-side up on a rack in a 16-inch roasting pan and refrigerate it uncovered for 24 to 48 hours. The rack keeps the bird raised above the pan, and the uncovered chill lets air reach the skin. Keep the breast facing up for the full rest so the seasoning remains evenly distributed over the exposed surface.
Take the chill off and prepare the skin
Remove the turkey from the refrigerator 45 minutes before roasting, and heat the oven to 425°F. Put the quartered onion and lemon in the cavity, then rub the neutral oil over the skin. Take a moment to coat the breast, legs, and sides evenly; dry patches won’t brown as consistently as lightly oiled skin.
Start hot, finish lower, and let it rest
Roast breast-side up at 425°F for 30 minutes, then lower the oven to 325°F and continue roasting for about 2 to 3 hours. Check the thickest part of the breast and the innermost thigh with a thermometer, keeping the probe away from bone; both readings should reach 165°F. Transfer the turkey to a cutting board and rest it for 30 minutes before carving, so the juices have time to settle.
Small Changes That Keep the Turkey’s Character
Keep the roast dairy-free
The neutral oil is already the coating fat, so there’s no butter to replace. Keep the oil on the skin for a dairy-free roast with a clean, mild finish rather than a buttery flavor.
Make the cavity aroma more citrus-forward
Leave out the onion and put the quartered lemon in the cavity on its own. The turkey still roasts the same way, but the aroma is brighter and less savory.
Leave out the black pepper
For a milder seasoning, omit the pepper and keep the salt rub. You’ll lose its warm, peppery edge, but the turkey will still take on the salt during the refrigerator rest.
Storage and Reheating
- Refrigerator: Refrigerate carved leftovers in shallow, airtight containers within 2 hours. They keep for 3 to 4 days; the skin softens once stored.
- Freezer: Freeze carved meat in airtight, well-wrapped portions for 2 to 6 months. The texture is best when the meat is protected from air.
- Reheating: Warm only the portions you plan to serve, covered, in the oven or microwave. Reheat to the same internal-temperature target used for doneness, and avoid repeated reheating, which dries out the breast.
Questions That Come Up Before Roasting a Whole Turkey
Dry Brine Turkey
Ingredients
Equipment
Method
- Pat the turkey dry with paper towels without rinsing it.
- Carefully loosen the skin over the breast and thighs.
- Rub the salt and pepper over the outside, inside the cavity, and under the skin.
- Set the turkey breast-side up on a rack in a 16-inch roasting pan and refrigerate uncovered for 24 to 48 hours.
- Remove the turkey from the refrigerator 45 minutes before roasting.
- Heat the oven to 425°F.
- Put the onion and lemon in the turkey cavity.
- Rub the oil over the skin.
- Roast the turkey breast-side up at 425°F for 30 minutes.
- Reduce the oven to 325°F and continue roasting for about 2 to 3 hours, until a thermometer in the thickest part of the breast and innermost thigh reads 165°F without touching bone.
- Transfer the turkey to a cutting board and rest for 30 minutes before carving.